Post your questions or information about Tiger restorations
-
Mal
- Posts: 673
- Joined: Sat Aug 02, 2008 5:39 am
- Location: NZ
Post
by Mal » Fri Nov 09, 2012 8:47 am
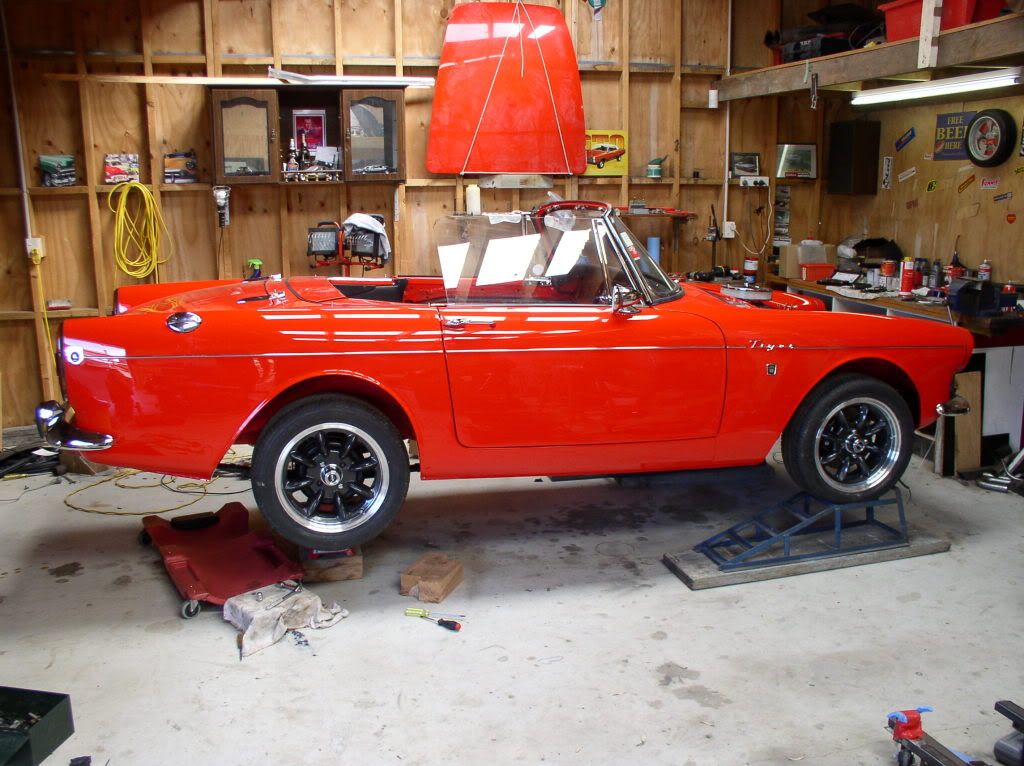
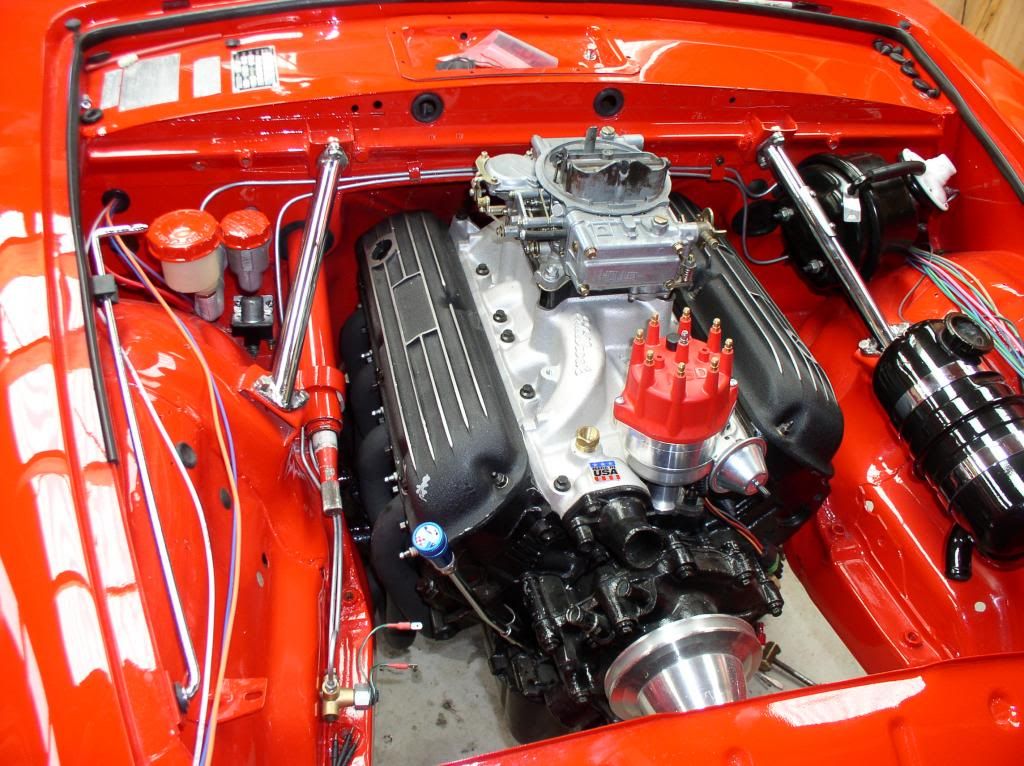
I have finally finished the headers so it's all ready to go in this weekend

More pic's to follow when installed.
-
0neoffive
- Posts: 42
- Joined: Sat Mar 31, 2012 3:23 am
Post
by 0neoffive » Fri Nov 09, 2012 3:59 pm
Mal wrote:I have finally finished the headers so it's all ready to go in this weekend
More pic's to follow when installed.
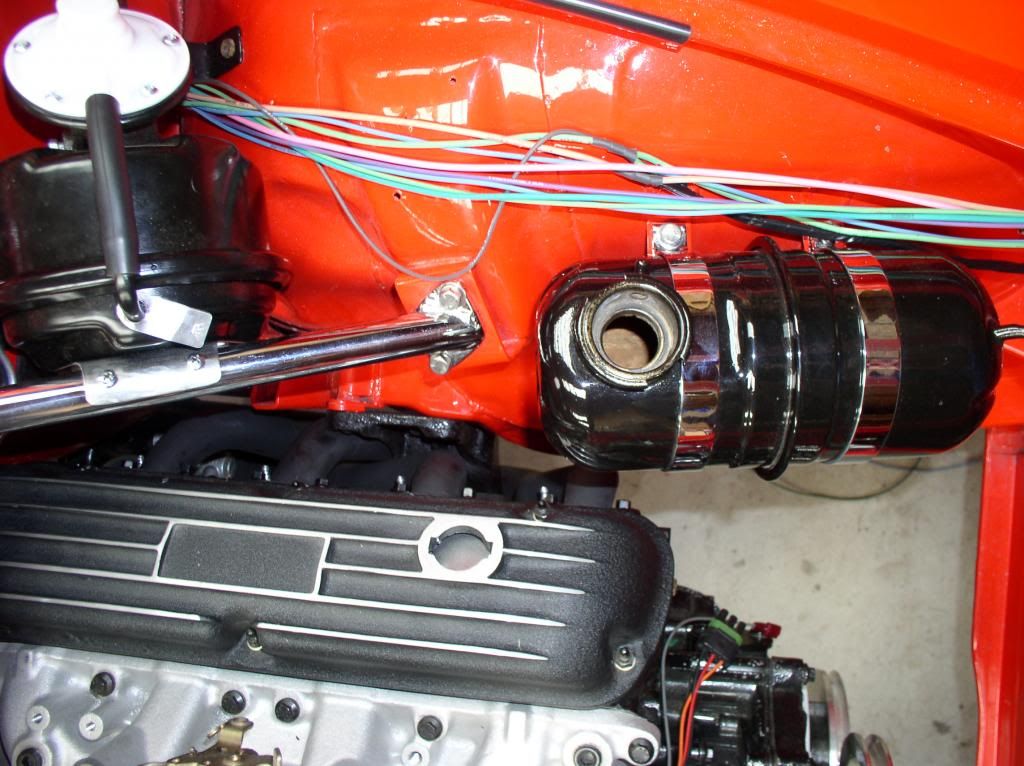
Hi Mal: I like the attention to the little heat shield on the clutch slave; smart move. Who's long-nosed mini starter is that? randy
-
Mal
- Posts: 673
- Joined: Sat Aug 02, 2008 5:39 am
- Location: NZ
Post
by Mal » Fri Nov 09, 2012 7:39 pm
Randy.
The starter is called "XS performance starter"
2.0kw to suit manual trans.
Provides more cranking power, draws less amps.
3.1hp,342ft/ibs. 4.4:1 gear ratio, weighs 4.5kg.
Adjustable 18 possition.
Aluminium housing to reduce hot starts.
I thought it a good idea to protect the slave cyl.
Cheers
-
Mal
- Posts: 673
- Joined: Sat Aug 02, 2008 5:39 am
- Location: NZ
Post
by Mal » Sat Nov 10, 2012 4:42 am
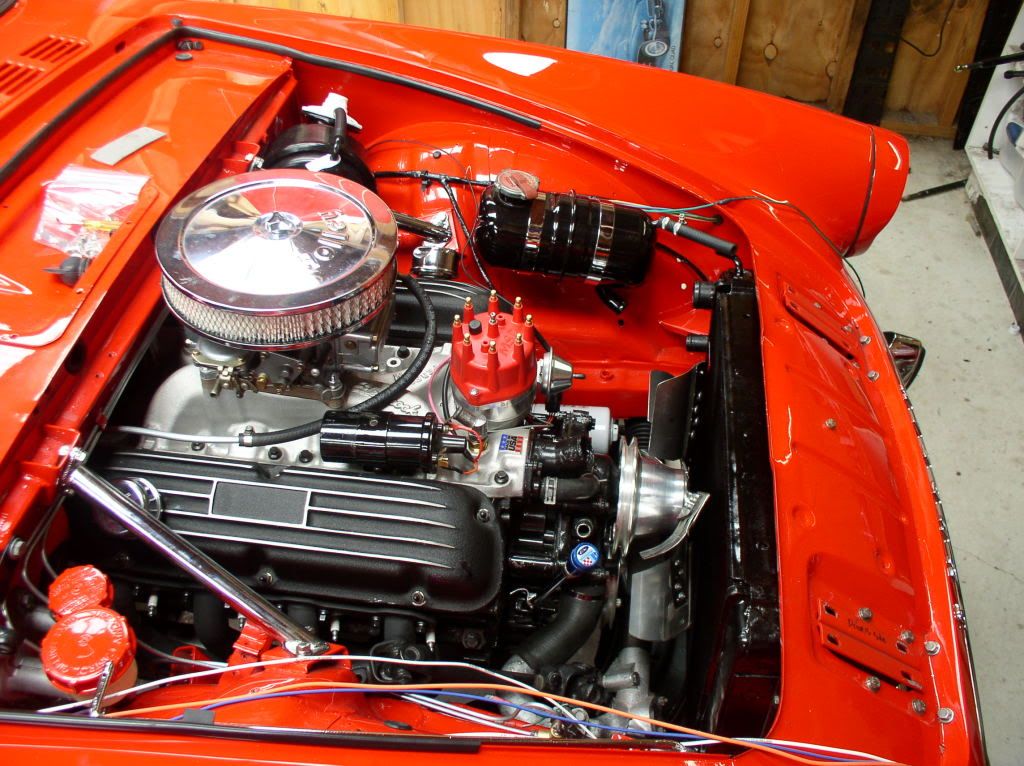
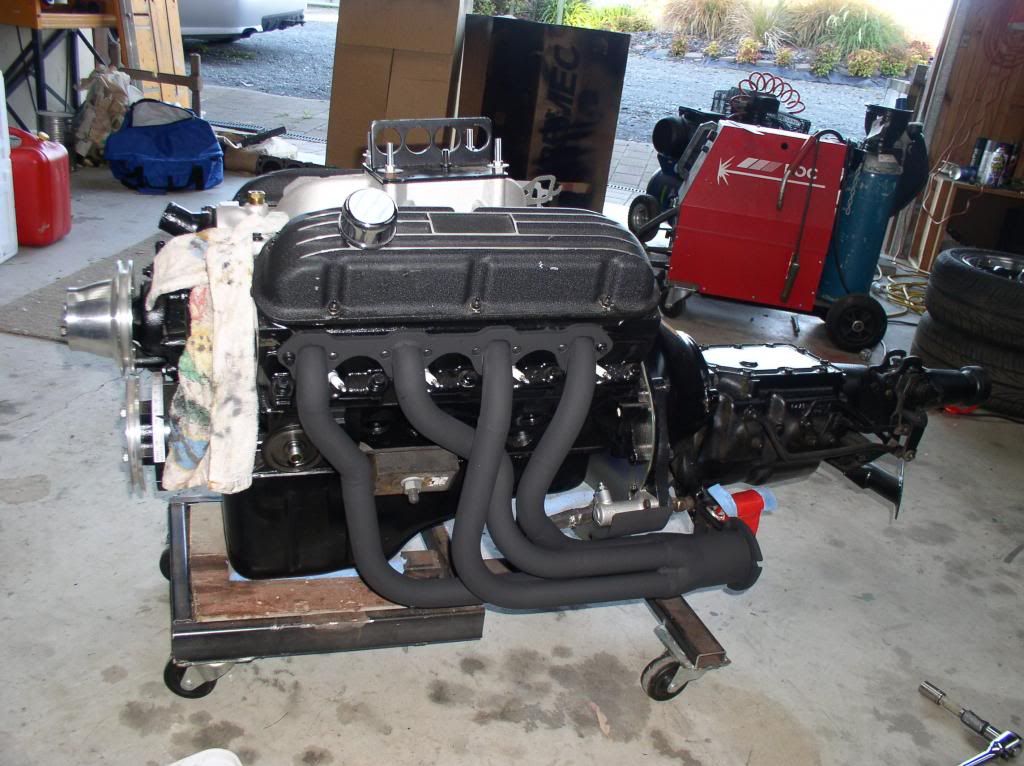
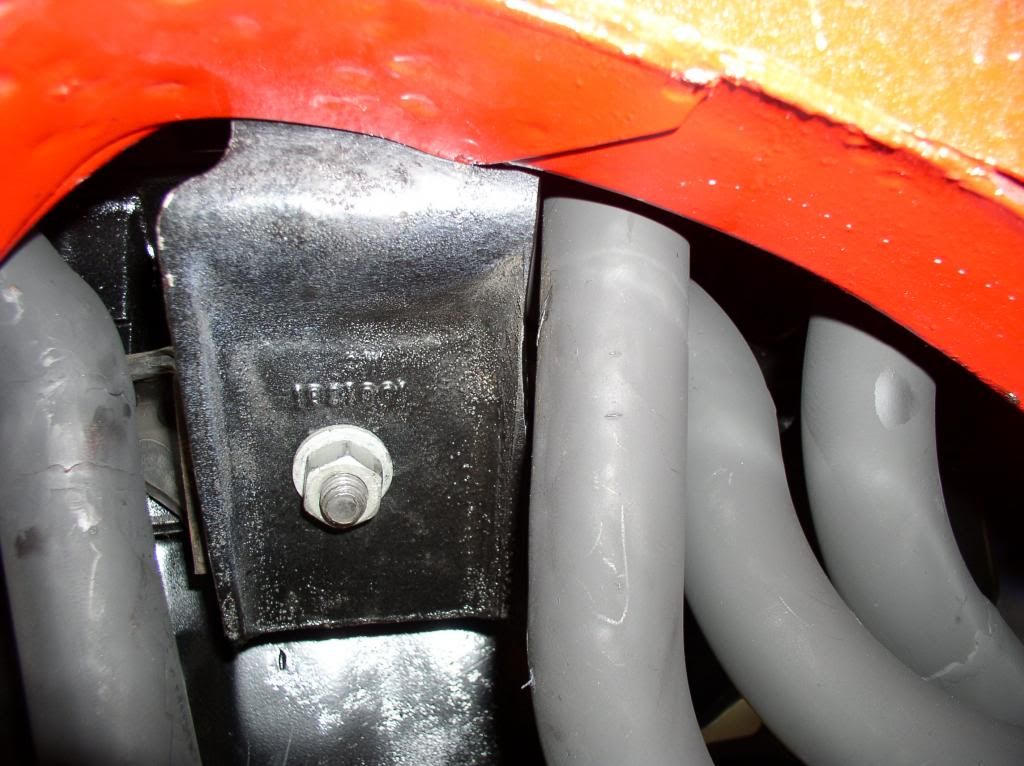
Header clearance. Good

Good
Oops

Little adjustment needed.
-
Mal
- Posts: 673
- Joined: Sat Aug 02, 2008 5:39 am
- Location: NZ
Post
by Mal » Sat Dec 08, 2012 4:28 am
-
meadowhog
- Posts: 392
- Joined: Fri Dec 16, 2011 1:50 pm
- Location: South Bucks
Post
by meadowhog » Sat Dec 15, 2012 7:57 pm
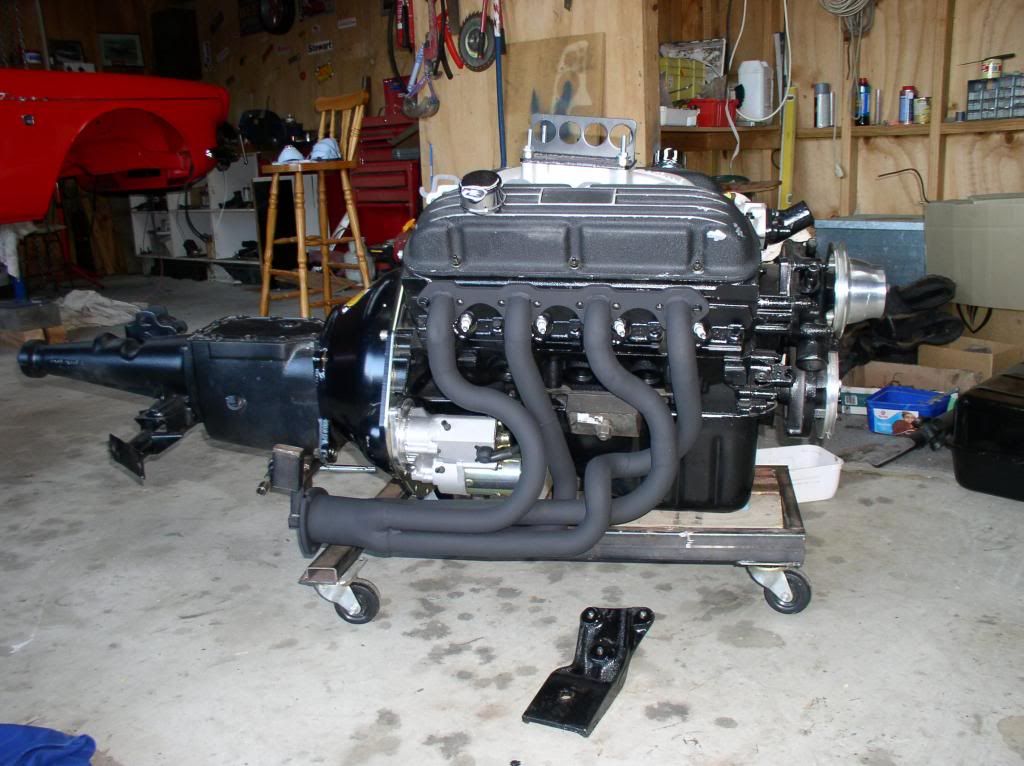
Is the black paint insulating? When/if I pull my engine I will wrap mine in heat resistant tape to cut down on engine bay heat. My 302 with headers chucks out a hell of a lot of heat and after a long run gets a bit sick when in traffic.
Looks fantastic though and I bet a great sense of achievement having built them yourself.
-
Mal
- Posts: 673
- Joined: Sat Aug 02, 2008 5:39 am
- Location: NZ
Post
by Mal » Sun Dec 16, 2012 5:36 am
meadowhog wrote:Is the black paint insulating? When/if I pull my engine I will wrap mine in heat resistant tape to cut down on engine bay heat. My 302 with headers chucks out a hell of a lot of heat and after a long run gets a bit sick when in traffic.
Looks fantastic though and I bet a great sense of achievement having built them yourself.
It is POR15 black vevet. Their high temp black paint. No insulating properties. I was going to get them HPC coated for the insulation but I decided to leave them for a while incase any of my welds crack
.
-
meadowhog
- Posts: 392
- Joined: Fri Dec 16, 2011 1:50 pm
- Location: South Bucks
Post
by meadowhog » Sun Dec 16, 2012 9:41 am
I know what you mean. I made a stainless header for an Alpine. No cracks in that so I'm sure you'll be fine. You've got to post a youtube of its first start up.
-
martin172
- Posts: 1022
- Joined: Thu Jul 22, 2010 2:14 pm
Post
by martin172 » Sun Dec 16, 2012 1:27 pm
meadowhog wrote:. You've got to post a youtube of its first start up.
Thats a good idea.
-
Tomaselli
- Posts: 942
- Joined: Fri Sep 30, 2005 2:03 pm
- Location: Cheshire, North West England
Post
by Tomaselli » Sun Dec 16, 2012 6:08 pm
You must be very pleased with the progress, and how the project is turning out. Not long before you will be able to appreciate all the sweat and grazed knuckles

would be good to see similar threads on the board following owner's resto projects.
-
martin172
- Posts: 1022
- Joined: Thu Jul 22, 2010 2:14 pm
Post
by martin172 » Sun Dec 16, 2012 9:13 pm
Tomaselli wrote:You must be very pleased with the progress, and how the project is turning out. Not long before you will be able to appreciate all the sweat and grazed knuckles
would be good to see similar threads on the board following owner's resto projects.
It would wouldn't it.
-
Mal
- Posts: 673
- Joined: Sat Aug 02, 2008 5:39 am
- Location: NZ
Post
by Mal » Mon Dec 17, 2012 5:51 am
Tomaselli wrote:You must be very pleased with the progress, and how the project is turning out. Not long before you will be able to appreciate all the sweat and grazed knuckles
would be good to see similar threads on the board following owner's resto projects.
Amazingly my knuckle skin is intact. I have only leaked red stuff once so far and that was very minor ( touch wood ).
I am very pleased. It is time consuming getting it back together. You bolt someting on, unbolt it, buy new bolts, bolt it back on, then realise you should have fitted another part first

.
My right foot is starting to itch
-
Tom_HRO260
- Posts: 91
- Joined: Fri May 14, 2010 5:25 am
- Location: Melbourne, Australia
Post
by Tom_HRO260 » Mon Dec 17, 2012 10:49 am
I had the pleasure of meeting Mal last year and saw what great work he was doing with his restoration. I'm miles away with mine and am doing it all in the wrong order, but I thought I'd post a link to the start up of the engine I have built for my Tiger.
You can see the Tiger in the background @ 90deg on the rotisserie. I am currently doing what I'm sure many have done before - scraping off the bitumous gunk! I think I read elsewhere queries as to the nature of the underbody in terms of finish - I can report red oxide if that is of any bearing...
Anyway, a rough idle, still needs a tune up, but this is my progress thus far...
http://www.youtube.com/watch?v=rLihHppNXlA
Regards
Tom
-
Mal
- Posts: 673
- Joined: Sat Aug 02, 2008 5:39 am
- Location: NZ
Post
by Mal » Fri Dec 21, 2012 5:54 am
Hi Tom. Nice to see you are making some progress, though gunk scraping is not a lot of fun.
Love the sound of that engine. It would have been nice to have mine on an engine stand like yours to run it before it went in.
Hows the weather over there. 33.4 C here today

-
martin172
- Posts: 1022
- Joined: Thu Jul 22, 2010 2:14 pm
Post
by martin172 » Fri Dec 21, 2012 3:09 pm
Mal, the weather here is awful. Stop rubbing it in.


Tom, any more pics of the engine?
What ci is it and what is it's spec?