But is not correct for the Tiger!
Graham
STOC Editor
Brads Tiger
I think the a steering wheel with a recess/dish in the spokes is a better (subject to personal taste) fit. You might get away with a flat wheel as per the earlier eBay listing. I could be wrong but it's what I personally prefer....

Agree with Martin, the factory original wheel fetch a lot of money, usually up to £400 for a good restored one.
Agree with Martin, the factory original wheel fetch a lot of money, usually up to £400 for a good restored one.
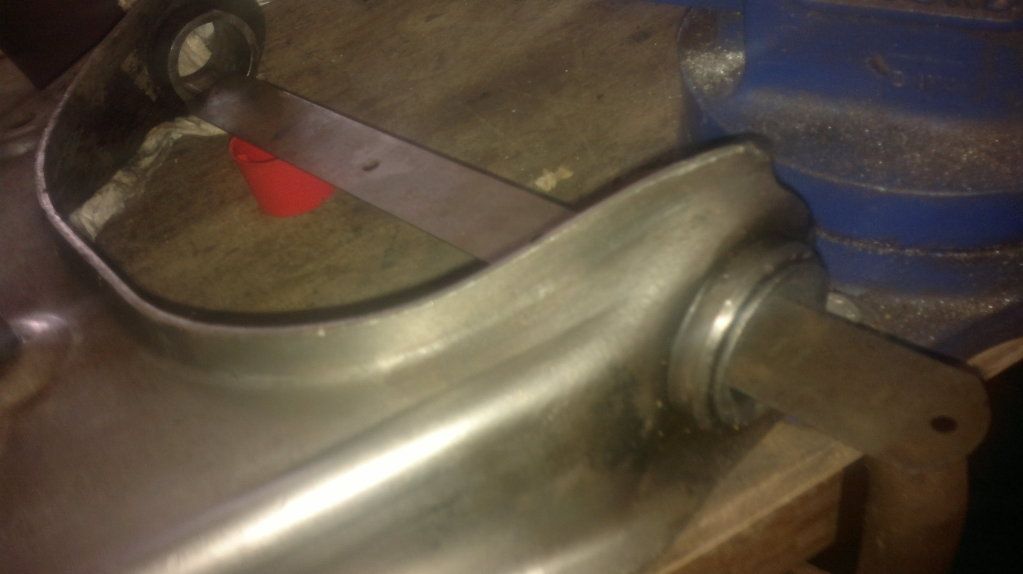
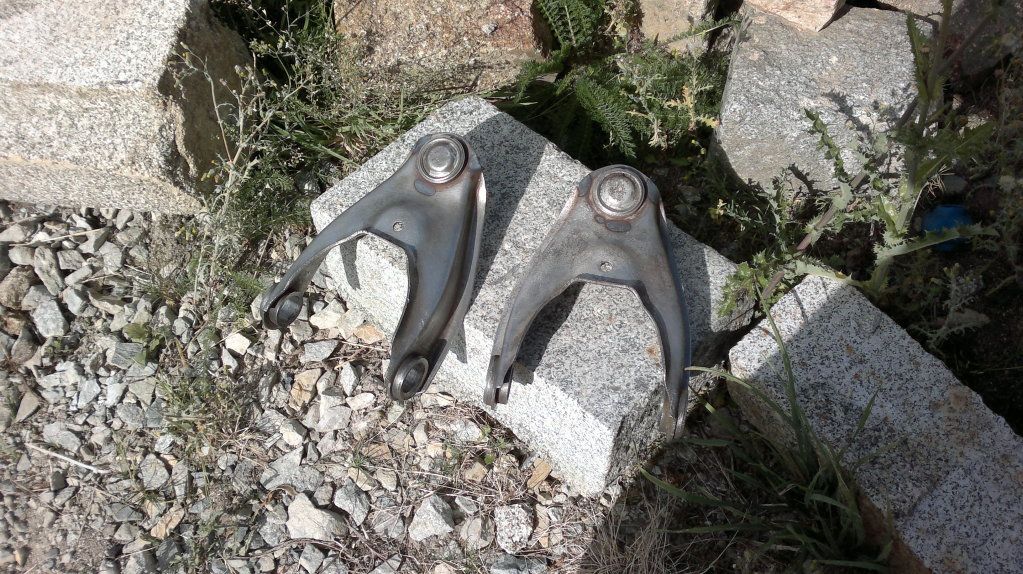
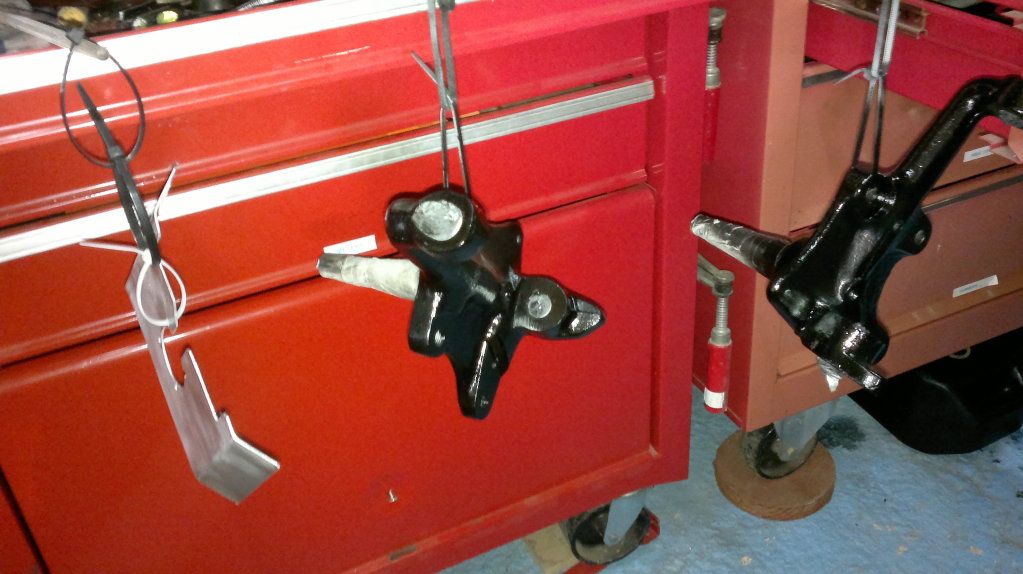
Took the other wishbone out of the tank today & found that both fulcrum bosses have come away from the wishbone about 50% each, so that they don't line up anymore.
Can i hammer these straight again then run a weld around the boss or is it just best to get a replacement wishbone?
Can i hammer these straight again then run a weld around the boss or is it just best to get a replacement wishbone?
1966 Sunbeam Tiger Mk1
Do you have a manual Brad?
There are the dimensions for the wishbones in there.
If you can get them back in and to the dimensions, I don't personally see why you can't reuse them.
I had similar probs with mine.
BTW, if you have a Dyson cleaner, the metal tube is a very close fit in the bosses for alignment purposes.
Edited for bda speling
Last edited by martin172 on Tue Jun 26, 2012 4:33 pm, edited 2 times in total.
Wishbone/A arms
Note: The assembled fulcrum provides the exact inner dimensions by application. This was engineered that way on purpose (or by dumb accident). I noticed that in the photo, the outer bushing collar is still in the wishbone and should be removed before any new bushing attempt. The un-assembled wishbone wings bend fairly easy and should re-align well with a bit of vise/crowbar/hammer massage.
Notches
FYI: Note the notches in the fulcrum for the mount bolts. The end with the shortest distance between the notch and the bushing goes toward the front of the wish . . . . .I only say this because several have come into the shop for re-alignment only to discover that one side (or both) are installed backwards.
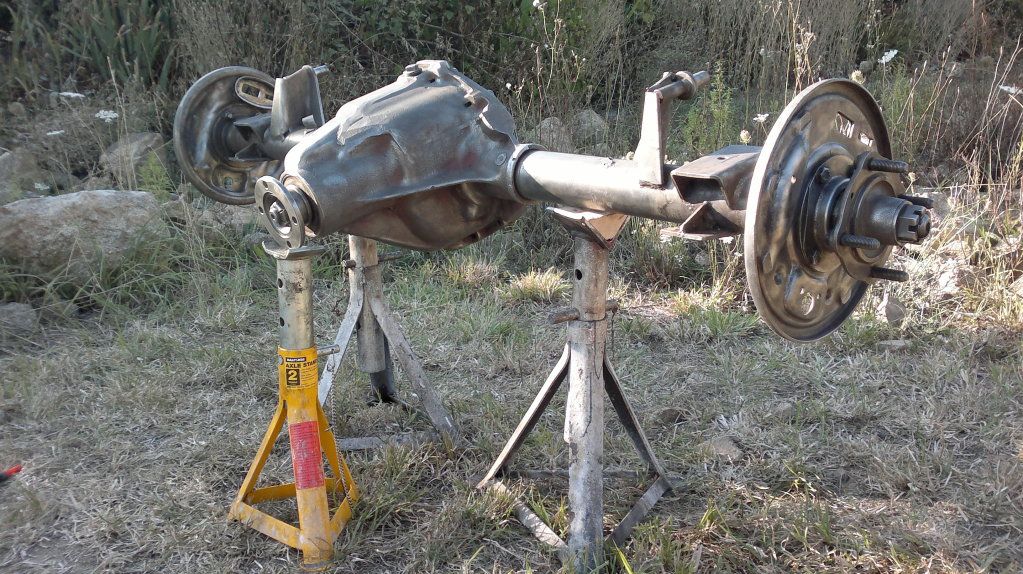
Well haven't had a lot of time of late to play with the Tiger & i certainly wasn't going to spend any summer days in the garage scraping underseal. So some minor progress on the bits i could drag outside.
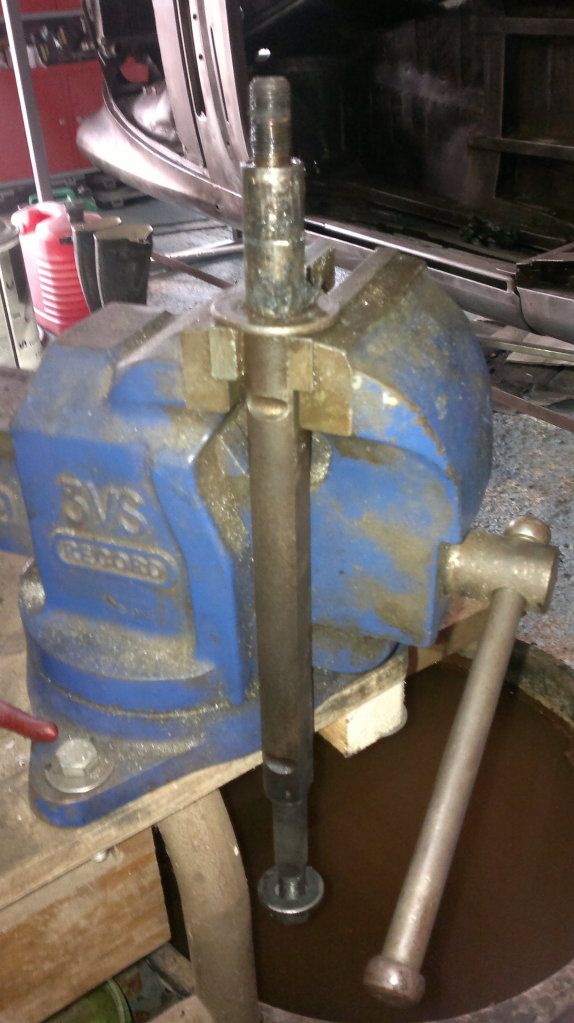
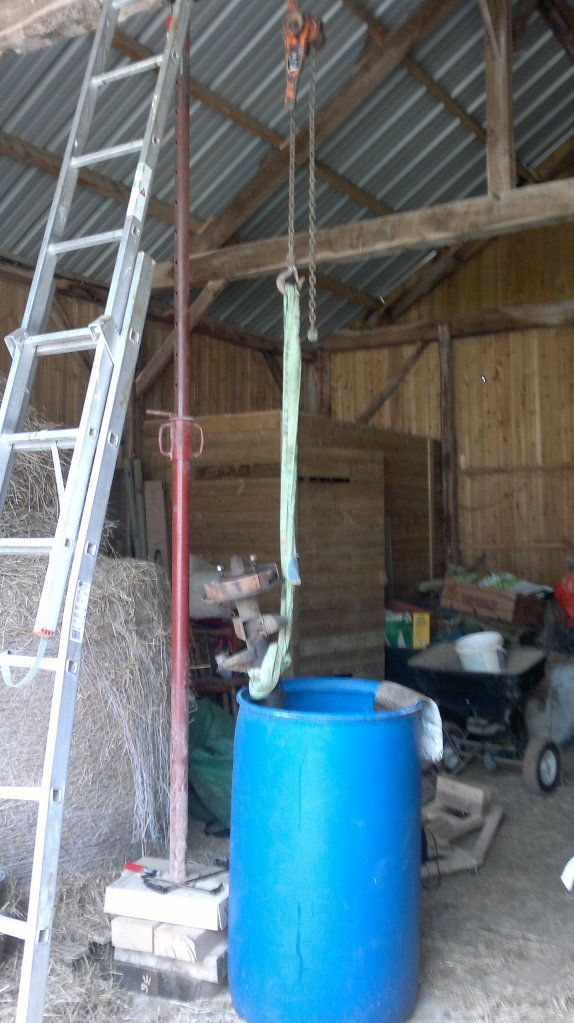
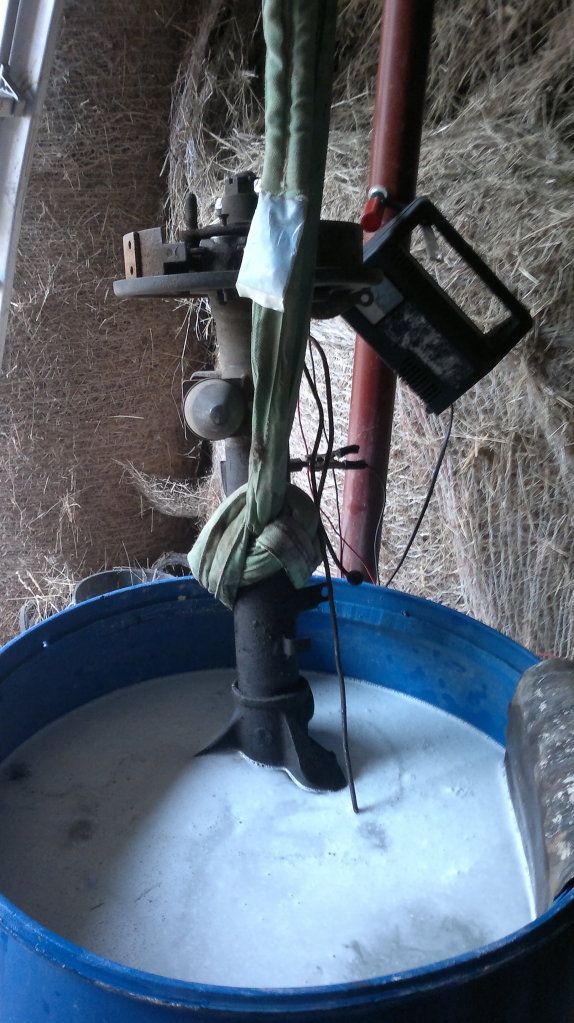
Was getting fed up tripping over these, so a dunk in the tank first.
Wire brushed.
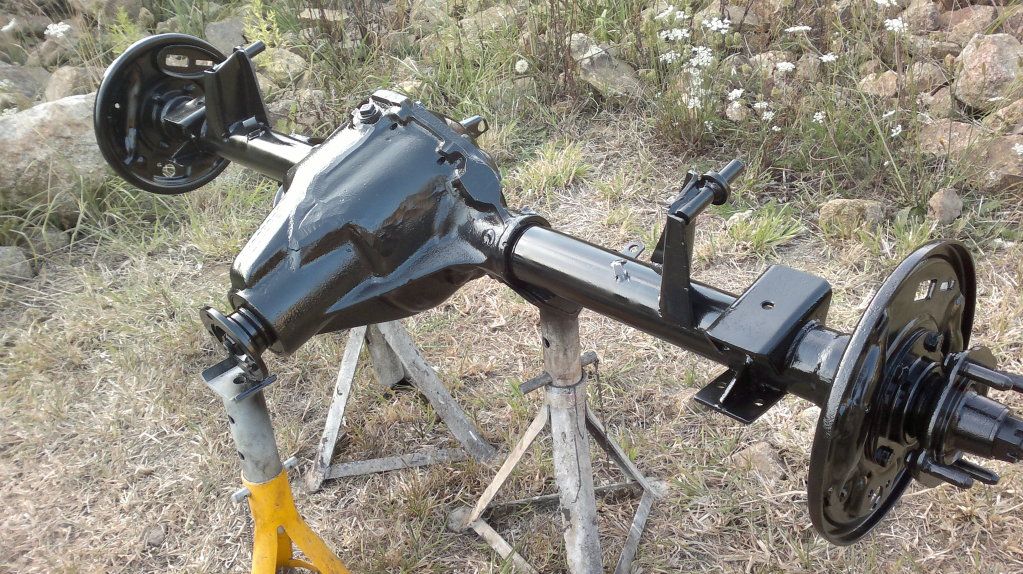
Held together with bolts whilst the capheads are on order.

Relocated the water bucket.
Wire brushed.
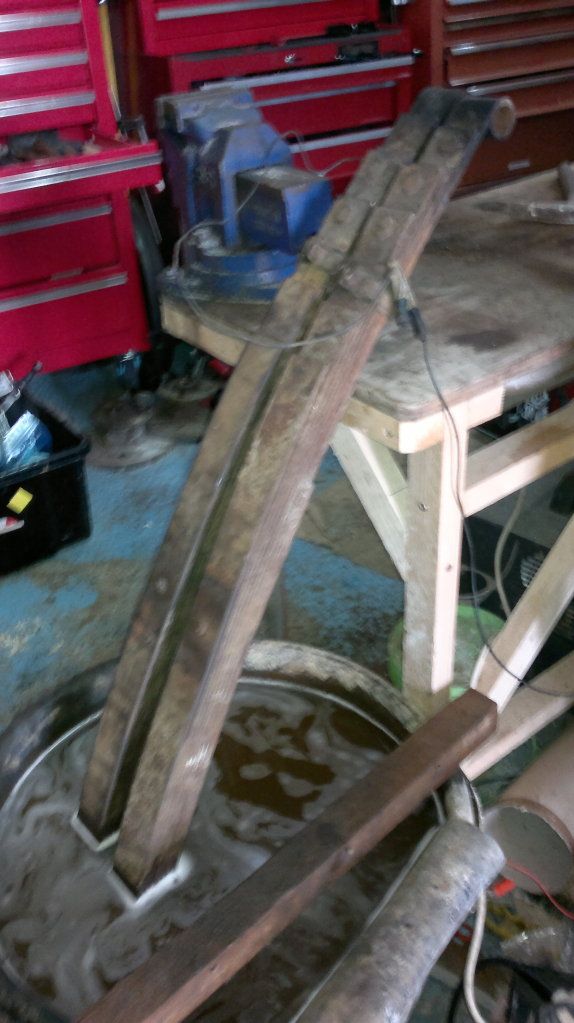
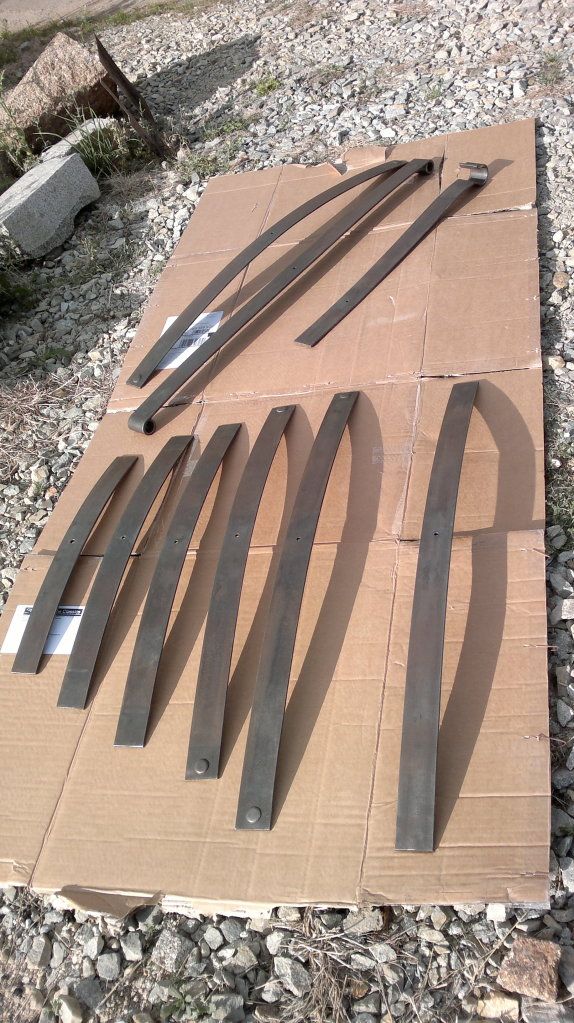
Upper wishbones out of the tank drying off in the sun.
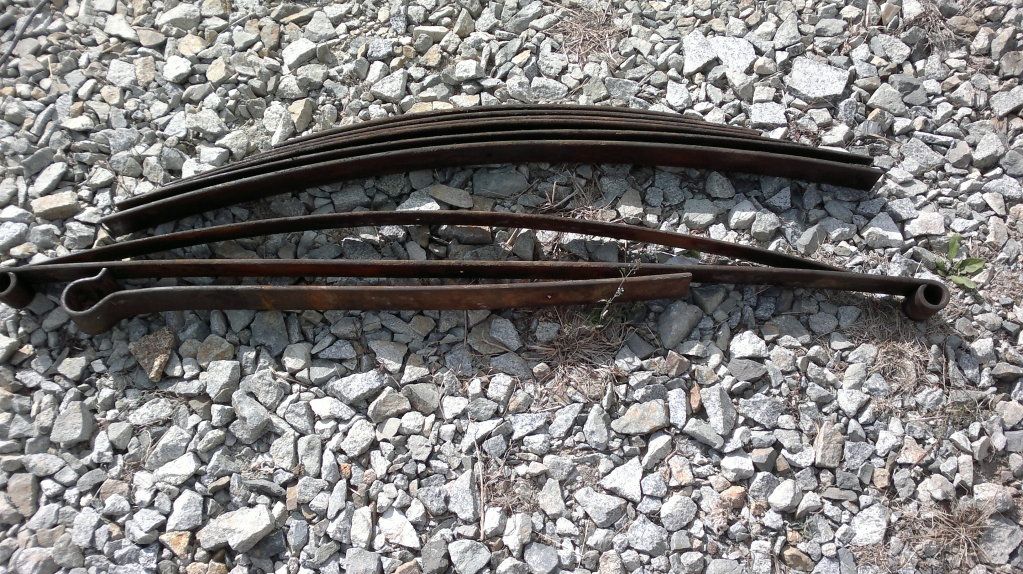
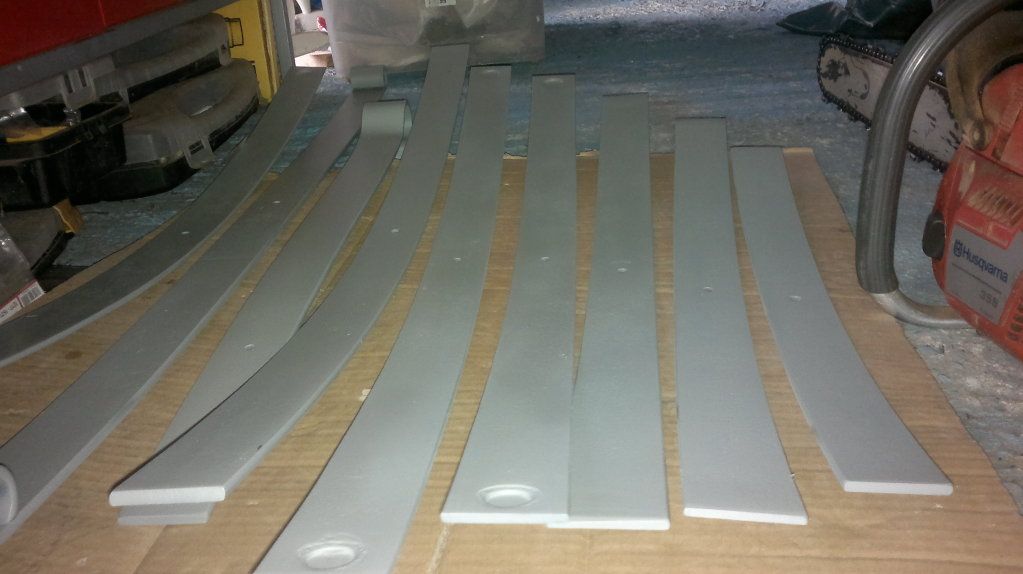
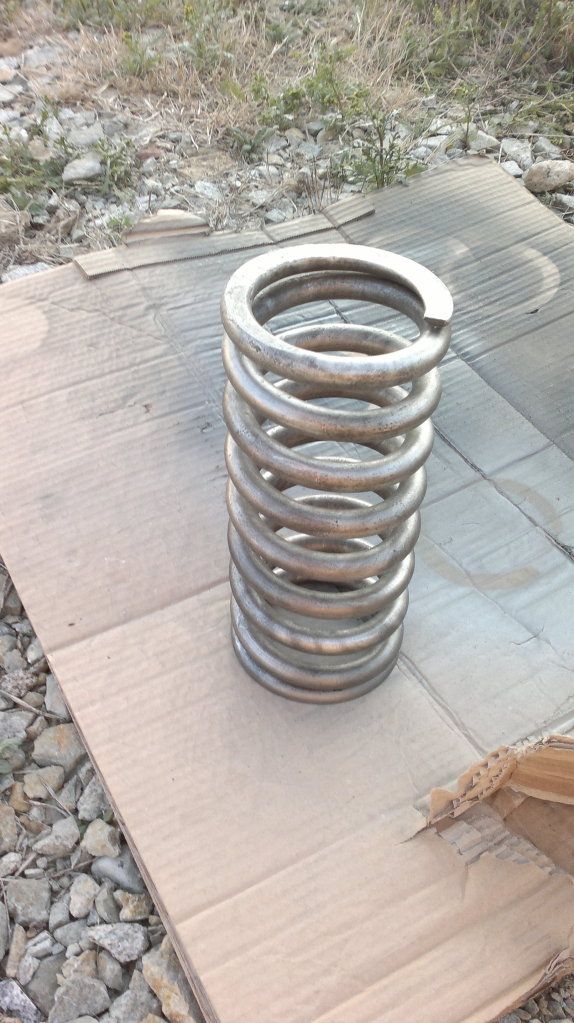
Uprated springs ready for paint.
Stub axles.
Was getting fed up tripping over these, so a dunk in the tank first.
Wire brushed.
Held together with bolts whilst the capheads are on order.
Relocated the water bucket.
Wire brushed.
Upper wishbones out of the tank drying off in the sun.
Uprated springs ready for paint.
Stub axles.
1966 Sunbeam Tiger Mk1
The paint itself is much more durable than enamel and you don't have to paint it on a surface which still has rust on it. A sandblasted surface is just as good, or you can use their metal ready to condition the surface.Brad1380 wrote:Mal,
no point they are now rust free & i don't see the point of carrying around rust in your car.