When we sold that, the secound house had a double garage. Still not enough space.
Now
Thats a three seater. Foot stools underneathBy the way, is that a 2 or 3 seater settee you have there?
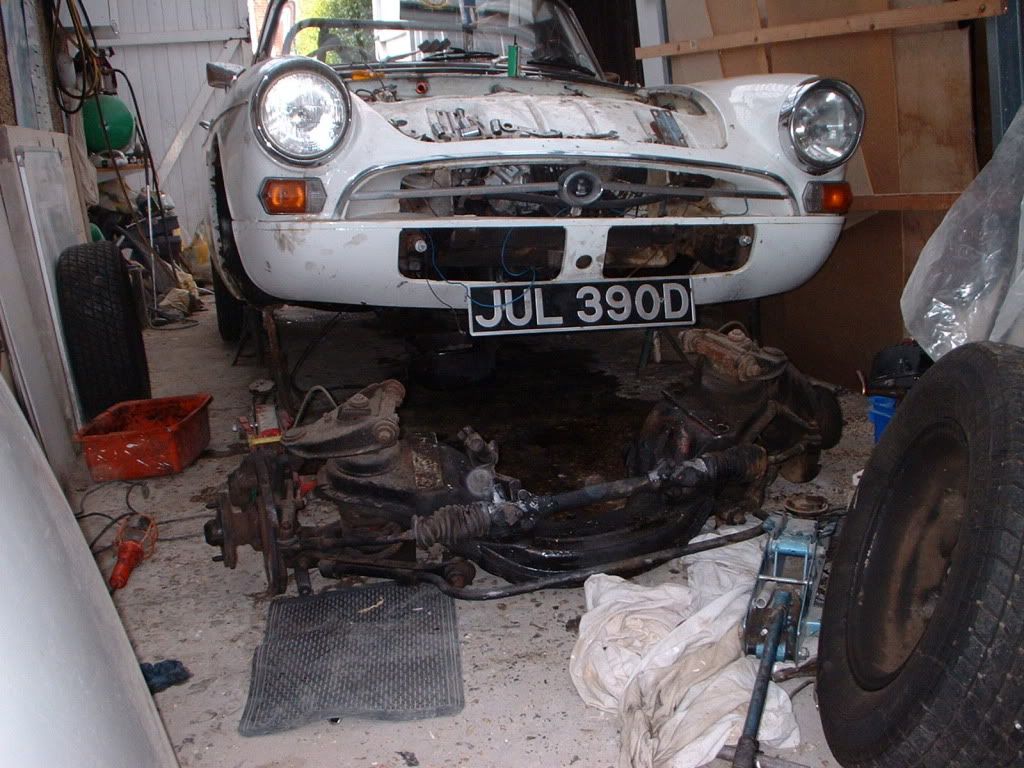
A good opportunity to replace the front suspension bushes and make sure there are no cracks in the cross member. I pulled the front springs out before removing the cross member because you have the wieght of the car to make it easier. If you do decide to break it down, remember that the springs can be dangerous to remove. Make sure you have them tied in there so they can't fly out. Once broken down you will be able to store the parts under the bed.Well, if the front suspension has to come off, I may be stuffed.
I can't think of a way of doing it unless I remove the suspension, drop and remove the engine, and then put the suspension back on again.
How long does it take to remove and refit the suspension?
That must have been a PITA.Mal wrote:Martin.
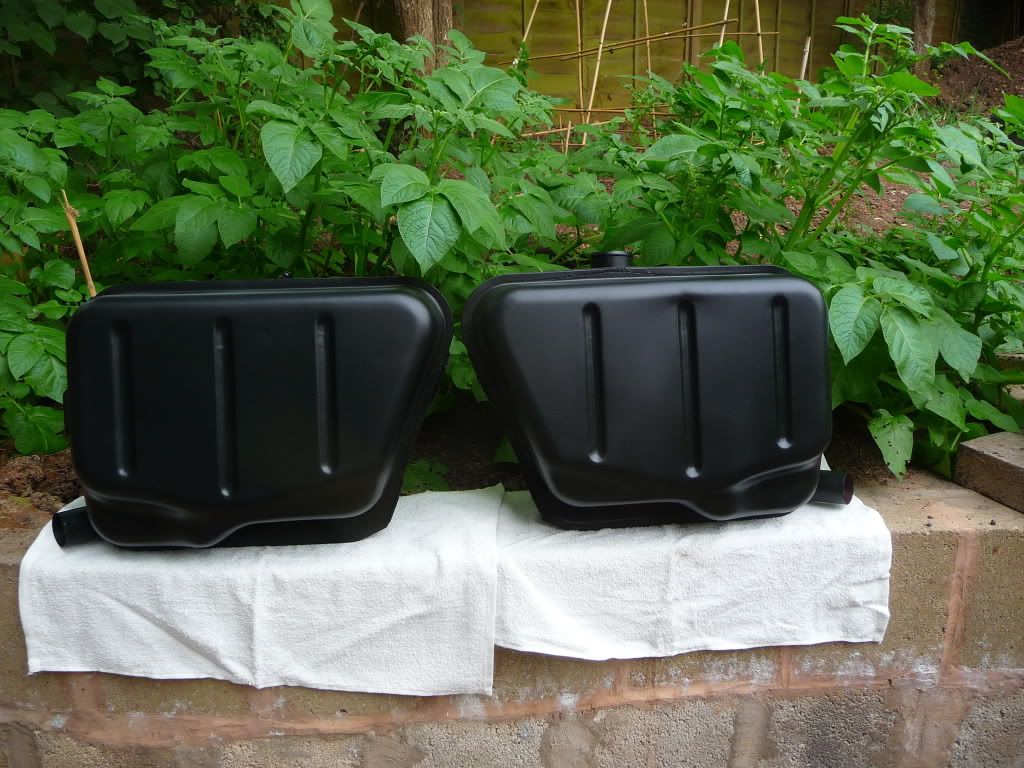
I painted the outside of my tanks with POR15 chassis black as it looks as though you have. I wanted to seal the inside of them as well so I bought the POR15 fuel tank sealer. It consists of a strong detergent which cleans of any fuel varnish on the surface of the tank. After that they looked really good so I progressed to the metal ready. Poured it in and left it for the required time. Thats when I learnt of the factory sealer. The metal ready removed half the factory sealer but not all.
Long story short I had to take them in and have them dipped in caustic to remove the rest, which removed all the new paint on the outside.
So if the rust is very minor, I think you are better off just blowing out the tanks and having a good fuel filter.
My tanks didn't have a drain bung so I can't help you there.
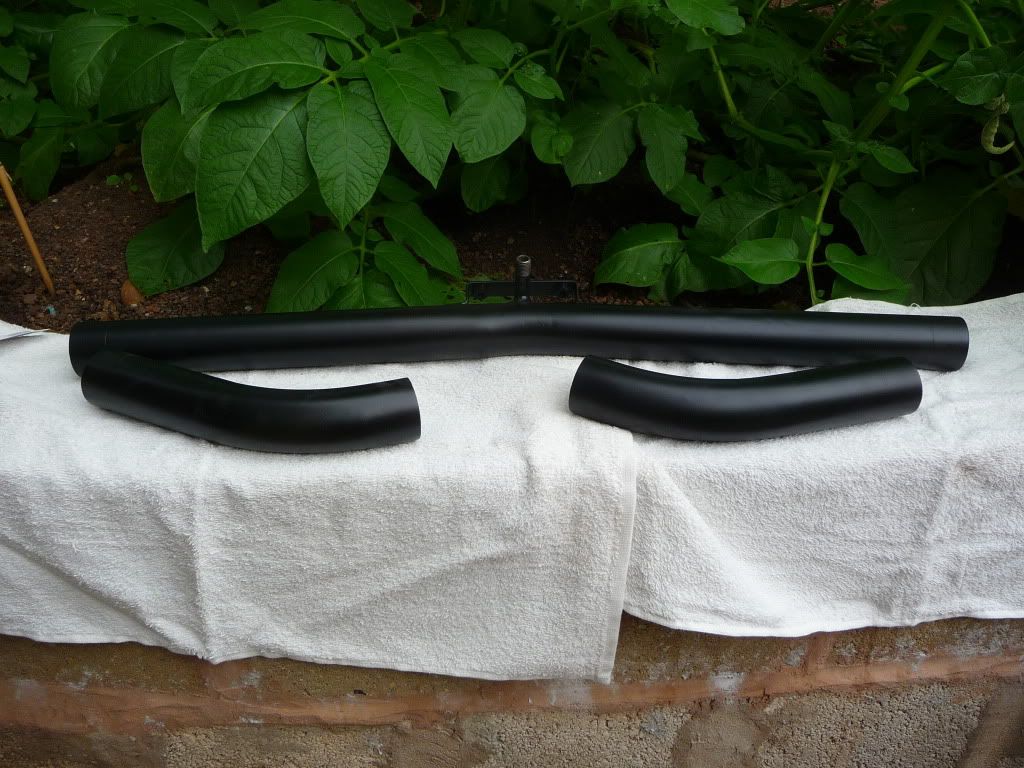
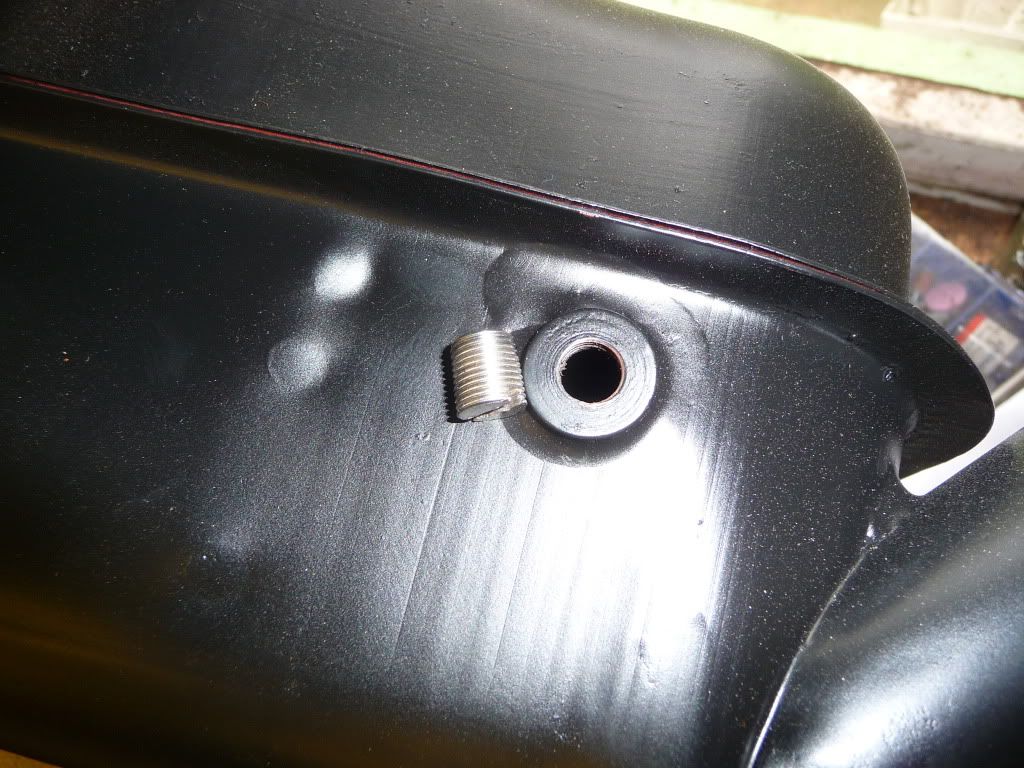
That's good, I would hate for you to take them out again after spending the time cleaning them up. Don't quote me on this, but I believe teflon tape is ok for fuel.martin172 wrote:JUst checked. It is indeed a tapered thread. 1 Gold star for Robin.
Anyone any idea what to seal it with?
The inside of the tanks are in pretty good condition tbh.
The slightest bit of rust here and there and that's about it. I gave them a good blast out with an air line.