Post any Tech Tips or any matters and questions relating to upkeep
-
martin172
- Posts: 1022
- Joined: Thu Jul 22, 2010 2:14 pm
Post
by martin172 » Wed Mar 04, 2015 10:48 pm
These are the throttle linkage brackets from my car.
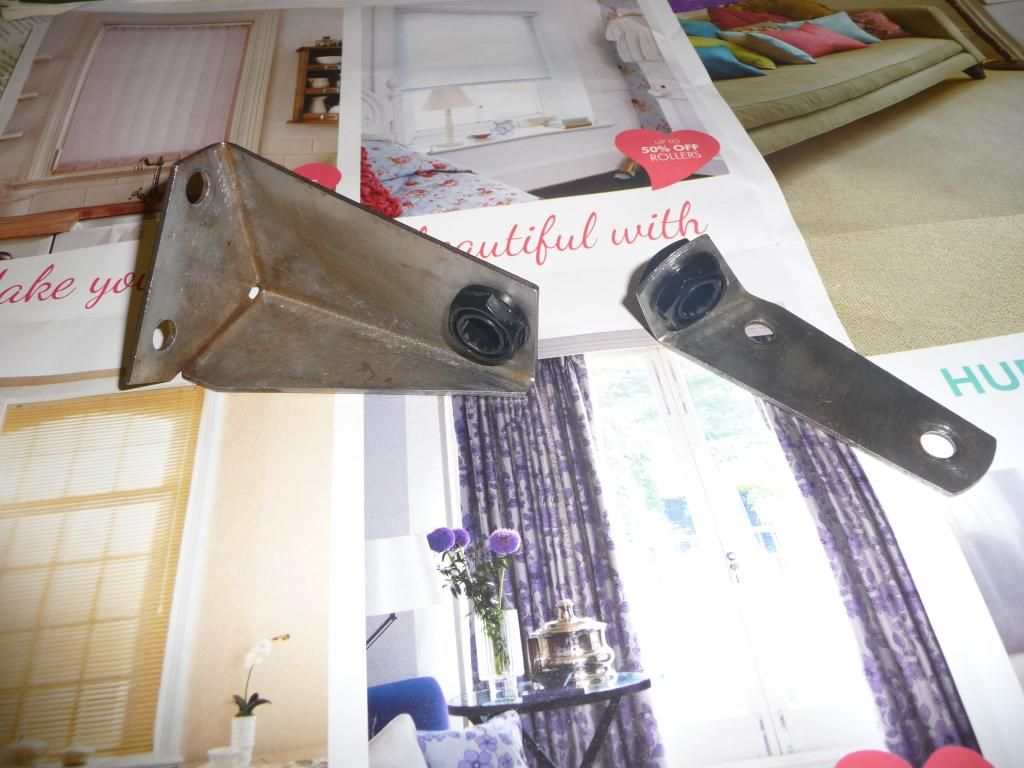
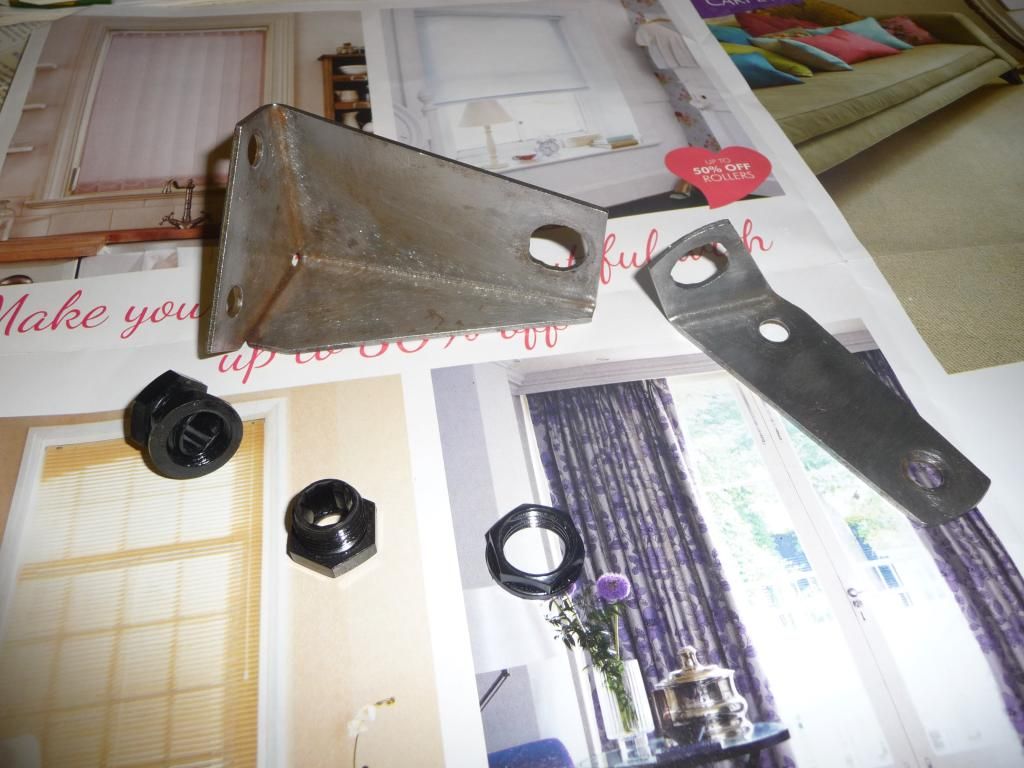
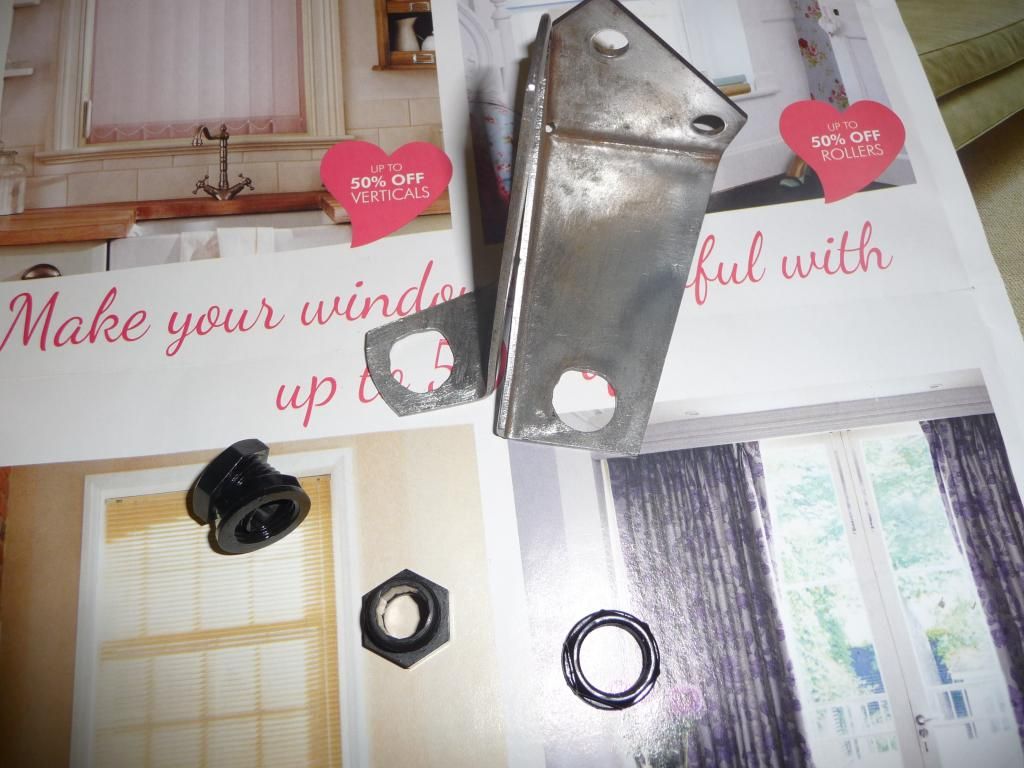
It would seem that at some point they have been 'modified' as I assume that these plastic joints that have been installed aren't original.
The rod is very baggy in them so I certainly hope not.
I assume the holes are a bit large too but having never seen another set of brackets, I have no idea how they are supposed to be.
Does anyone have some close up pictures that show what these brackets should really be like and some dimensions of the hole centres would be wonderful.
Any help in my latest challenge would be gratefully accepted.
Thanks.
-
martin172
- Posts: 1022
- Joined: Thu Jul 22, 2010 2:14 pm
Post
by martin172 » Thu Mar 05, 2015 10:20 pm
Is there anybody there?
Is there anybody there?
-
bigbob
- Posts: 379
- Joined: Wed Aug 19, 2009 11:31 am
Post
by bigbob » Fri Mar 06, 2015 10:32 am
Probably everyone has done the sensible thing and changed to cable operation!
-
martin172
- Posts: 1022
- Joined: Thu Jul 22, 2010 2:14 pm
Post
by martin172 » Fri Mar 06, 2015 11:22 am
You could be right Bob but I would like to keep it original if possible.
If they had, it would mean they had brackets off the car to photograph and measure the hole positions for me.

-
ksherlock
- Posts: 91
- Joined: Thu Jun 30, 2011 9:25 am
Post
by ksherlock » Fri Mar 06, 2015 2:59 pm
My brackets were worn like this due to the original bushes perishing and allowing metal to metal contact some time in the past with a previous owner. I welded a 5/8 " I.D. washer to each bracket and made up my own bushes from a piece of nylon rod and pressed in to each washer. The original throttle rod is 3/8 " diam. so I drilled the new bushes 10.5 mm to allow free movement of the shaft. It is best to have the bushes fairly short since the shaft is not exactly 90 deg. to the brackets.
-
Mal
- Posts: 673
- Joined: Sat Aug 02, 2008 5:39 am
- Location: NZ
Post
by Mal » Fri Mar 06, 2015 8:05 pm
Martin
Mine have been modified as well. Probably something that needs to be done as they wear. Mine have hemi rod ends so the rod is a nice fit through the bearing in the hemi end.
Cheers Mal
-
martin172
- Posts: 1022
- Joined: Thu Jul 22, 2010 2:14 pm
Post
by martin172 » Fri Mar 06, 2015 10:11 pm
Thanks for the info guys. Much appreciated.
Two good ideas there.
-
c42
- Posts: 11
- Joined: Mon Apr 16, 2012 8:45 pm
- Location: Rugby, Warwickshire
Post
by c42 » Fri Mar 06, 2015 11:01 pm
Hi Martin
The plastic pieces that you have look like glands that screw into electrical conduit boxes. One possible solution could be to fill the centre of the plastic bush with an epoxy adhesive -Araldite or similar - and then re drill to the correct diameter. Might only be a temporary solution but will give you time to source the correct items.
Regards
John
-
Growler
- Posts: 11
- Joined: Fri May 30, 2008 9:26 pm
Post
by Growler » Sat Mar 14, 2015 7:28 pm
Martin,
It's worthwhile building some compliance into the bearing arrangement due to the dynamic movement between the engine and bulkhead under acceleration and deceleration. You don't want the throttle sticking under hard acceleration.
The throttle brackets on my car were badly worn, as they all are, so I built them up with weld then carefully filed the hole round again and fitted a rubber grommet. Into the grommet is fitted a self-lubricating bush.
The grommet allows some 'give' in the system and the bush provides the bearing surface for the throttle rod. Grommets are readily available. For the bush you could try someone like Igus - they do free samples too. Just select a combination of grommet and bush that works with the hole size in your brackets and the throttle rod diameter.
As per previous post, the original RHD Tiger throttle mechanism is far from ideal as the geometry will always be a compromise. A cable can provide a much improved pedal angle to throttle opening relationship. Some of us do like to keep things original though....
-
martin172
- Posts: 1022
- Joined: Thu Jul 22, 2010 2:14 pm
Post
by martin172 » Sat Mar 14, 2015 9:33 pm
Thanks for the link Mal.
I think I am going to borrow one of G's (where has he disappeared to? Anyone know?) ideas and replace the bar with a stainless steel one as mine is very worn at the 2 working positions.
Growler. (I hope that isn't your real name) Thanks for the info. I have made a couple of plates of the same thickness that fit snugly into the holes. I will weld them in and drill new 1/2" holes at the co-ordinates supplied by DH.
I think for now I will just fit an appropriate grommet and explore other options when I feel the urge but I do like the sound of the bush.