Page 1 of 2
Windscreen Frame and Glass Refitting
Posted: Wed Mar 05, 2014 11:46 am
by martin172
Hi all,
I'm about to get around to refitting my windscreen frame / windscreen, the windscreen seal, the frame to body seal and the stainless trim parts.
I've never fitted a windscreen before, nevermind fitting the frame and seal so I wondered if someone could take me through the whole process please.
What sealants do you use and where do you use them?
Is the windscreen seal adhered to the frame?
Is the windscreen to body seal adhered to the frame?
How are the bits of trim held on? Just rivets or sealant too?
The more detail you can offer, the better.
Many Thanks.
Posted: Fri Mar 07, 2014 1:39 pm
by martin172

Many thanks to David H and Jason for their help, tips and information.
Posted: Fri Mar 07, 2014 6:58 pm
by jerryg
Hi Martin,
Any chance of forwarding answers onto me please as I latched onto your thread due to needing to change my screen before MoT due date at the beginning of April. I picked up a used screen a few months back to replace mine which has two nasty chips and a crack in it. Changed one at least 15 years ago so any tips would help.
Jerry
Posted: Tue Mar 11, 2014 9:41 pm
by martin172
It could be another tumbleweed moment but here goes.
I've got the frame, seal and wedges on and tightened down temporarily just to see how it all fits.
This is the fit I have in relation to the door....
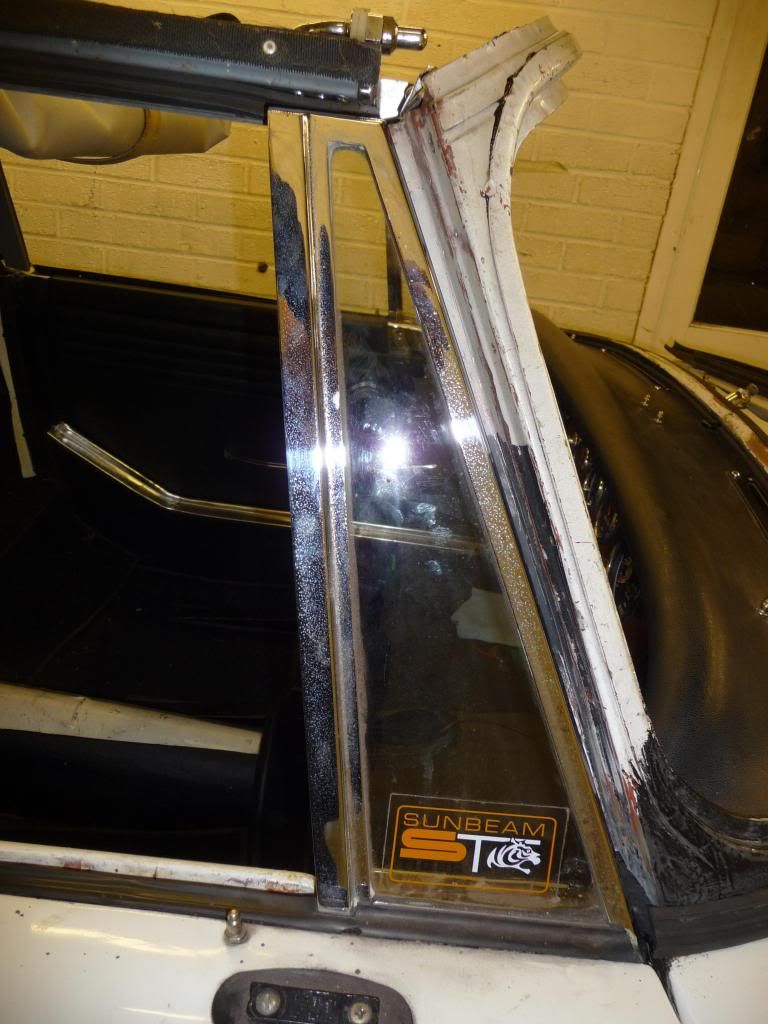
Drivers side, pretty much parallel
Passenger side, large at the bottom, small at the top
What are the gaps people normally get like.
Is parallel what I should be aiming for and what sort of gap size?
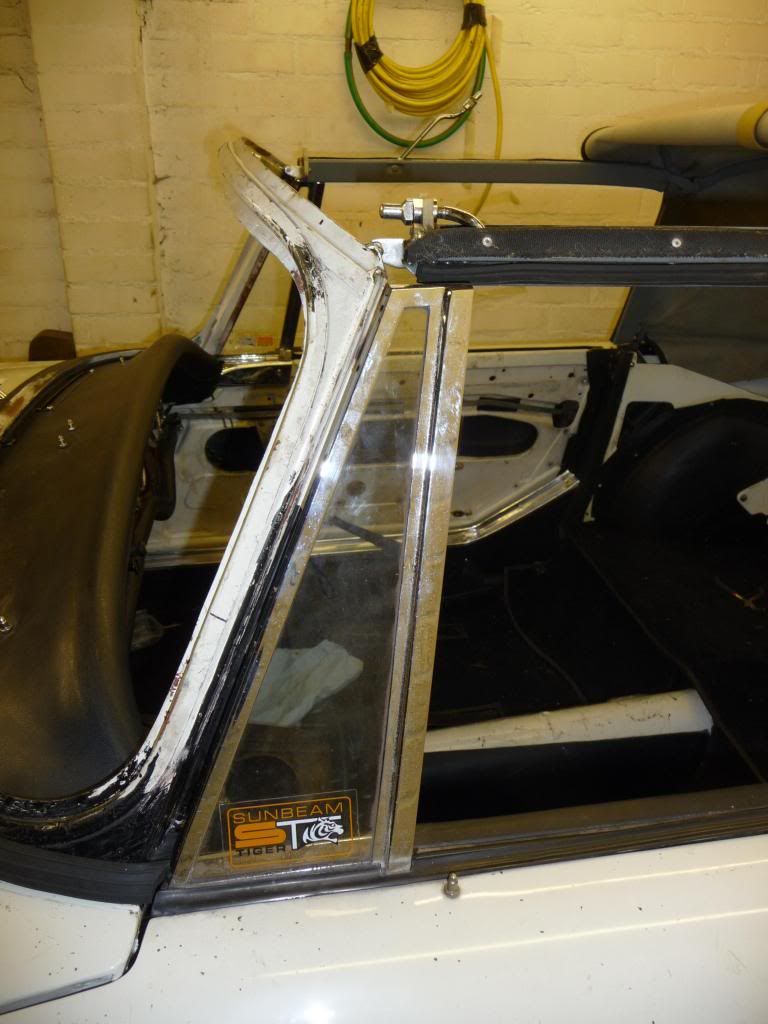
Also, both sides are like this in relation the the soft top frame (note the pins at the ends of the arms in relation to the holes they go in)....
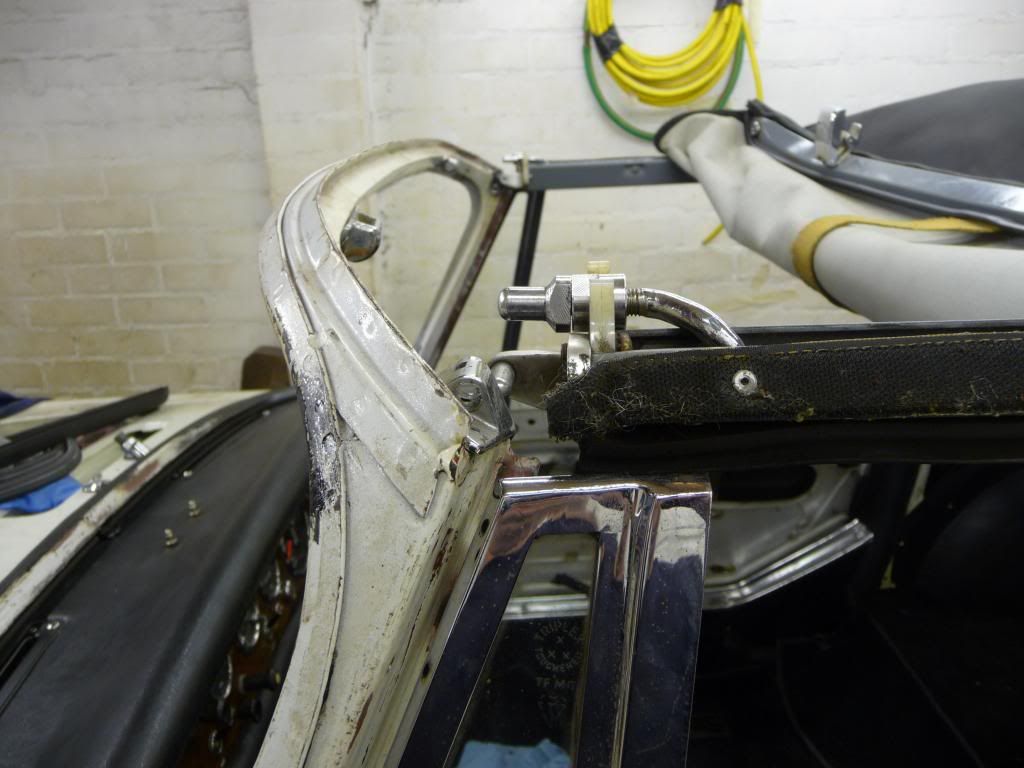
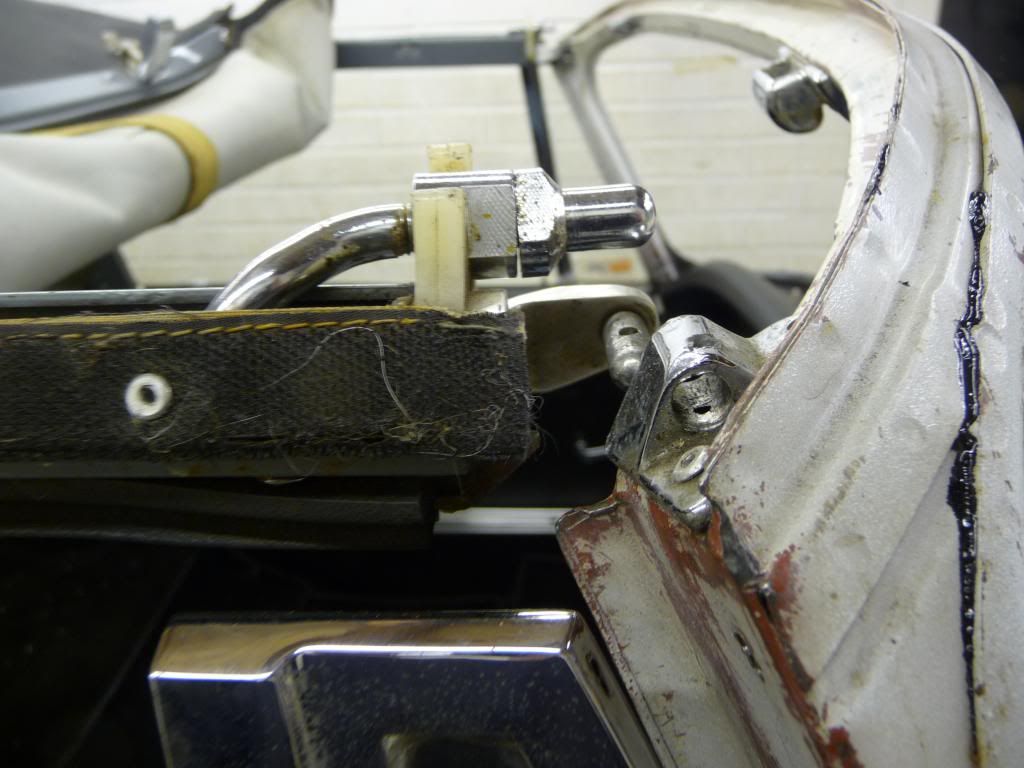
When I put the pins in the holes, the gaps between the frame and door get a little smaller at the top.
Is it normal for the soft top pins not to line up with their holes?
Is it normal for the gaps between the frame and doors to be a bit all over the place?
If I pack the frame out the make the gaps equal, it will make it more difficult to attach the soft top whichh will pull the frame back anyway.
Im scratching my head on this one.
Also, which way around does this seal go?
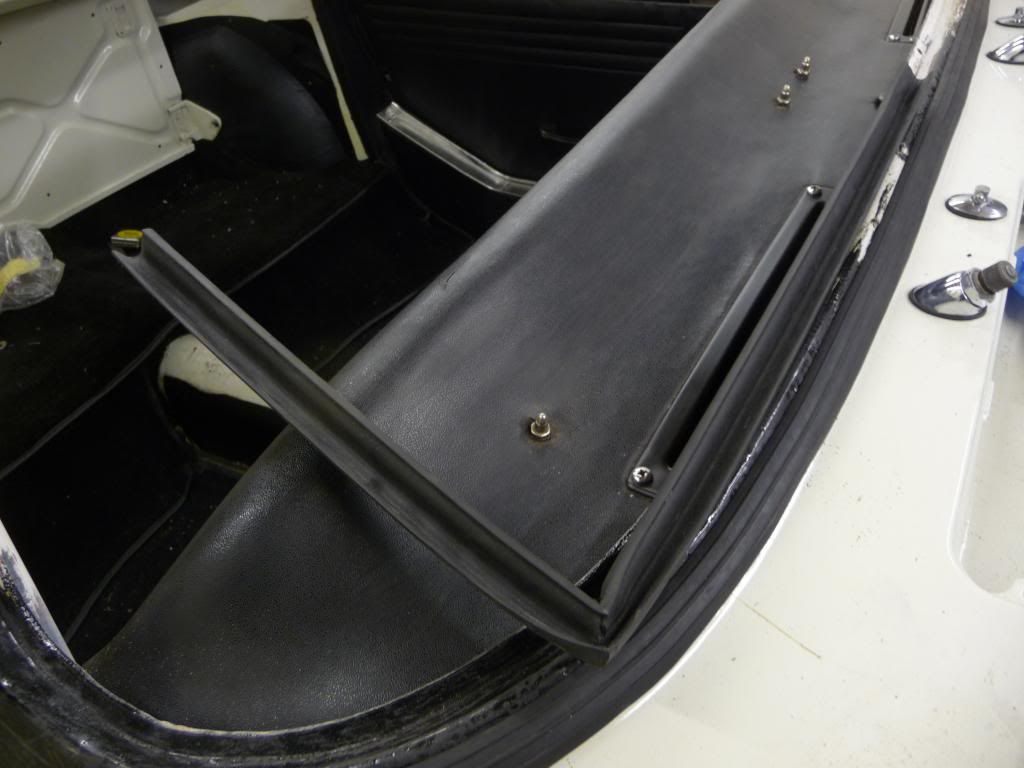
V pointing out or in?
The soft top is where it was when I got the car.
Unfortunately, I can't remember what the gaps etc were like before.
Hopefully this all makes sense.
Thanks for any help.
Posted: Tue Mar 11, 2014 10:55 pm
by JAYANDSHEL
The height of screen looks right but the soft pins must be located have you pulled the soft top all the way forward by pulling the hinges outwards. I would also fit the stainless trims and seal onto the screen as if this is to close the doors will not close. You made the right choice to try a mock fit before applying any sealer because by now you would be covered in it

Windscreen frame fitting
Posted: Tue Mar 11, 2014 11:43 pm
by redbaron
Martin,
the A post seal is fitted with the seal opening facing out to the door,so that the chrome fixed vent frame shuts into it.
There are locations for the screws throught the rubbber seal that runs up the screen frame and under the cowl.
Apply sealant to seal to frame etc,when you have made screw holes and are finally fitting.
Posted: Wed Mar 12, 2014 12:59 am
by martin172
Thanks for the replies guys.
I'll have a look at the soft top on Thurday to see if it will come forward any further but I doubt it will because the fabric is already taut.
David. So the way the seal is in the photo is the side that should be towards the outside of the car?
Is the seal held on with screws and metal plates because my car doesn't have any plates. The old seals were stuck on.
If so, any idea what size the plates are?
It does feel like there could be a metal plate inside the seal though.
Any opinons on the size of the gaps between the quarterlights and the windscreen frame?
Is it common for them to be different on each side and tapered.
What do everyone elses look like?
I've searched on the net for pics but can't find any.
Many Thanks guys. Greatly appreciate the help.
Windscreen frame fitting
Posted: Wed Mar 12, 2014 9:50 am
by redbaron
Martin,
the seal is fitted as shown,with the chrome vent able to fit into and against the flap,there should be a metal strip inside of the seal,both top and bottom,which has small slots through it.
You will be able to find the holes if you carefully feel for them with a blunted screwdriver,when found slit the rubber from the outside ,only a small incision , to enable you to put the screw through.
Check that the holes through the seal match the holes in the screen frame,and under the cowl.
Do a dry fit up first to make sure,before sealing,and final fit.
Posted: Thu Mar 13, 2014 12:40 am
by martin172
Ok, thanks Dave. I'll try fitting them tomorrow.
And thanks Brian too.
Posted: Thu Oct 02, 2014 4:24 pm
by martin172
Bit of a thread resurrection here.
For one reason or another, I never made any progress on this but have found the inclination to have another go.
Just to help me out, I wondered if anyone had access to a good frame to measure something for me.
I wondered what the measurement is from the top of the frame to the bottom of the frame in the centre of the frame.
I had to do a few weld repairs on the corners and I have a feeling that it has pulled the frame about a bit and made the measurement too big at the centre.
I tried the windscreen in the frame (without the seal) and it looked baggy.
Thanks.
Posted: Thu Oct 02, 2014 9:05 pm
by garyv8tiger
if you have a hard top use that to set it up as its more accurate .i had trouble with my mark 2 when it came back from restoration .had to refit the screen and quarterlights as the hardtop didnt fit took me about 2 days .
Posted: Fri Oct 03, 2014 12:15 am
by martin172
No hardtop, just a tape measure.

Posted: Fri Oct 03, 2014 4:18 pm
by 1966TigerMk1a
martin172 wrote:
Could you do me a big favor and get measuments of where the studs are located in the dash. I have a tonneau cover I cannot use becase I do not have the studs installed. You can not locate the holes from the bottom.
Thanks!
Duke
B382002037LRXFE, TAC #739
454 HP, 445 lbs/torque
Gentle as a kitten that will rip your face off when the right pedal is put to the floor.
Posted: Sat Oct 04, 2014 2:38 pm
by martin172
Ok.
These are the positions on my car.
The 2 holes near the centre of the dash are 1 1/8" from the centre of the dash.
They are 3 7/8" forward of the rear face of the dashboard pad.
The 2 outer holes are 15 1/2" from the centre of the dash and they are 2 1/16" back from the centre of the large screw holding the heater vent in place.
Please bear in mind that there may be slight variations on each car.
It seems that the procedure is to plot the positions and then get a needle, push it through the pad and have a poke around until you find the holes.
Posted: Sat Oct 04, 2014 2:44 pm
by martin172
Does anyone have a Sunbeam Tiger for sale.
Perhaps I could buy it, remove the windscreen frame and measure it?


