Veneering a Dashboard
Posted: Sun Jan 12, 2014 11:44 pm
My dash had unwante holes cut in it and the varnish was cracked. I was going attempt repairing it but when I got out the Nitromors it didnt touch it. Left it for hours, wiped it off but the varnish was still shiney. I decided to strip the veneer and start again. The decision to do this was only made after I found a gap filling glue.
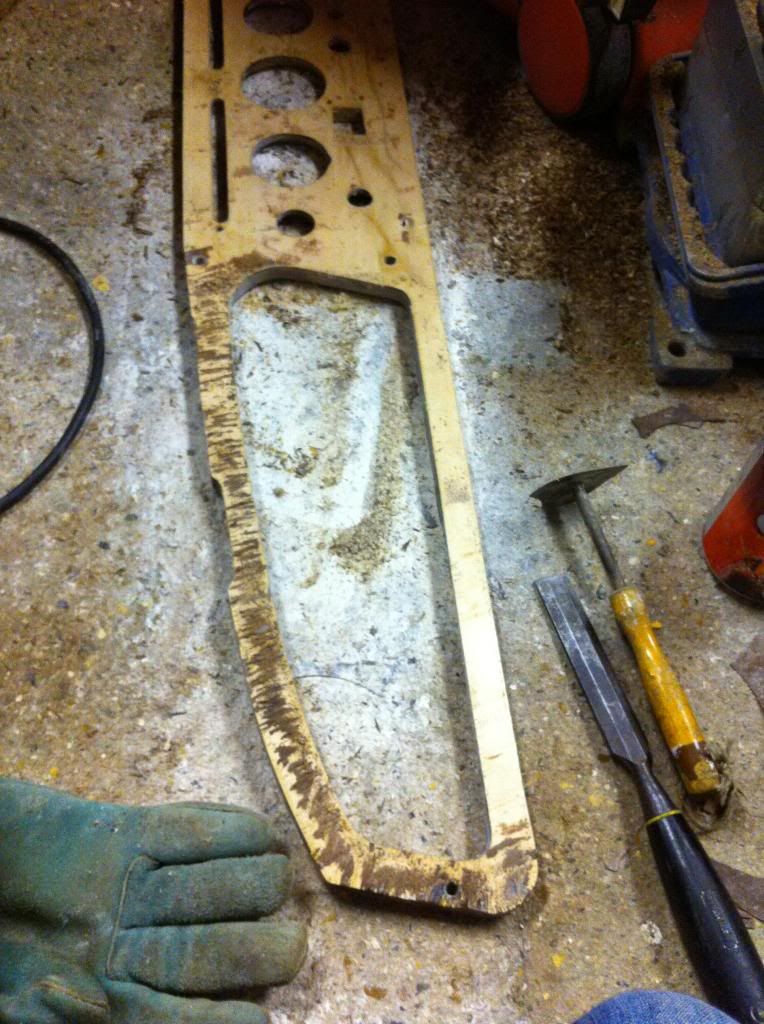
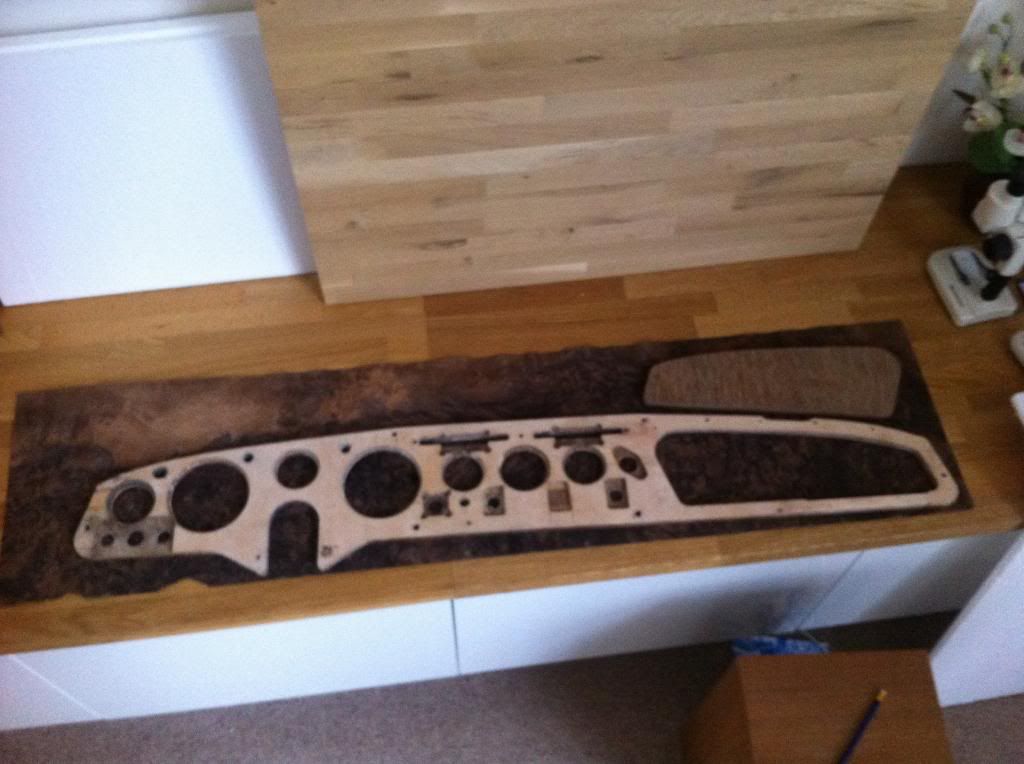
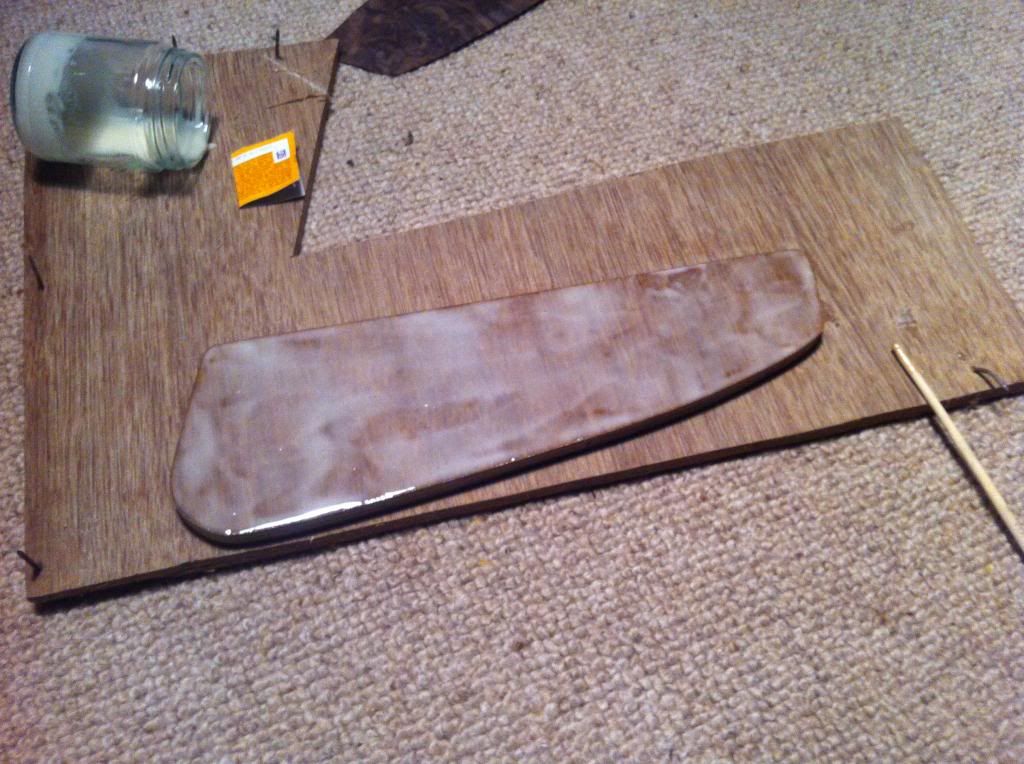
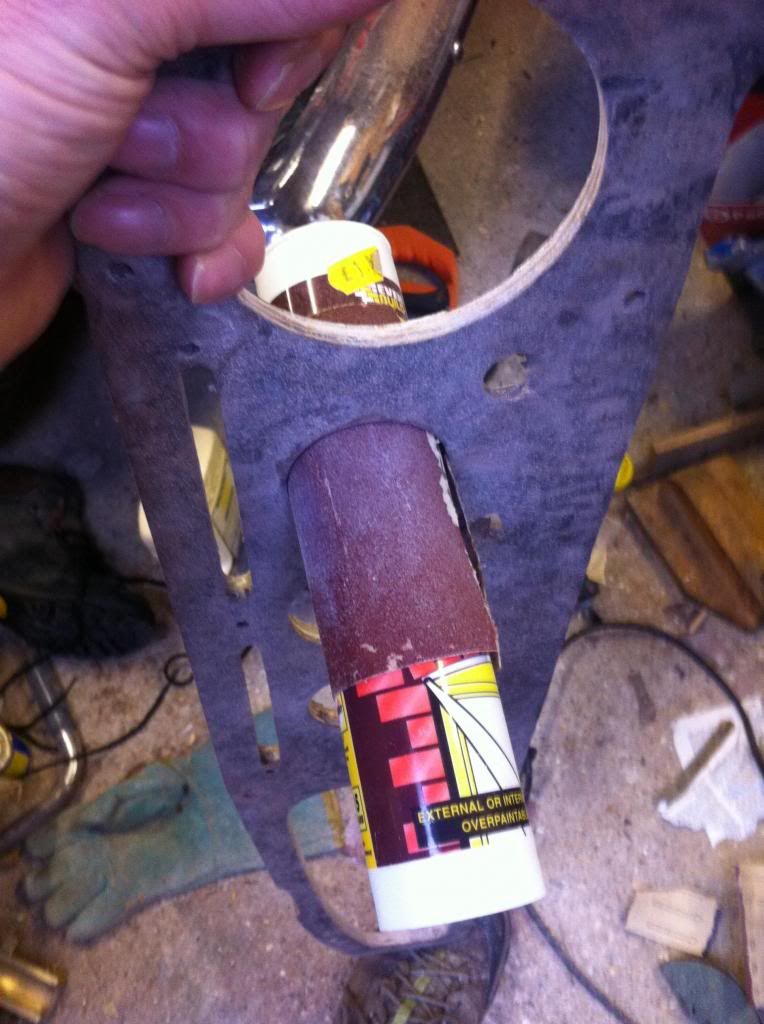
This is after I have chipped off the veneer with as chisel and used the scraper in the picture. I found chipping off 2-3mm at a time was the most effective. I was then left with what you see around the glove box. I then gave it a rub down with some 60 grit. Now the repair.
Small bits glued in.
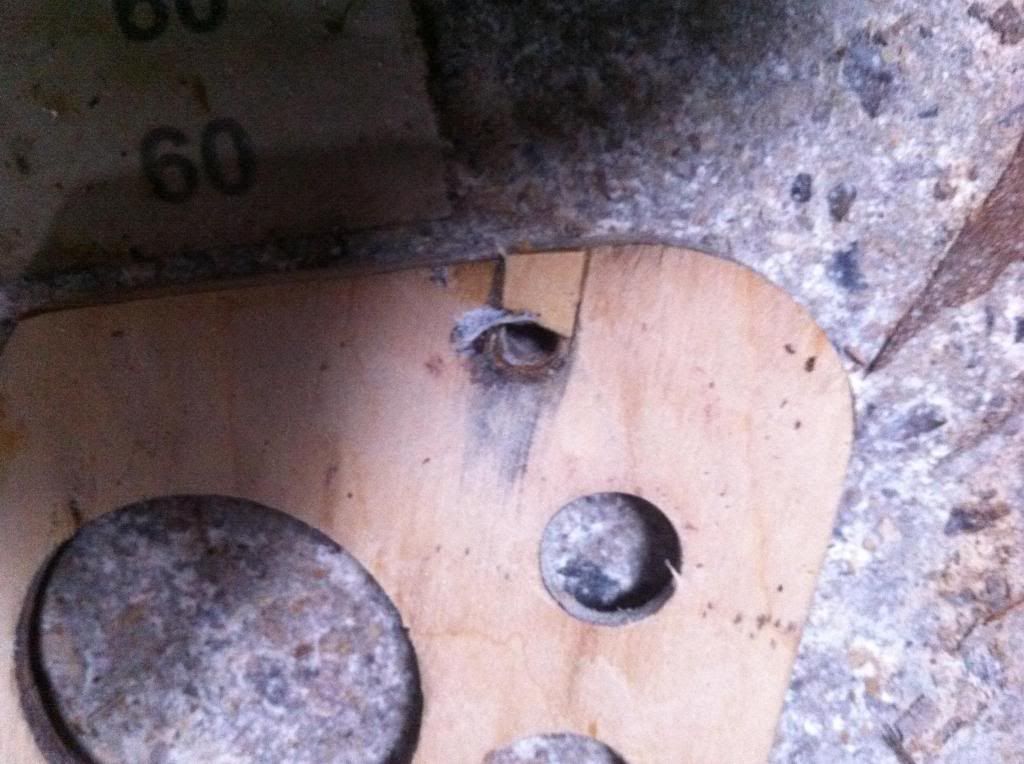
Round hole plugged. Glued and knocked in. I made the dowl a nice tight fit.
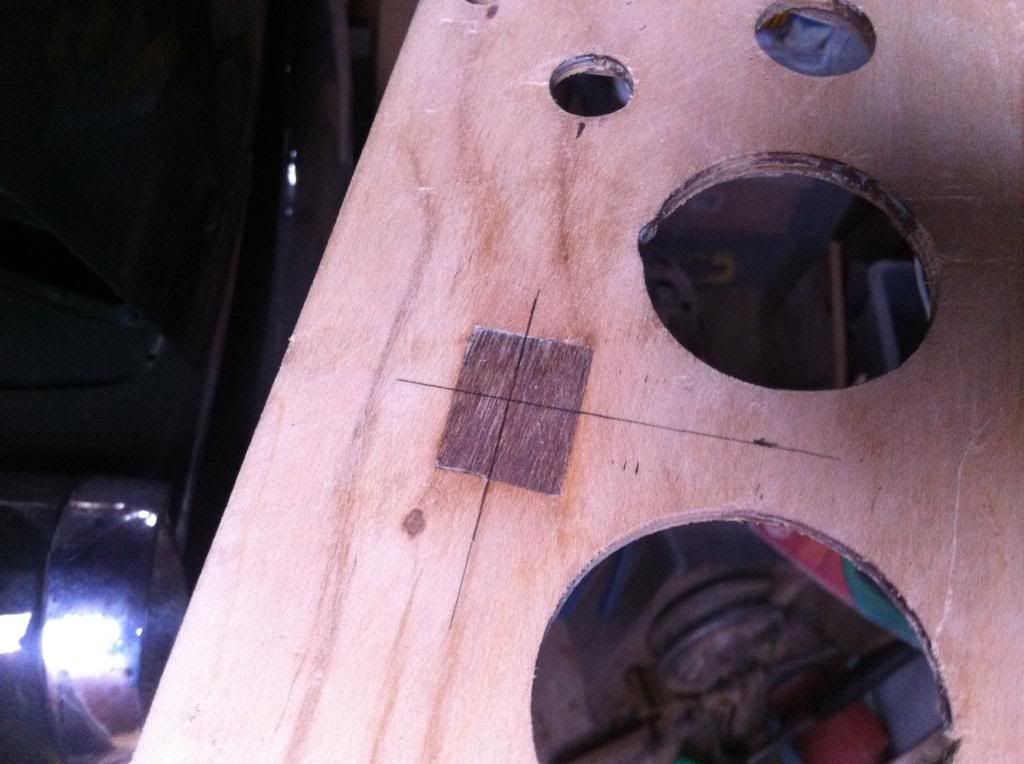
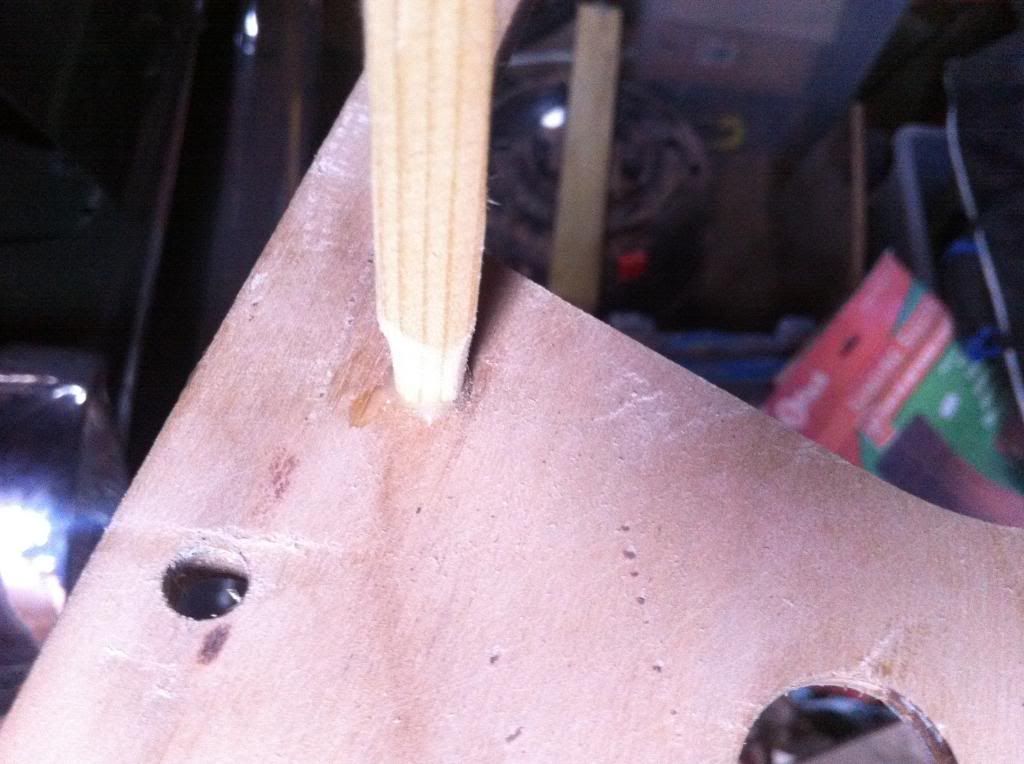
Made a patch and tapped in so it was pretty flush with the front. I took my time to ensure a tight fit.
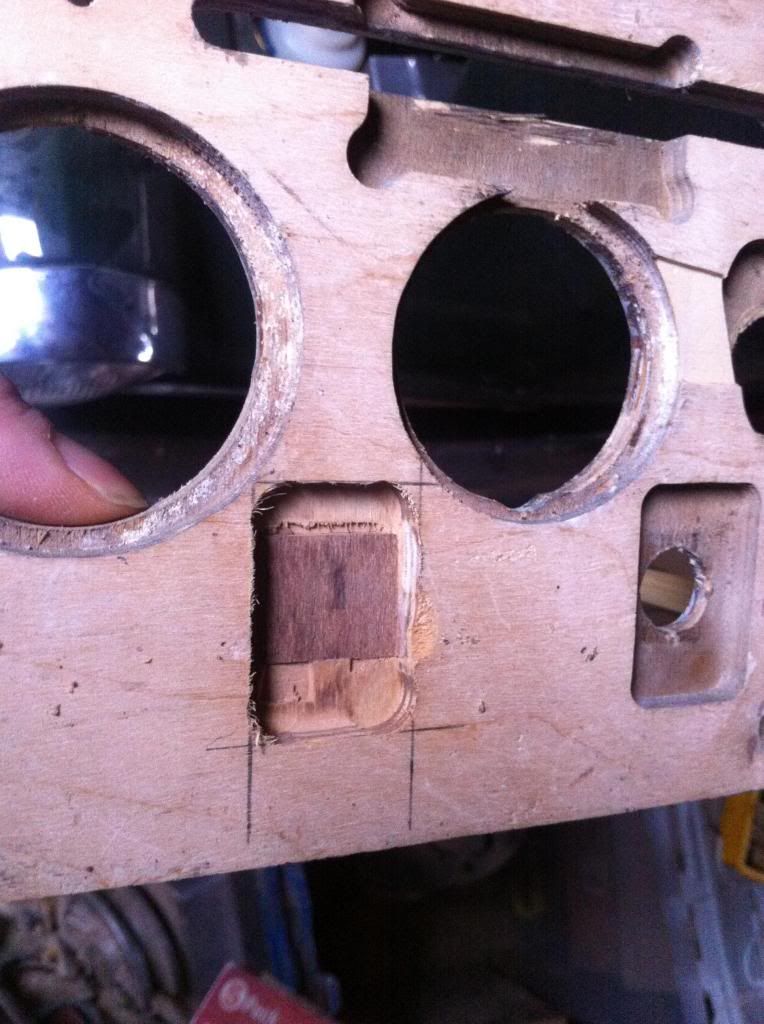
Then the router came out to cut down the back of the plug and open up the rear recess to accept a switch for the fan.
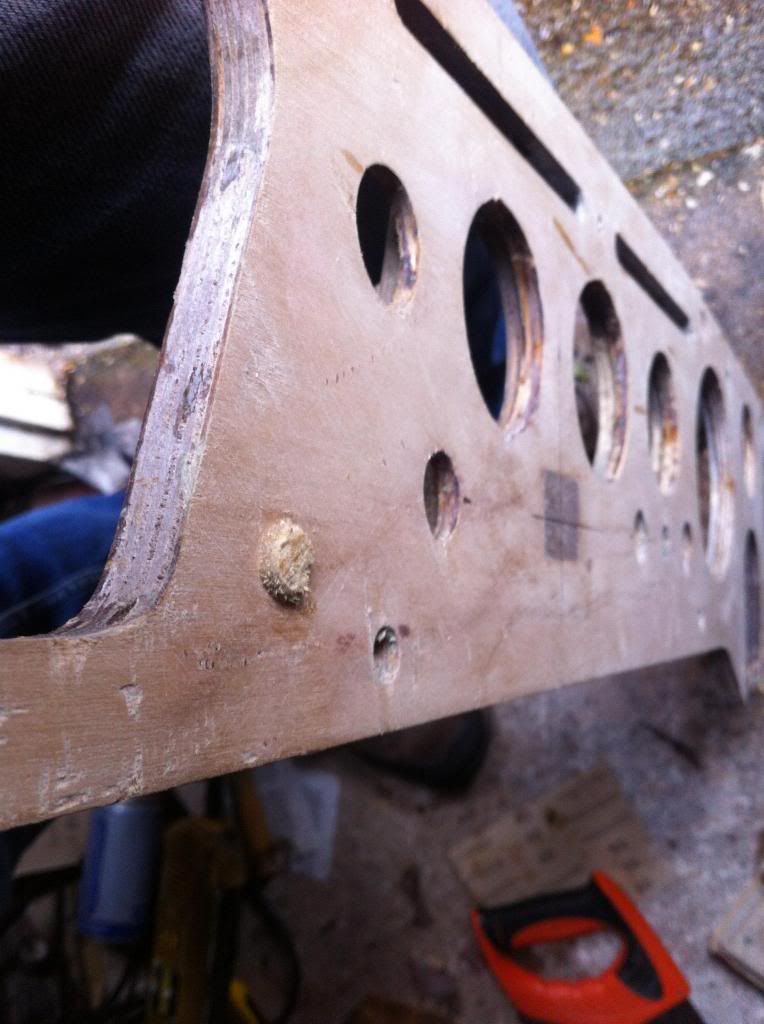
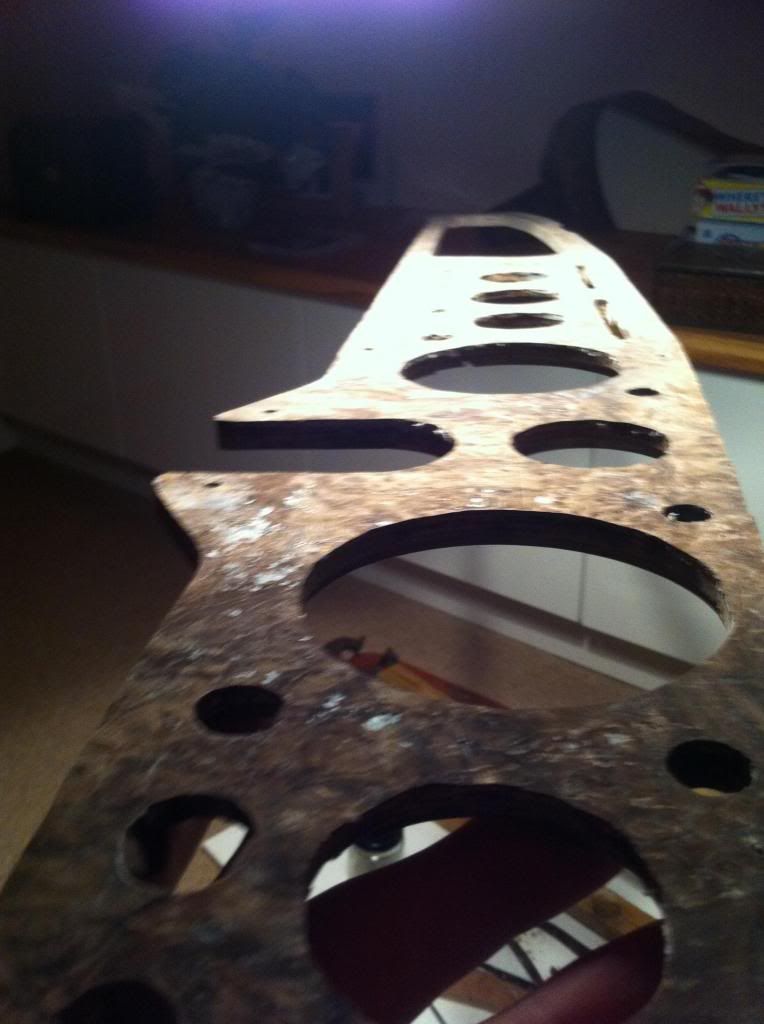
Cut off the round peg and rubbed down. You can get an idea of how unperfect the backing board is.
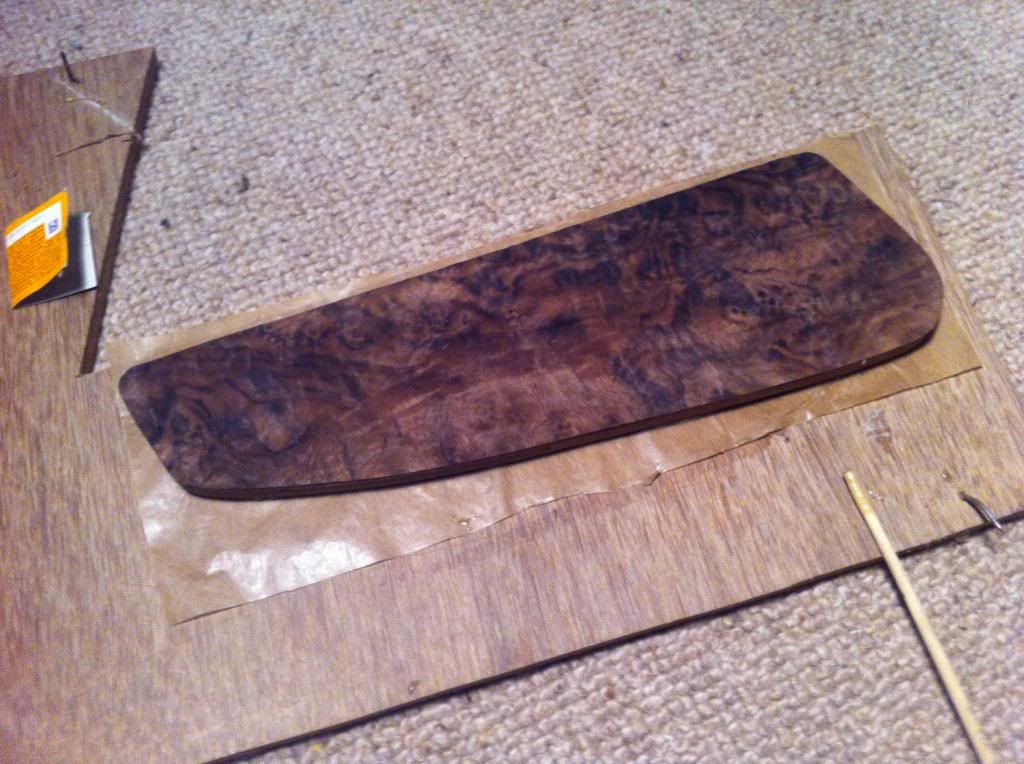
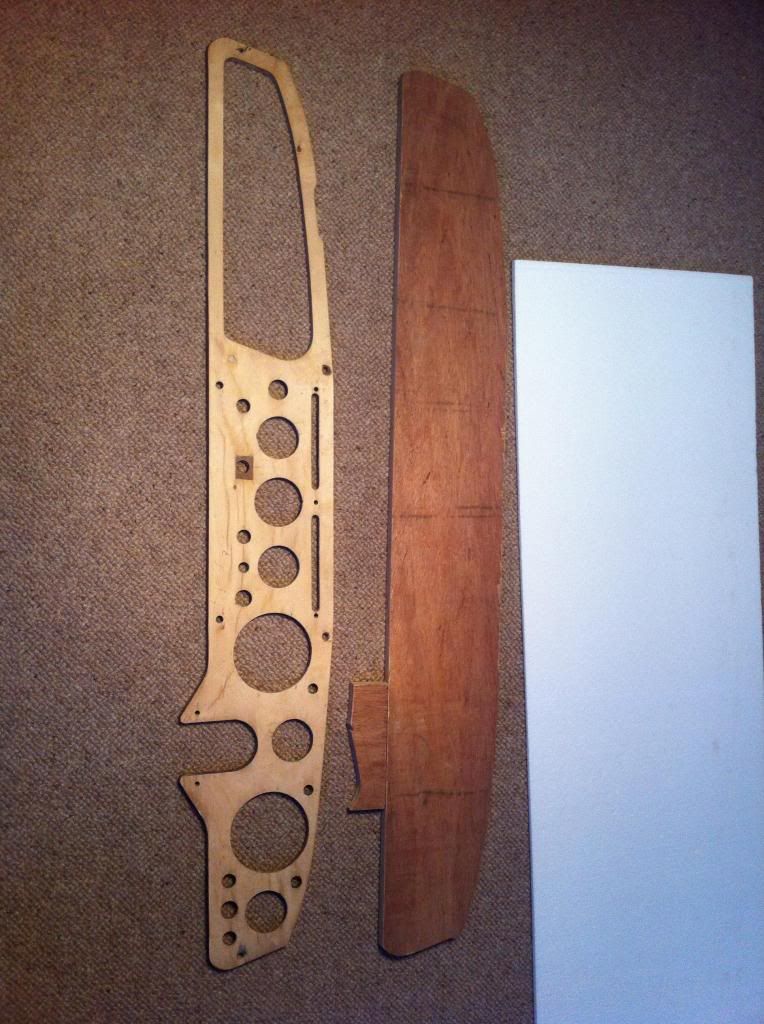
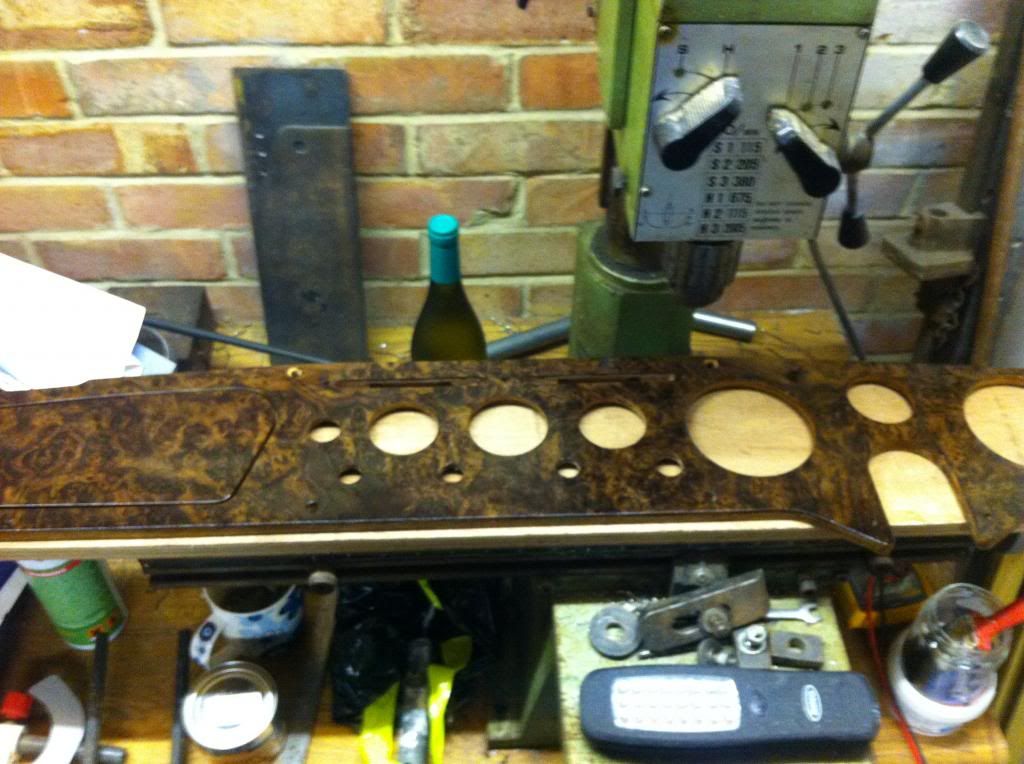
Now for the veneer. Burl walnut from ebay £30. You can see the glove box door I made from marine ply. Spent the time to get about a 2mm gap all round. Theres just enough veneer to do the back of the door too. I worried about the warp in the veneer but my research told me if you have less than 3mm gap under a 35mm distance it should be OK. Regardless I put the backing board ontop of the veneer and gave it a bit of gentle persuasion with some oak work top on top. Left it for a couple of days.
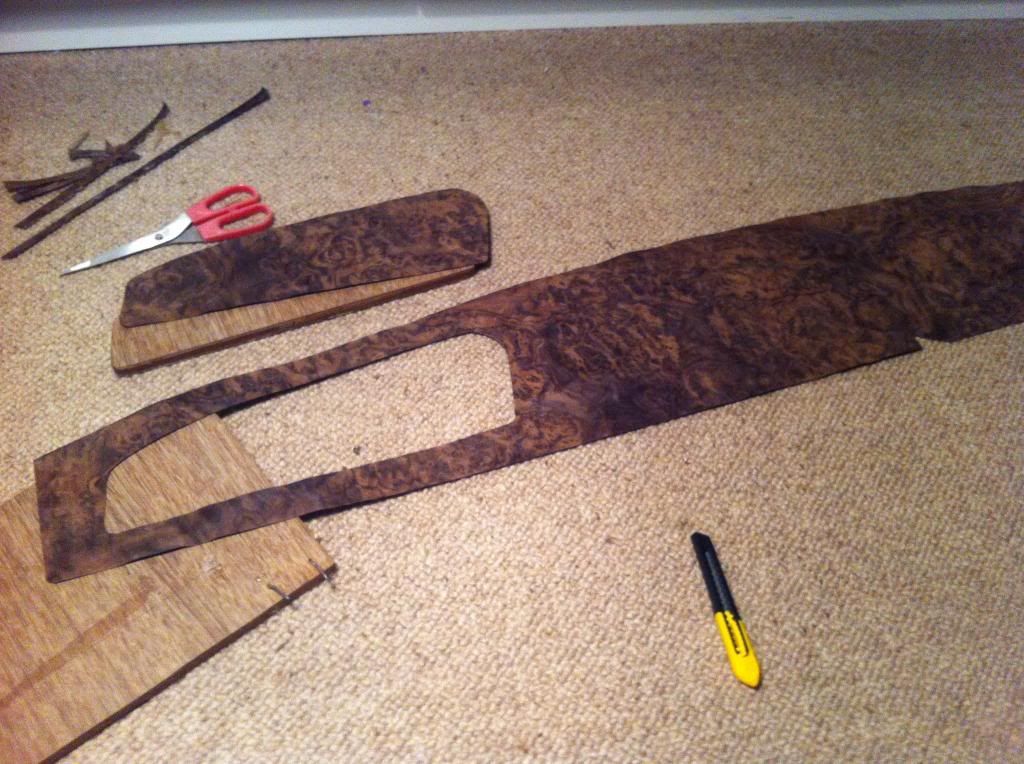
Then drew around the dash and door with a pencil. Cut out the shapes with some scissors but used a craft knife for cutting the door front. Did this slowly, only once chance on this.
Now for some glue. Tried the door first just to get a feel for it. Made sure the door was well rubbed down. I used Cascamite which is a urea-formaldehyde glue, sometimes called extramite or something mite. It has gap filling properties, is usable for upto an hour and doesn't stain the veneer. It is also water proof when set and once cured does not give or let the veneer peel away. I did think about the iron on sheets but the ufg glue was far better in all respects for this outdoor application, besides it was only £4. I mixed it up until it the consistancy of PVA.
Stole some grease proof paper to put between the veneer and the ply I used for clamping.
Now for the dash. Cut out a clamping board just over size so you can get clamps to where you need them.

Another picture of how bad the front of the backboard is. I always worried about how good it had to be so I thought you may want to see this.

Glued and clamped. I had to borrow some clamps. One thing I may have done differently is put some nice flat hardboard against the veneer to ensure a super flat surface for the veneer. Dont forget the grease proof paper.

Removed the clamps after 5 hours. I would have left it for 6 but wanted to go to bed. I wanted to unclamp now rather than leave it over night because the excess glue that was squeezed out into the gauge holes made the veneer nice and soft to cut through with a knife. When this glue went hard it was very difficult to cut through.

Holes now cut out.
There were some small holes in the veneer which I think is quite common on Burl. I was hoping the glue would fill them. You can see some bleeding though of glue where there is a shine on the surface. Sorry, only used my phone for pictures so quality not as good as could have been.
Lots of rubbing down now. 60 grit for the holes using something round to wrap the paper. Files and drills for the rest. The surface I used 120 to get it flat and finished off with 180, all by hand as vibros and orbitals I thought were to aggressive. Theres only one chance with it. Where the screws go I used a counter sink. Once happy, a quick wipe over with white spirit to get rid of any dust.
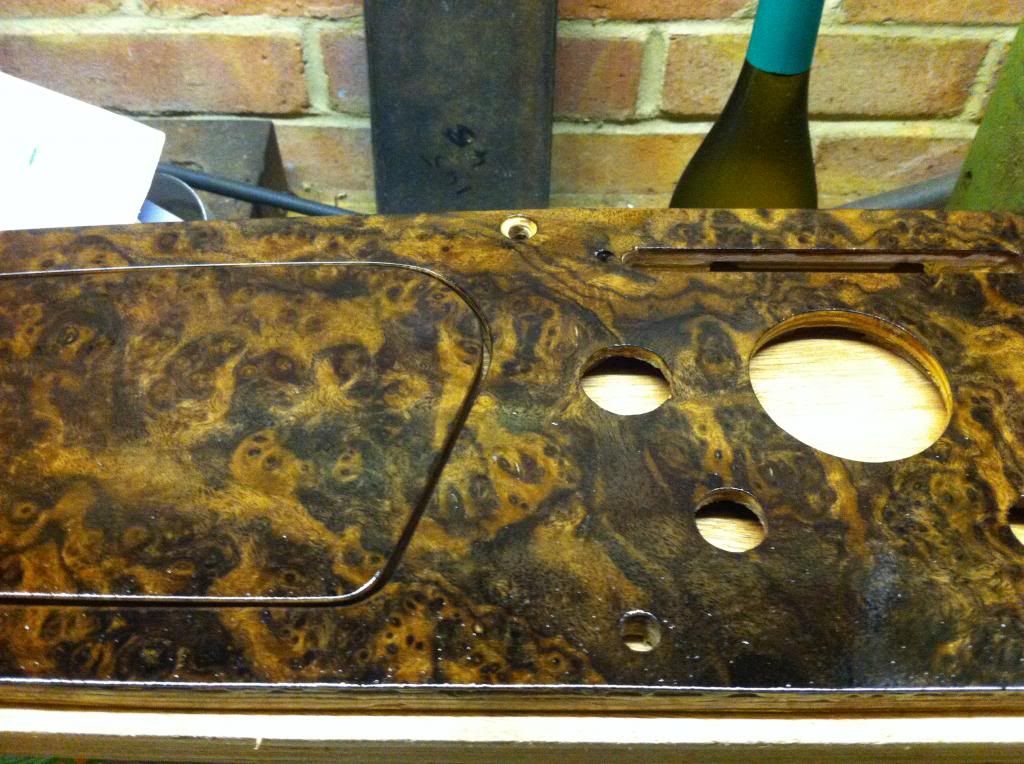
Before the white spirit had completely dried I applied the first coat of varnish. I used Yacht Varnish which worked really well on another dash I'd done. I used a small foam roller. I did find some bubbles came up but managed to get rid of them by moving the roller quickly. This picture is with the second coat.
I'll update when I have more. More coates, polishing and hinges to fit.

This is after I have chipped off the veneer with as chisel and used the scraper in the picture. I found chipping off 2-3mm at a time was the most effective. I was then left with what you see around the glove box. I then gave it a rub down with some 60 grit. Now the repair.

Small bits glued in.

Round hole plugged. Glued and knocked in. I made the dowl a nice tight fit.

Made a patch and tapped in so it was pretty flush with the front. I took my time to ensure a tight fit.

Then the router came out to cut down the back of the plug and open up the rear recess to accept a switch for the fan.

Cut off the round peg and rubbed down. You can get an idea of how unperfect the backing board is.

Now for the veneer. Burl walnut from ebay £30. You can see the glove box door I made from marine ply. Spent the time to get about a 2mm gap all round. Theres just enough veneer to do the back of the door too. I worried about the warp in the veneer but my research told me if you have less than 3mm gap under a 35mm distance it should be OK. Regardless I put the backing board ontop of the veneer and gave it a bit of gentle persuasion with some oak work top on top. Left it for a couple of days.

Then drew around the dash and door with a pencil. Cut out the shapes with some scissors but used a craft knife for cutting the door front. Did this slowly, only once chance on this.

Now for some glue. Tried the door first just to get a feel for it. Made sure the door was well rubbed down. I used Cascamite which is a urea-formaldehyde glue, sometimes called extramite or something mite. It has gap filling properties, is usable for upto an hour and doesn't stain the veneer. It is also water proof when set and once cured does not give or let the veneer peel away. I did think about the iron on sheets but the ufg glue was far better in all respects for this outdoor application, besides it was only £4. I mixed it up until it the consistancy of PVA.

Stole some grease proof paper to put between the veneer and the ply I used for clamping.

Now for the dash. Cut out a clamping board just over size so you can get clamps to where you need them.

Another picture of how bad the front of the backboard is. I always worried about how good it had to be so I thought you may want to see this.

Glued and clamped. I had to borrow some clamps. One thing I may have done differently is put some nice flat hardboard against the veneer to ensure a super flat surface for the veneer. Dont forget the grease proof paper.

Removed the clamps after 5 hours. I would have left it for 6 but wanted to go to bed. I wanted to unclamp now rather than leave it over night because the excess glue that was squeezed out into the gauge holes made the veneer nice and soft to cut through with a knife. When this glue went hard it was very difficult to cut through.

Holes now cut out.

There were some small holes in the veneer which I think is quite common on Burl. I was hoping the glue would fill them. You can see some bleeding though of glue where there is a shine on the surface. Sorry, only used my phone for pictures so quality not as good as could have been.

Lots of rubbing down now. 60 grit for the holes using something round to wrap the paper. Files and drills for the rest. The surface I used 120 to get it flat and finished off with 180, all by hand as vibros and orbitals I thought were to aggressive. Theres only one chance with it. Where the screws go I used a counter sink. Once happy, a quick wipe over with white spirit to get rid of any dust.


Before the white spirit had completely dried I applied the first coat of varnish. I used Yacht Varnish which worked really well on another dash I'd done. I used a small foam roller. I did find some bubbles came up but managed to get rid of them by moving the roller quickly. This picture is with the second coat.
I'll update when I have more. More coates, polishing and hinges to fit.