Page 1 of 3
Another Tiger down below
Posted: Sun Apr 28, 2013 7:11 am
by Tom_HRO260
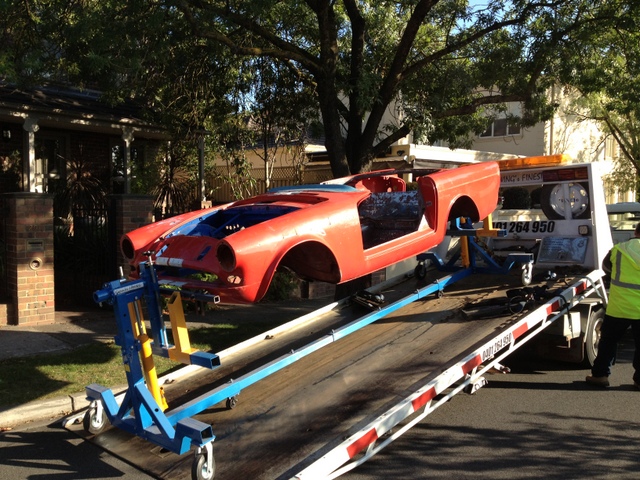
Restoration of my Tiger is now well underway so thought it about time to start a few threads and post a few images. Car is now stripped, blasted and undergoing panel "recovery" though I am pleased to say that rust has pretty much passed the car by - a blessing.
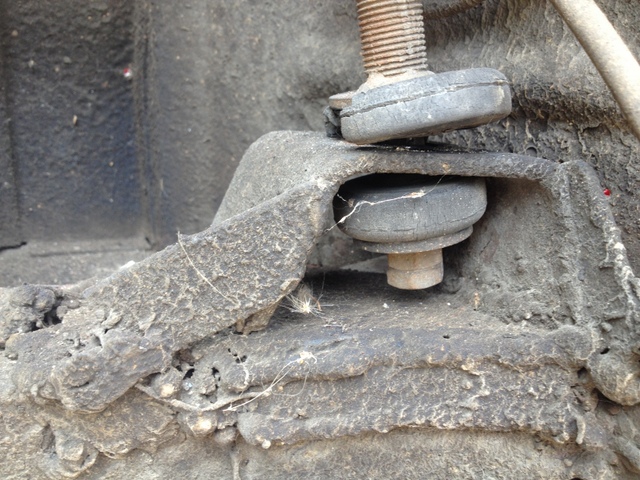
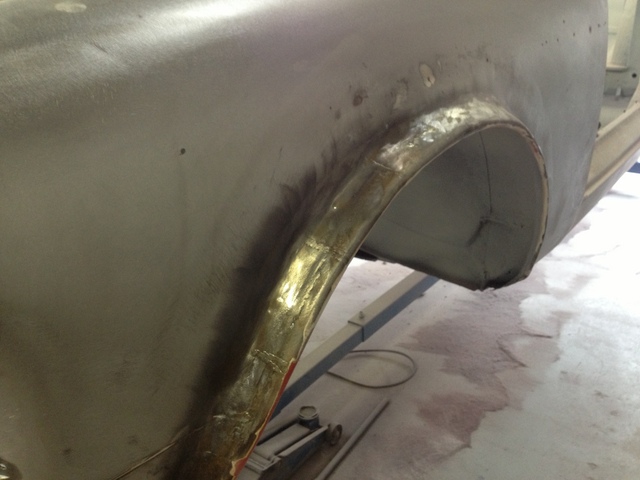
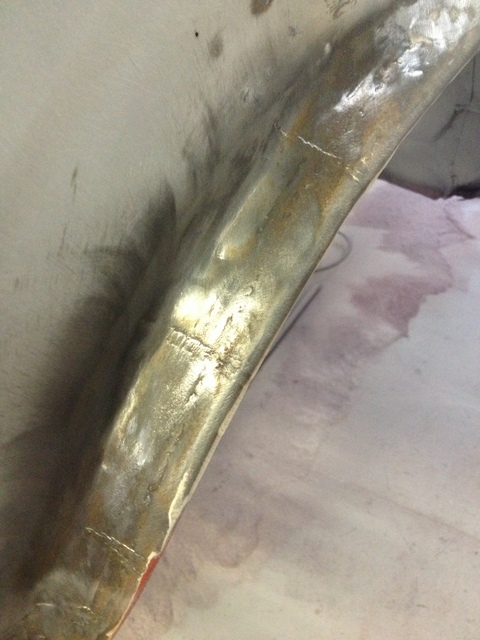
The panhard mount was an exercise in some agricultural engineering at some stage in the past - images show "as acquired"...
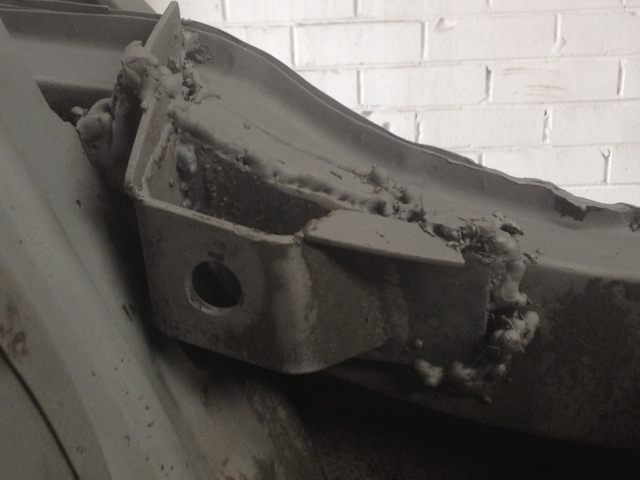
Once I had rubbed the undertray back and removed all deadener...
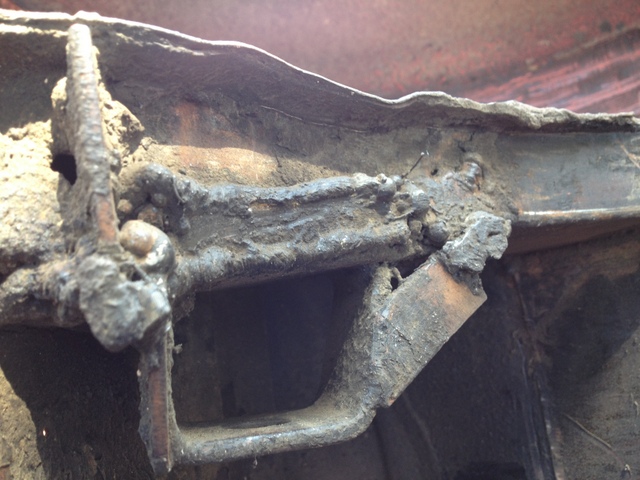
Post sand blasting (just to highlight the quality of welding!)
And finally "re-engineered"...
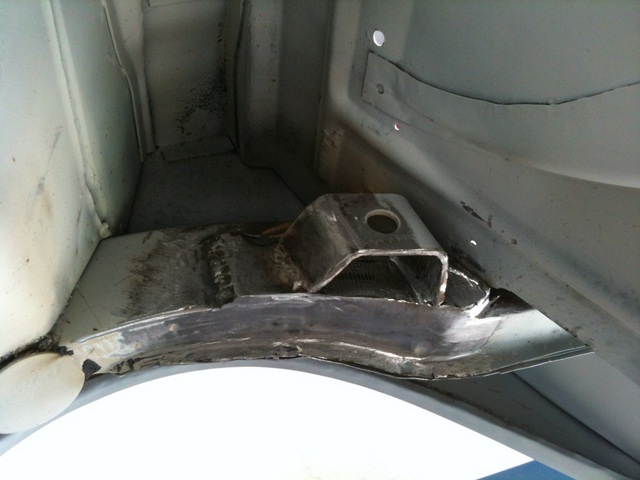
Fortunately with a fairly rust free body, metal has been good to weld to. And although cleaning up, I am unlikely to be using the panhard rod anyway.
Cheers
Tom
In Transit
Posted: Sun Apr 28, 2013 7:19 am
by Tom_HRO260
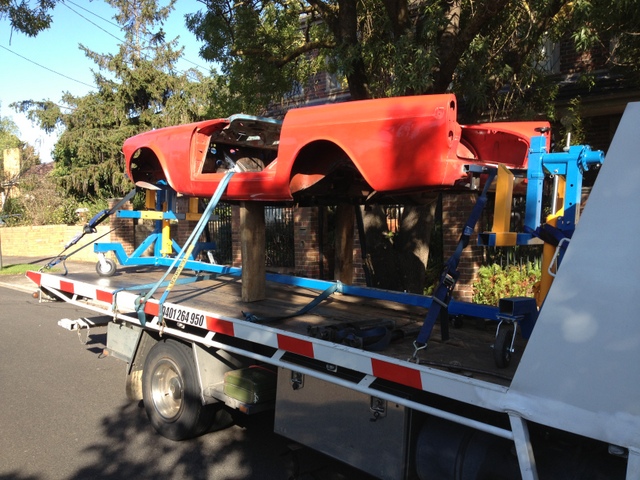
The old girl hasn't seen much road time over the past few years, so it's a little sad when the fastest she's been recently is about 50mph backwards...

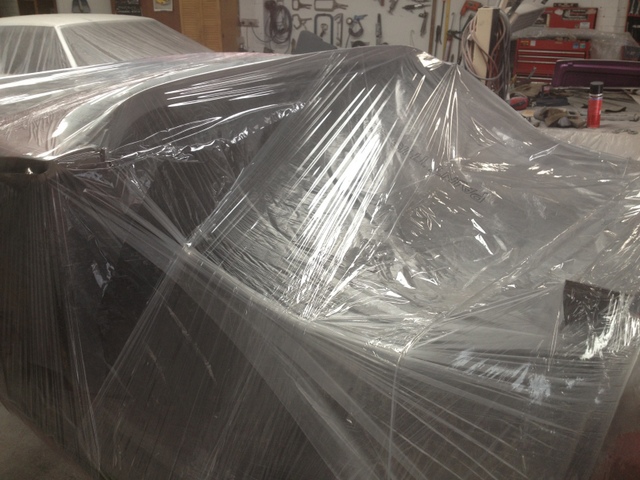
Shrink wrapped ready after sandblasting undertray...
I have loads of detail photos of the car so if anyone needs any reference shots whilst in said state of undress, let me know and I will try to oblige.
Cheers
Tom
Posted: Tue Apr 30, 2013 7:47 pm
by meadowhog
Hi Tom, daunting but exciting project, good luck.
I do have one shot I'd like, Ive got flares on the front like yours and I'm thinking of putting her back to original. If anything the back could do with a small flare, what are your plans? Could you post up what I might expect to see in a shot blast state. It will give me an understanding of whats involved.
Cheers
Simon
Posted: Wed May 01, 2013 9:42 pm
by Tomaselli
Ah, brings back fond memories - shell on flatbed

I had mine dumped on tyres, having a purpose built rotisserie holding the shell in place on truck is very cool

Posted: Thu May 02, 2013 7:12 am
by Tom_HRO260
meadowhog wrote:Hi Tom, daunting but exciting project, good luck.
I do have one shot I'd like, Ive got flares on the front like yours and I'm thinking of putting her back to original. If anything the back could do with a small flare, what are your plans? Could you post up what I might expect to see in a shot blast state. It will give me an understanding of whats involved.
Hi Simon,
I think the most daunting aspect will be remembering where everything goes when I finally get to screw it all back together! I'm already looking at bags and boxes of stuff and scratching my head - I thought I was diligent in labelling but it will still be a challenge.
Fortunately the shell is very sound so, apart from getting those flares back to normal, it shouldn't be too bad. We've only rolled the inside of the rear guard lip very slightly but still should be able to get some reasonable rims and rubber in.
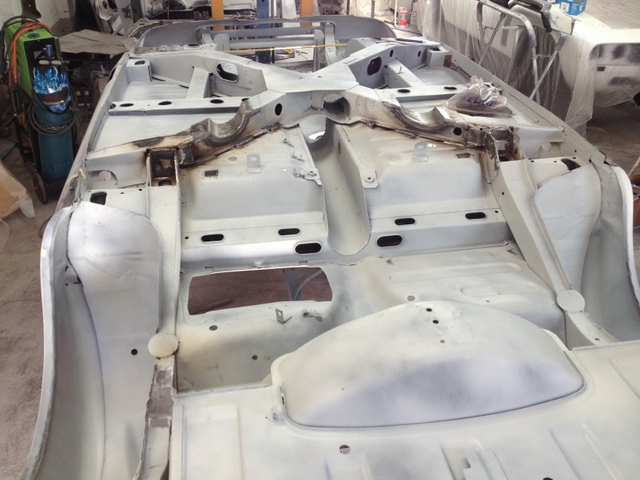
I was really particular with the sandblasting - no exterior panels; those I did by hand (much to my panel guys delight!). I just had undertray, engine bay, cockpit and boot done (doesn't leave much really...) and used a very fine grade media at about 200psi. The guy who blasted did a fantastic job - being on the turkey roller helped.
Here's a couple of shots of the guards stripped back and sandblast area:
Cheers, Tom

Baste that Turkey
Posted: Thu May 02, 2013 7:20 am
by Tom_HRO260
Tomaselli wrote:Ah, brings back fond memories - shell on flatbed :mrgreen:
I had mine dumped on tyres, having a purpose built rotisserie holding the shell in place on truck is very cool :D
Hiya Tomaselli,
The rotisserie is about the best investment I've made thus far - the rig works a treat and all I had to do was fabricate a couple of adaptors to pick up off the bumper irons and jack points.
Cheers, Tom
Posted: Thu May 02, 2013 7:28 am
by martin172
Those flares are enormous. Your garage will feel a lot more roomy when they have gone.
It looks like someone went to a lot of trouble creating them.
Is that an Interceptor/FF in the background?
What colour is it going to be? Red again?
Posted: Thu May 02, 2013 7:37 am
by Tom_HRO260
martin172 wrote:Those flares are enormous. Your garage will feel a lot more roomy when they have gone.
It looks like someone went to a lot of trouble creating them.
Is that an Interceptor/FF in the background?
What colour is it going to be? Red again?
That's a helluva pick up Martin - it is an Interceptor but not FF, although the owner does have one (FF) currently on the road. It's a fantastic piece of kit. I love the way the chassis rails form the brake vacuum! The owner told me that you knew when you had a rust problem when the brakes started to fade!
Workshop looks like a little piece of West Brom I guess! All I need is to wield a mighty hammer...
And for colour - back to Med Blue. There's enough left around the car to get a swatch and match.
Cheers, Tom
Posted: Fri May 03, 2013 5:40 am
by Mal
Car is now stripped, blasted and undergoing panel "recovery" though I am pleased to say that rust has pretty much passed the car by - a blessing.
Well, you're missing out on a lot of fun then, aren't you

Posted: Sat May 04, 2013 5:31 am
by Tom_HRO260
Well, you're missing out on a lot of fun then, aren't you :wink:
Isn't a Kiwi's idea of fun standing on a bloody great bridge, looping a bit of rubber around your ankles and jumping?
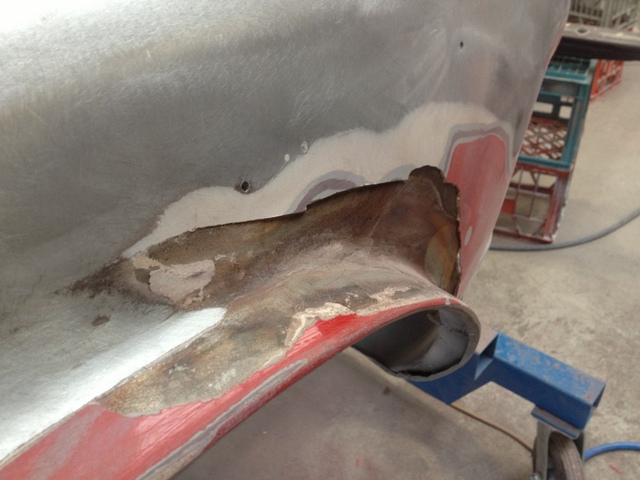
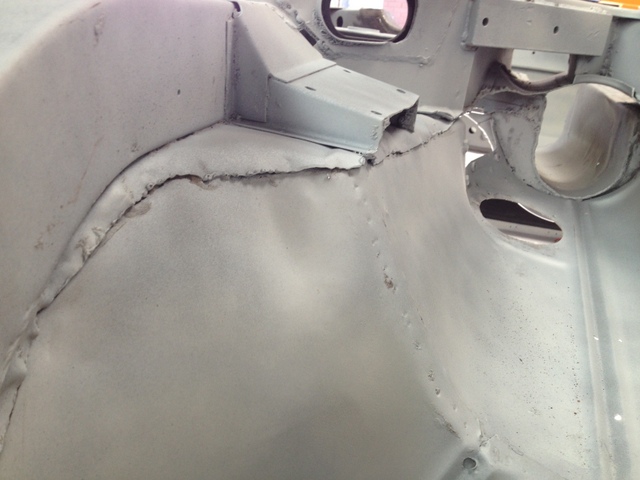
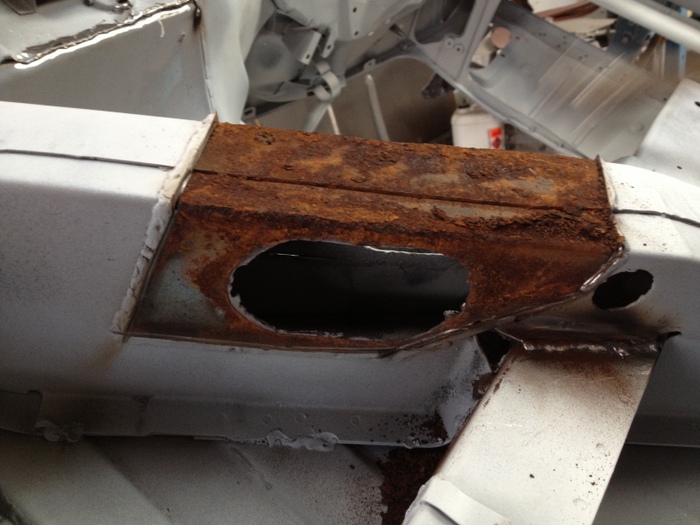
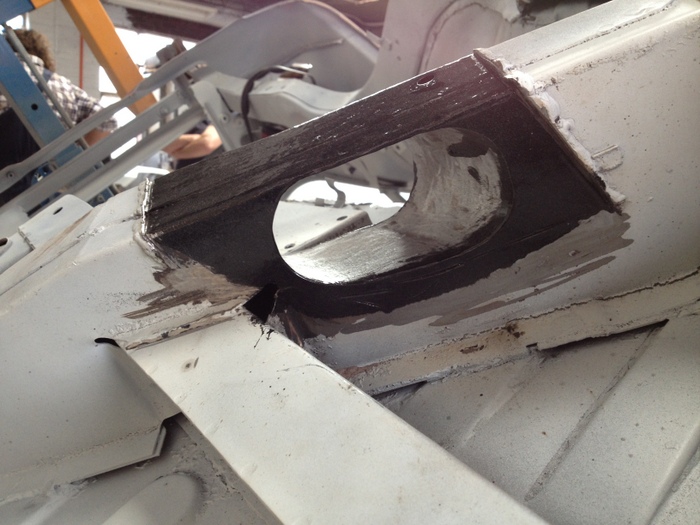
Anyway - here's a bit of rust! Took the front exhaust pass through covers off for enlarging and it's a nice little spot for moisture to gather. Plates welded in strengthen area and should stop any nasties getting into X frame.
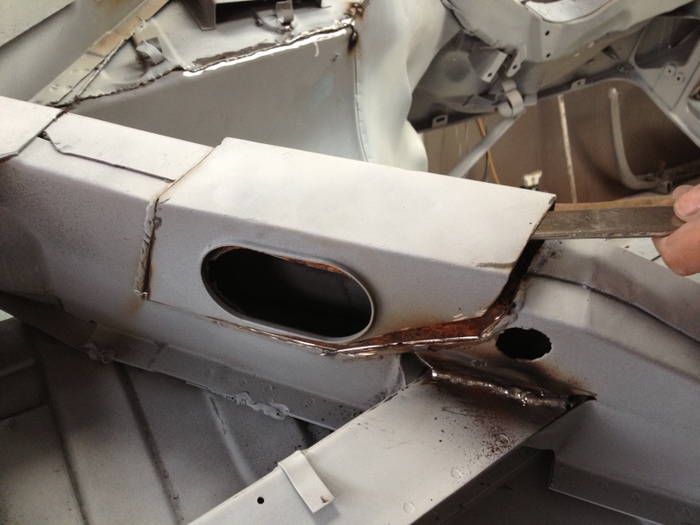
These give you an idea of the resize...
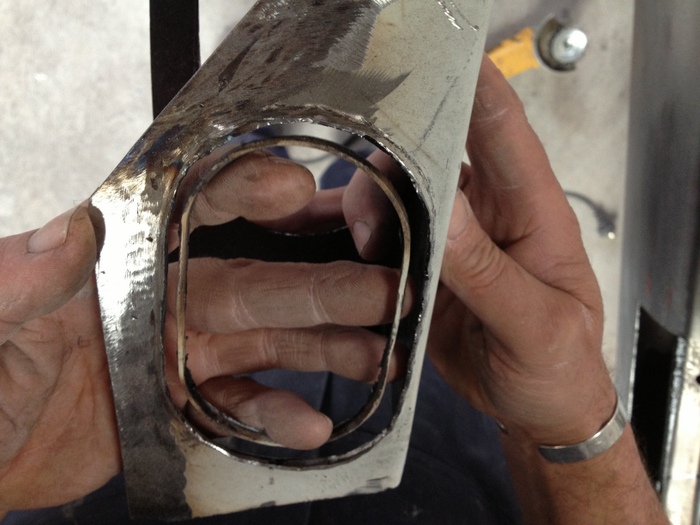
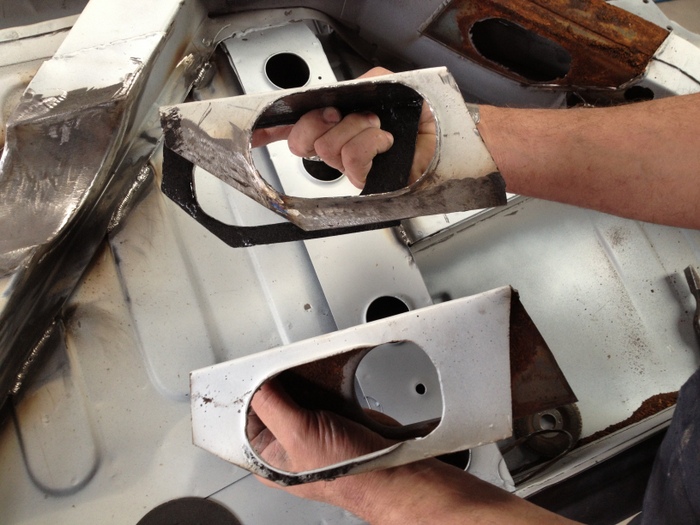
...and with modded cover next to yet to be done cover. Added small section to base to allow retention of lip
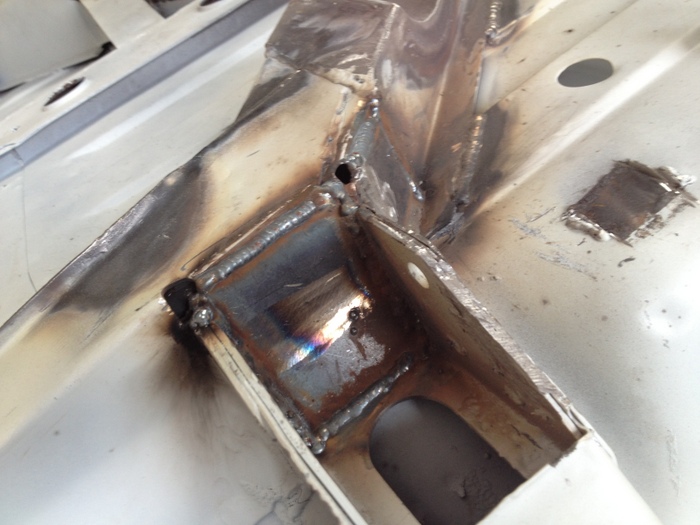
With section welded in
Rough idea of sizing
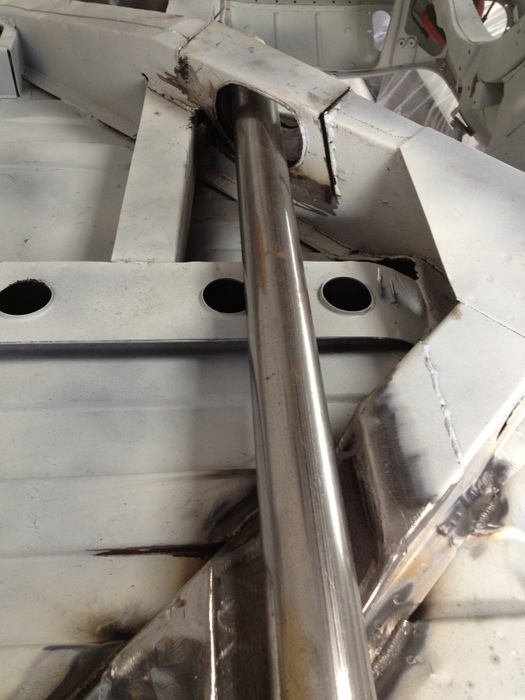
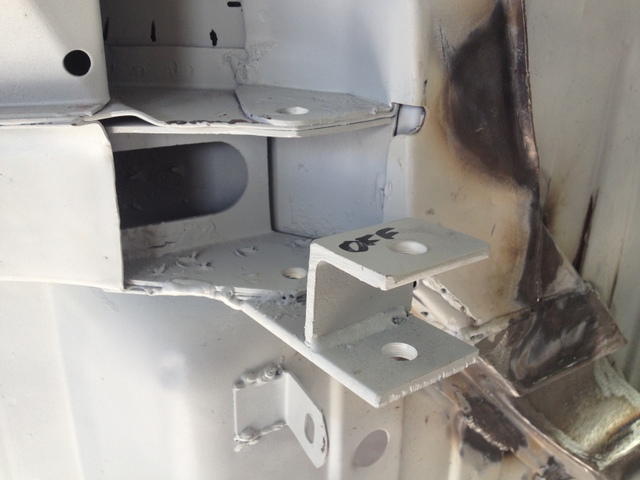
Have also been adding a few strengthening plates around the rear spring front mounts, and removed the weld on traction master brackets (not going to use them)
Cheers
Tom
Posted: Mon May 06, 2013 9:41 am
by alpine5gt
Wondering about shipping the body on the Rotisserie did you have any problems with it shifting ? I am about to send my body to the shop and its on a Rotisserie.
Posted: Tue May 07, 2013 2:55 am
by Tom_HRO260
alpine5gt wrote:Wondering about shipping the body on the Rotisserie did you have any problems with it shifting?
Hi,
We travelled about 60 miles with no problems with it shifting but I would pay attention to a couple of things.
Measure your rotisserie end to end and add a metre as some of the tilt trays run a short bed - no good hanging over the edge!
The longer trays will also have a better angle of approach - you want to avoid flexing through the shell if the doors are off.
And on that note, I was more concerned with body flex through the middle so I blocked the car under the X frame and tied down across the door sills. If you've welded support braces in the door jams it's probably not an issue.
Cheers,
Tom
Posted: Wed May 08, 2013 6:36 am
by Mal
Tom
A question for you a bit off topic with the body work, but.
Did you need to index, dial in your quick time bell housing to your crank ?
I never did. Everything seemed to line up fine, but did it

Posted: Thu May 09, 2013 11:23 am
by Brad1380
Had the same rust trap problem when i lifted the chassis exhaust plates, looking at the chassis there was a drain hole which the plates covered up, so i'll probably drill that into the new plates once the chassis crash damage has been sorted.
Posted: Sat May 11, 2013 12:02 am
by meadowhog
Tx Tom, just what I want to see. Love to see what and how you do those arches.
Pass throughs always a prob, thats why I used to make and sell through trade.