Another Tiger down below
-
- Posts: 91
- Joined: Fri May 14, 2010 5:25 am
- Location: Melbourne, Australia
A few progress shots
Greetings All
Thought I'd post a few shots to show how project is ticking along...
Try using this stuff without gloves!!
Polishing and sanding away - now good as new
Say goodbye to those massive flares
Repair section butt tacked in
...and finished...
We're having a go at making a steel LAT bonnet (hood). Formed a buck first and then shaped steel and fabricated vents. This in it's very early form but taking shape nicely.
That's about it for now - hope to have it back on it's wheels next month to start dummy fit of driveline. Will have website up soon with loads of other shots rather than bog down the STOC site. Also have a few videos of the panel works in progress to come at same time.
Cheers
Tom
PS - Check out Brad's Triumph site - work of art there (and particularly humurous reading using some of the online site translators!!)
Hi Tom,
look forward to your web site, hopefully your photo's will aid me with my Tiger.
Thanks for the Triumph compliment, i really should have learnt my lesson with that one, but it seems i've turned into a serial offender now Anyway she is now on triple sidedrafts & a few engine mods, burbles nicely & crackles on the overrun
1966 Sunbeam Tiger Mk1
-
- Posts: 91
- Joined: Fri May 14, 2010 5:25 am
- Location: Melbourne, Australia
Hi Hog,
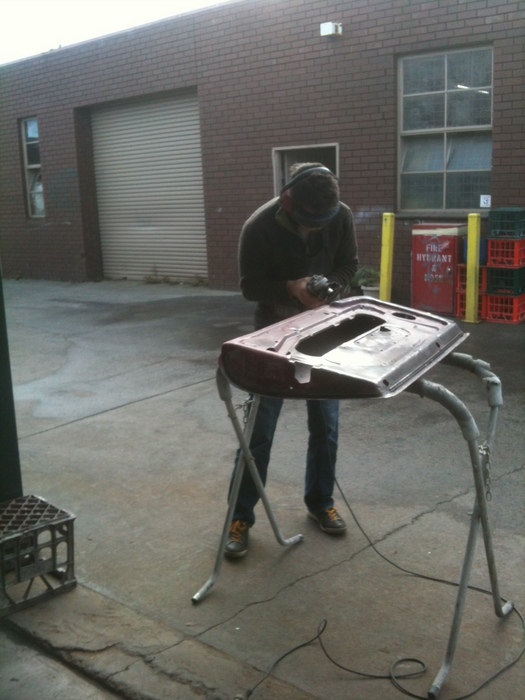
meadowhog wrote:OMG. Your doing what I want to do on my bonnet. How did you get the curve front to back, did you use a shrinker?
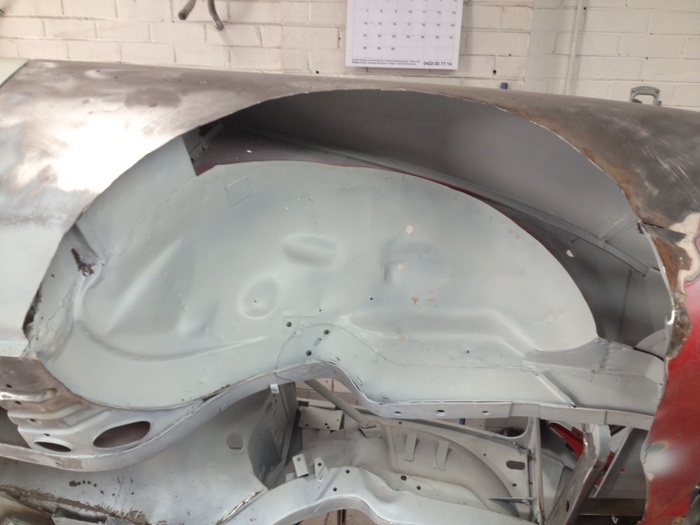
And the wheel arch is done. What repair section did you use, original from another wing. Did you fill the gaps between the stiches? Looks really straight.
Apologies for delayed reply - been at it on other projects. The metal man has done it all by bang and bash (I've just closed my eyes, blocked the ears and hoped it all turns out fine!) - no shrinkers but it has been through an English Wheel a few times.
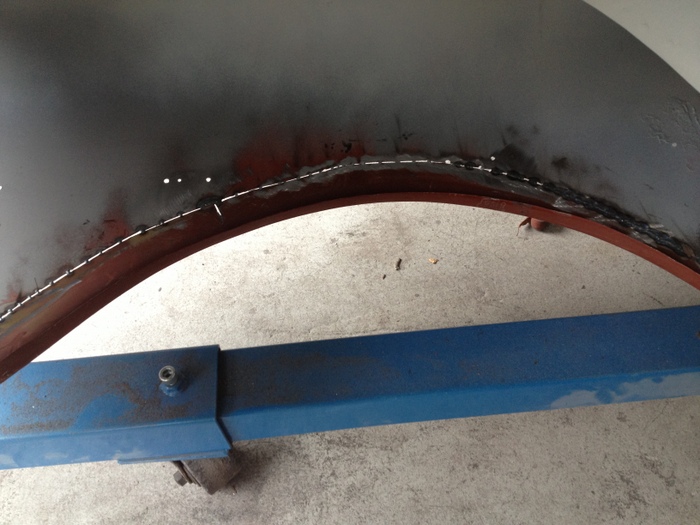
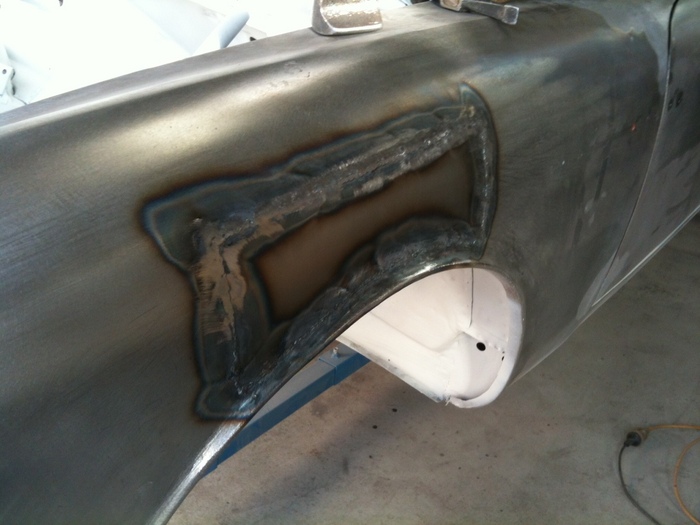
As for wheel arch, used a repair section from over your way (broadly speaking) but it wasn't the best of matches as far as radius is concerned so it was cut up and sectioned. All gaps filled in post stitching and it's come up nicely after a fair bit of dressing.
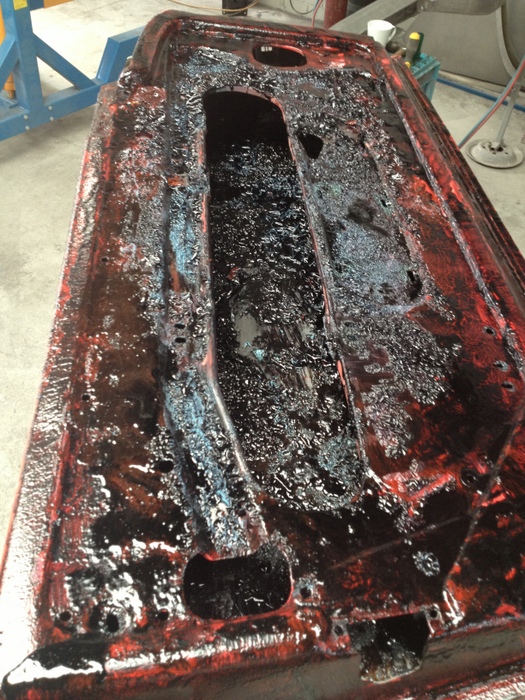
I've been inspired by Brad's work and had a crack at the leading under the tutelage of said panel guy. Very rewarding to have had a go but at the cost of lead, it's almost a shame to have to file it off again to get the finish. Much nicer than bog/bondo though...
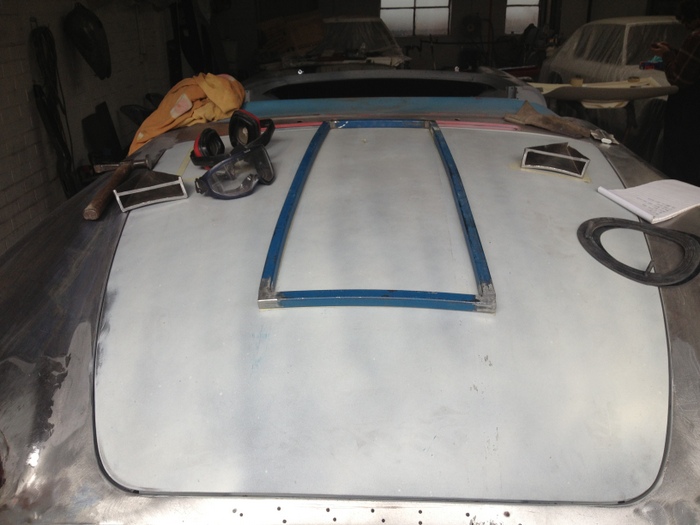
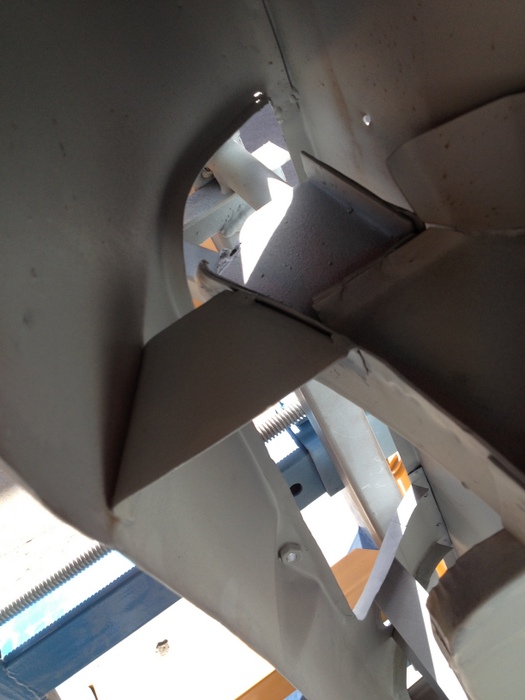
Anyway, a few small images to show progress on bonnet.
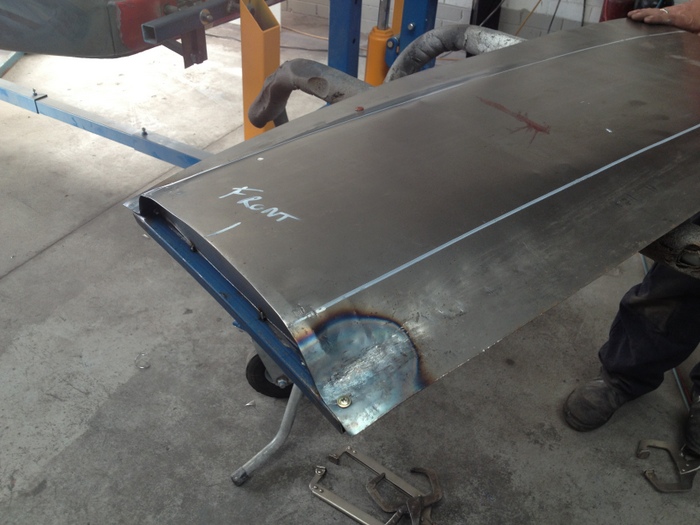
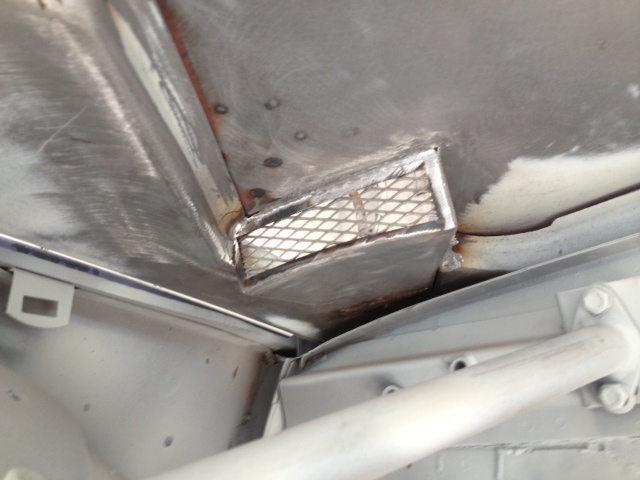
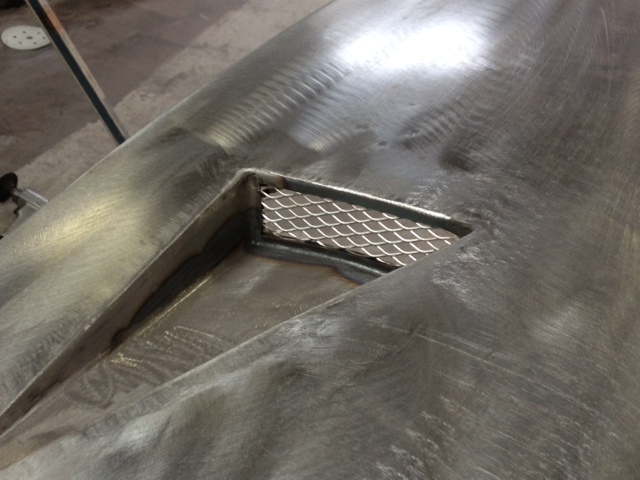
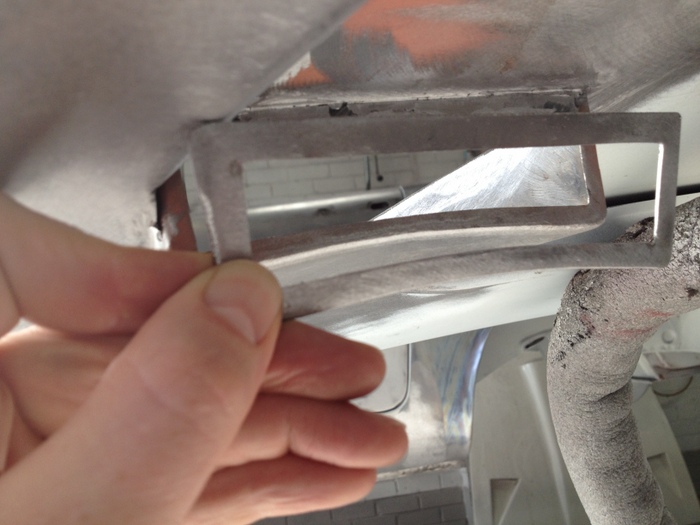
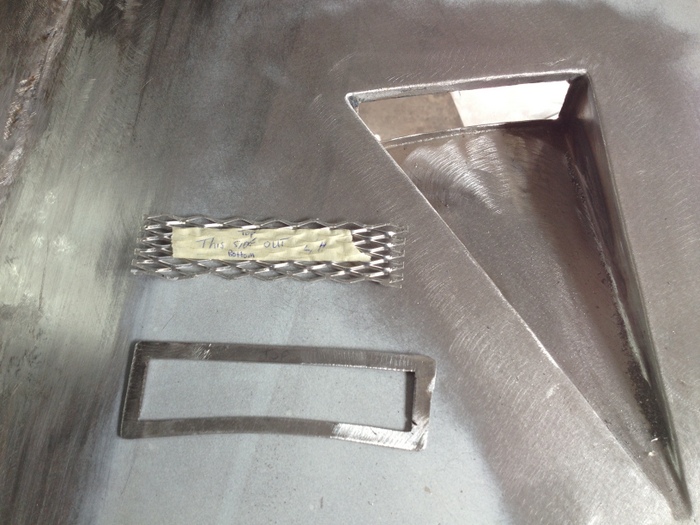
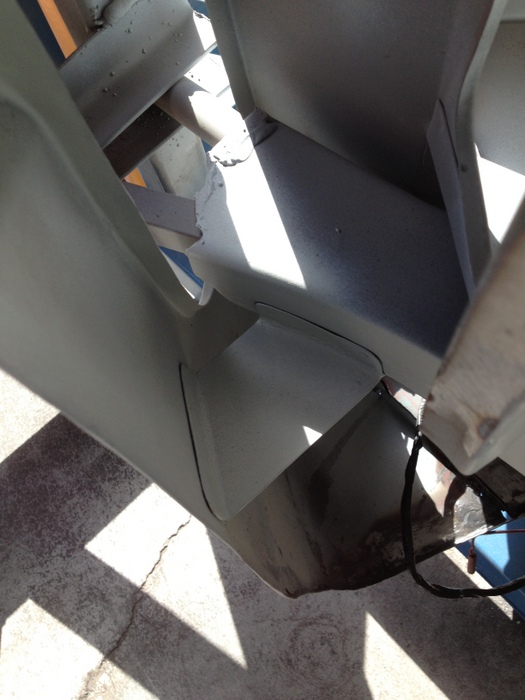
Here's a couple showing the vents from uderside. The small frame is going to be used to enclose the aluminium mesh.
This is what the mesh/grille will look like:
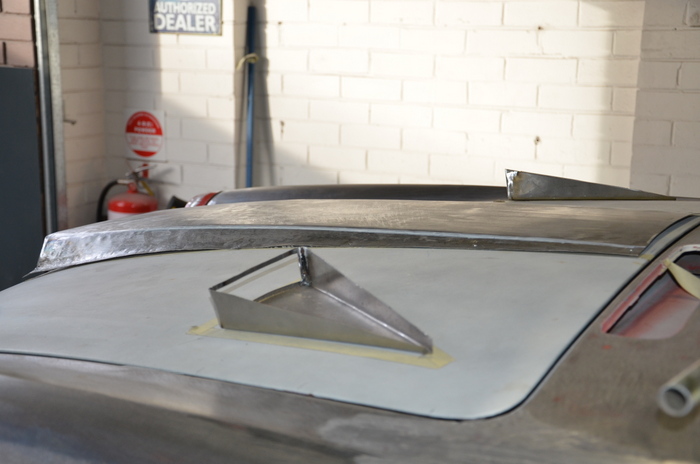
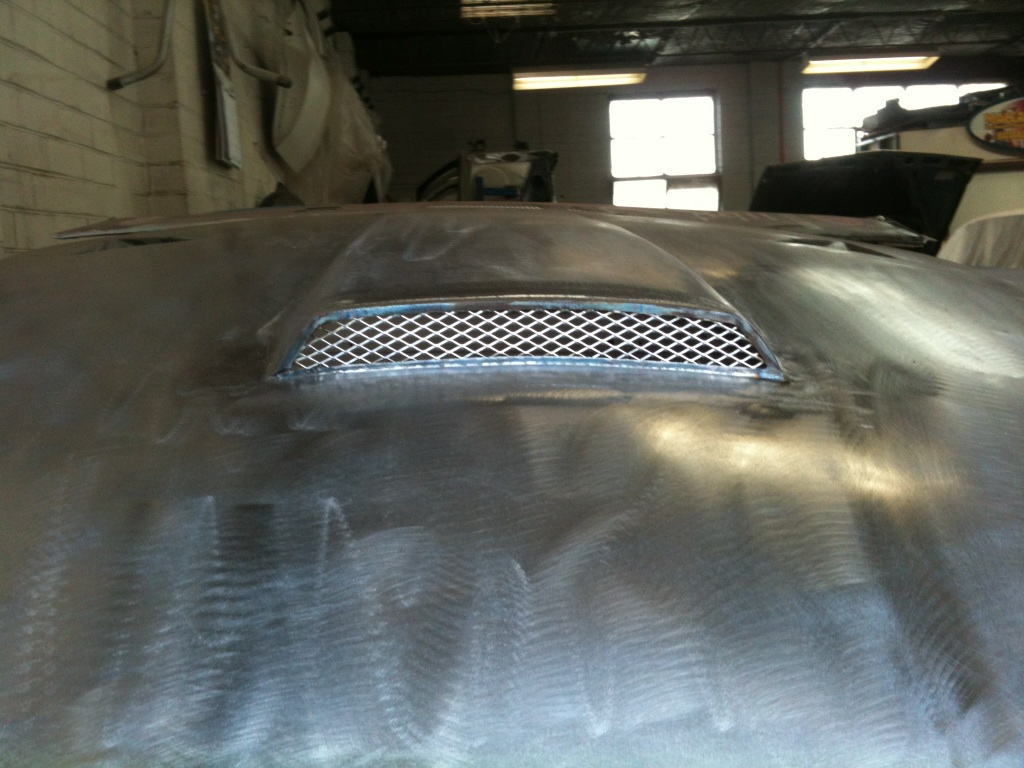
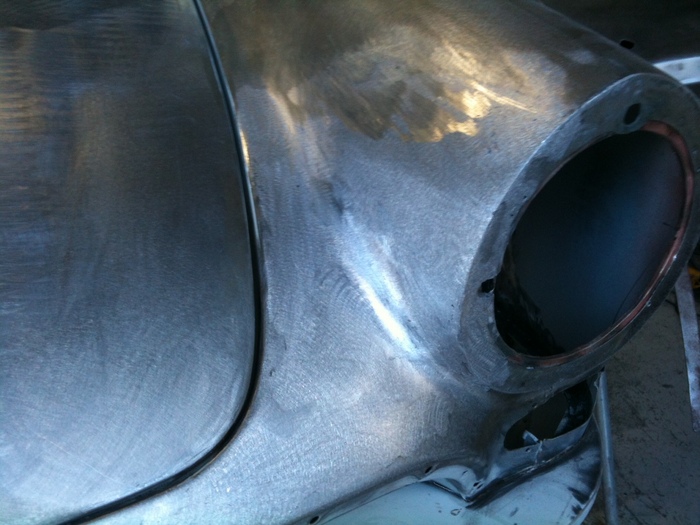
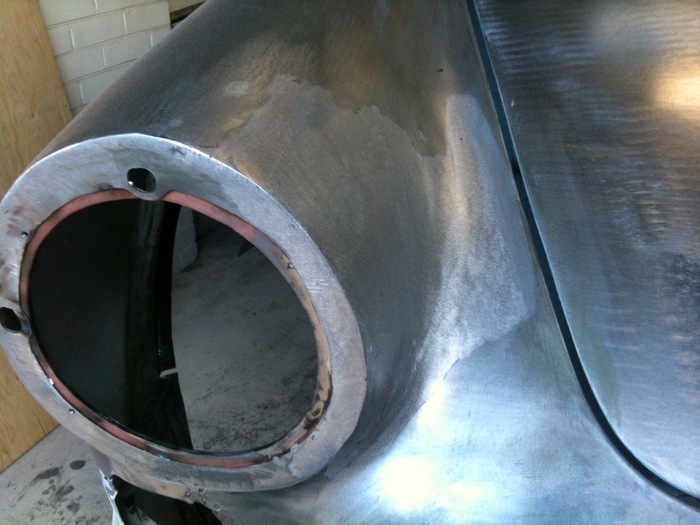
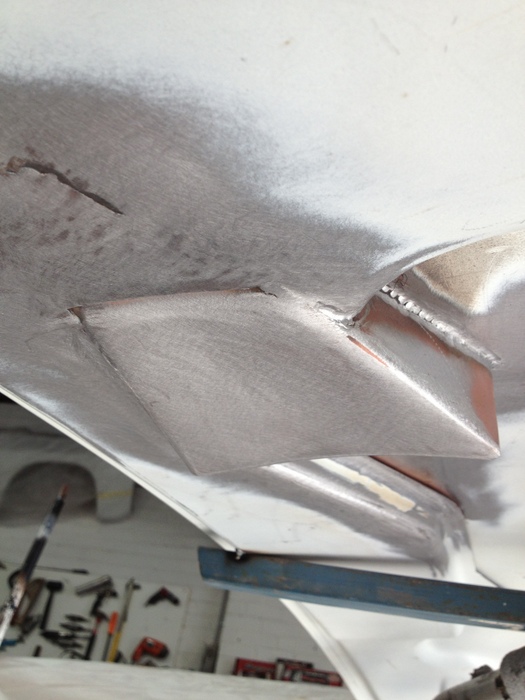
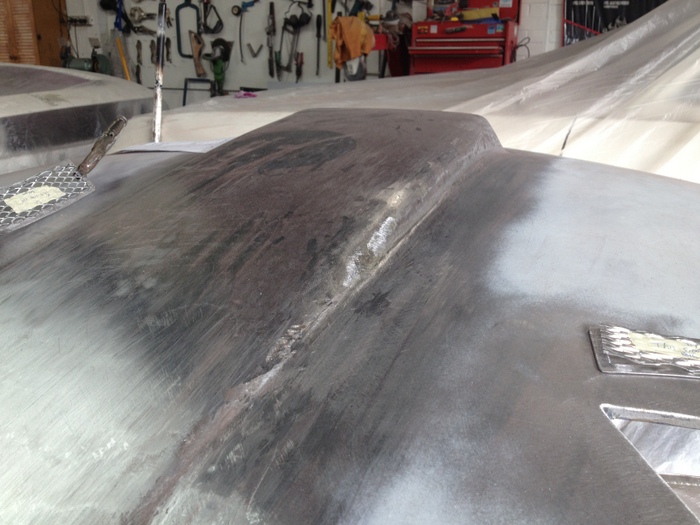
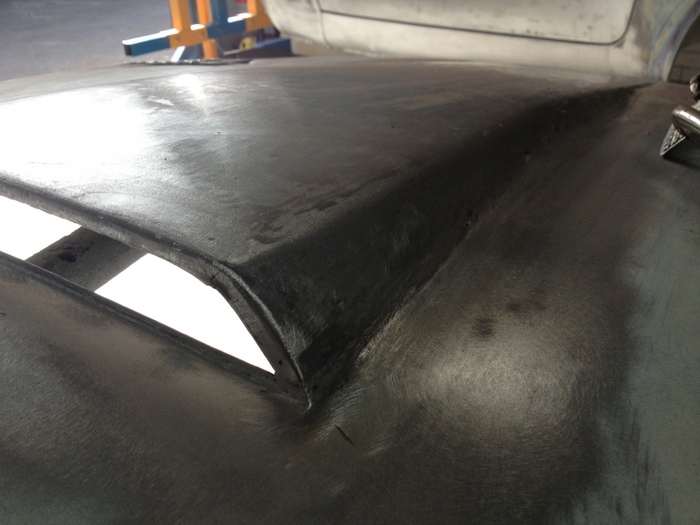
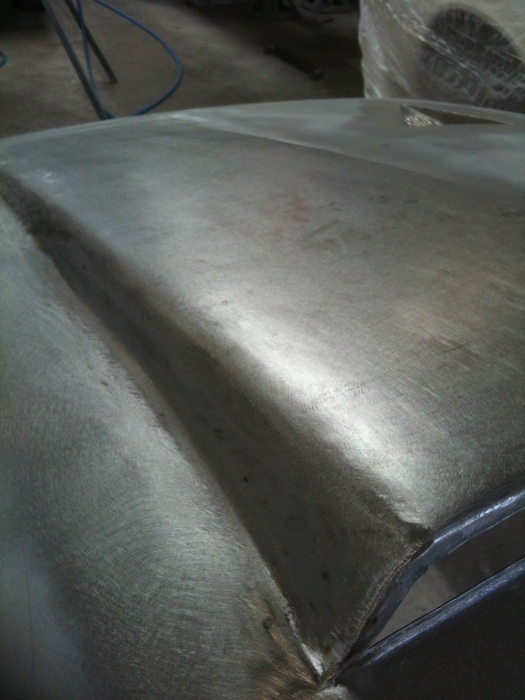
And here's a couple of shots of the scoop and vents topside - still a bit of dressing to go but taking shape nicely
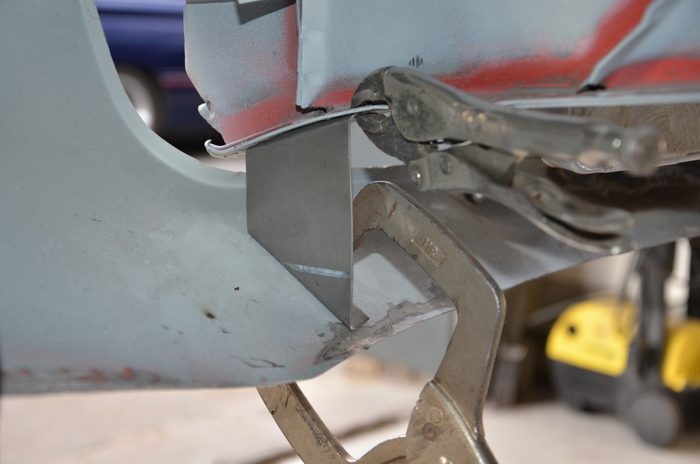
Just for a bit of discussion's sake, we added a couple of support brackets to the lower valance as it has a tendancy to flap around a bit.
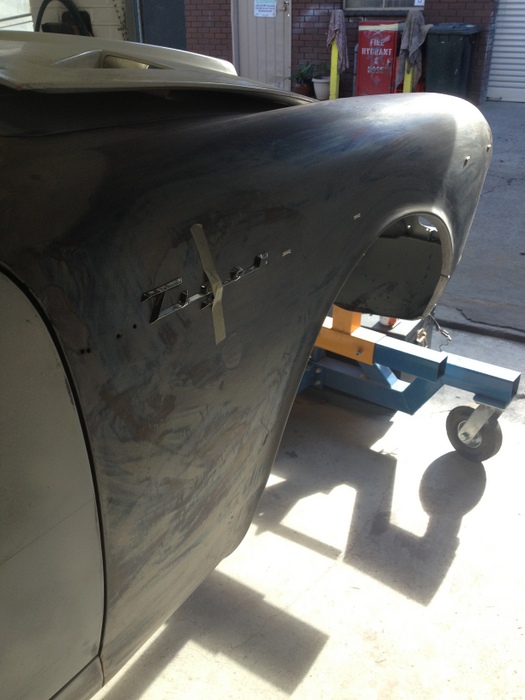
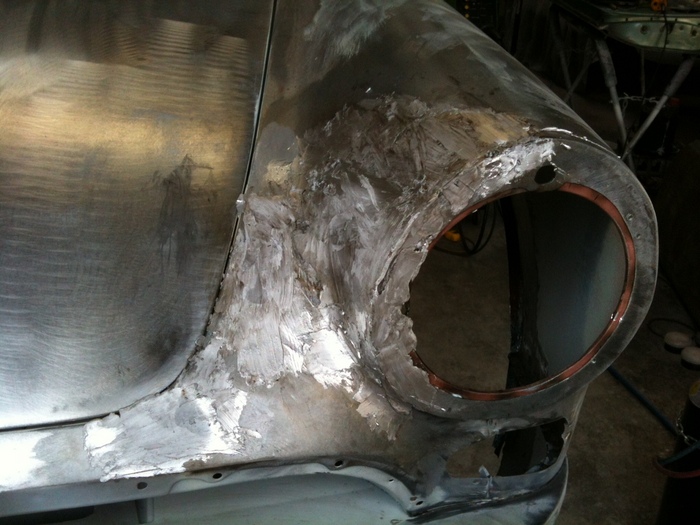
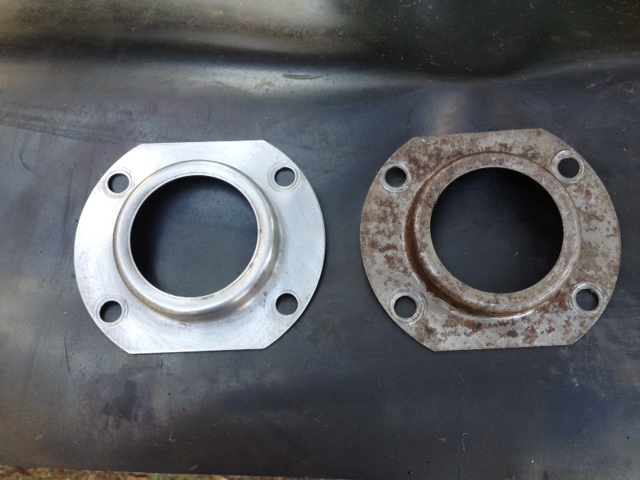
The LHF Guard was a bit thin after the wheel arch section went in so have added a further repair section to strengthen. You can see a small black dot at the base of the inner wheel well - this is one of two access points we have left (grommeted) to allow for regular waxing of the inner sills.
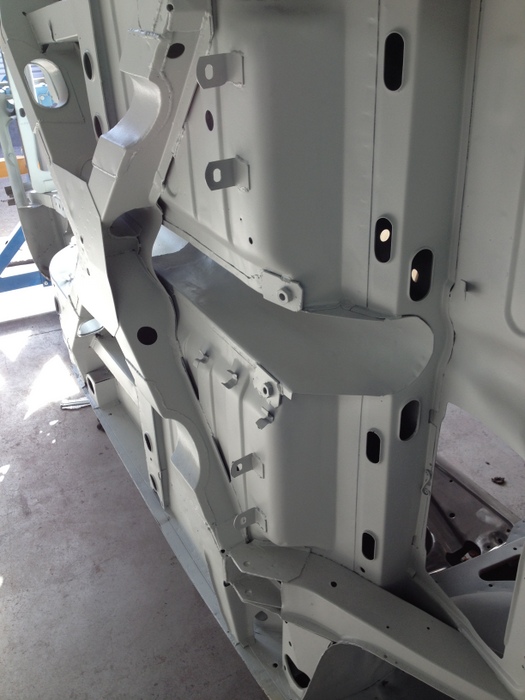
And finally, thought a shot of the underside progress for variety showing new exhaust pass through and general finish...
That's it for now - hope everyone Northside is making the most of what seems to have been a pretty good summer (apart from a slightly undesirable Ashes result!)
Cheers
Tom
Nice work, i may borrow your idea about the valance support brackets.
You can reuse the lead fillings, sweep them up, run a magent over them for any steel bits, then put them in an angle section with the ends welded up & simply run a torch over until it the lead melts, any crud rises to the top & brushes off when the new bar is cold.
1966 Sunbeam Tiger Mk1
Tx Tom, it is great stuff. When I tried the bottom of doors I had bowing and as I stuck with trying and trying the flux made a right mess of the good steel. Eventually gave up but I guess a panel with a bit of strength in it, keeps it shape.
Brads right in re-using the lead/solder but it was a lot cheaper when I tried it last.
Keep them pics coming I do love what you're doing.
Not a bad summer here at all and not boiled her once.
Brads right in re-using the lead/solder but it was a lot cheaper when I tried it last.
Keep them pics coming I do love what you're doing.
Not a bad summer here at all and not boiled her once.
-
- Posts: 91
- Joined: Fri May 14, 2010 5:25 am
- Location: Melbourne, Australia
meadowhog wrote: Brads right in re-using the lead/solder but it was a lot cheaper when I tried it last.
Keep them pics coming I do love what you're doing.
Not a bad summer here at all and not boiled her once.
Thanks Gents - I'll have a crack at retrieving the shavings and rejuvenating though might have to try and catch in a drip tray or similar rather than the added shop floor bonus material (er, crud)!Brad1380 wrote: You can reuse the lead fillings, sweep them up, run a magent over them for any steel bits, then put them in an angle section with the ends welded up & simply run a torch over until it the lead melts, any crud rises to the top & brushes off when the new bar is cold
Cheers, Tom
-
- Posts: 91
- Joined: Fri May 14, 2010 5:25 am
- Location: Melbourne, Australia
A couple of bonnet update shots
Hiya Folks - just a couple of updated shots of progress on the LAT bonnet in steel.
Thought I'd see what life as a small block is like and crawled into the engine bay with the bonnet closed - ostensibly to check clearances. All good. You can see a few small spots in front of the vent from the underside - these are where we pulled up the metal due to some shrinkage after welding.
And here's just a couple of shots showing vent from topside with mesh installed and scoop from front on also with mesh now welded into place. Won't be needing to use too much in the way of hi-fill as the metal finish has come up beautifully.
Working on re-assembling rear axle at the moment as car is coming back home for a dummy fit of all mechanicals before heading back to panel shop.
Cheers
Tom
-
- Posts: 91
- Joined: Fri May 14, 2010 5:25 am
- Location: Melbourne, Australia
A little bit of lead lighting...
Fascinating stuff this lead caper - and only because there seems to be a few lead purists out there!
Post goop and after a bit of fileage...
And the offside
Diff coming together well. Sourced a posi for her from a chap in the US but had to open up mounting holes from 3/8 to 7/16. Also decided to throw in an ARP stud kit and hope to tension it down with a chunky piece of alloy as a rear cover. There's a couple of locating plates that hold against the girdles - probably more wank than anything given all of the other break points still there.
Here's where it started from.
Hubs and bearings were typically problematic. Made up a puller based on Dan Waters drawings which worked a treat. A bit of flambé helped ease the bearings away.
Here's the posi in situ
ARP studs located
And finally showing the ally cover (sorry about the upside down photo - must be a southern hemisphere thing)
Still hope to have her fresh and ready by the time she turns 50!
Cheers, Tom
-
- Posts: 91
- Joined: Fri May 14, 2010 5:25 am
- Location: Melbourne, Australia
Hiya Brad - thanks for the comments. I picked the diff cover from TA direct, found them very courteous to deal with. The unit's a decent piece of ally and very nicely machined. I liked the idea of the girdle and the drain and fill points. Here's a link to their site and another shot I took of the cover before fitting.Brad1380 wrote:Like the diff bling, where did you get that?
Cheers, Tom
http://www.taperformance.com/proddetail ... od=TA_1814
The 2 buttons locate against the centre carrier journals.
-
- Posts: 91
- Joined: Fri May 14, 2010 5:25 am
- Location: Melbourne, Australia
Hi Brad,Brad1380 wrote:Tom,
did you also get the TA stud kit? or is that just the fasteners to hold it in place?
cheers
Brad
Housing fasteners are part of the kit - stainless unbrakos
The stud kit is separate but at around $20 I thought it a worthwhile addition.
Thanks Tomaselli - I keep meaning to post up more images but wondered whether it may seem a little indulgent!Tomaselli wrote:Great photographic record keeping, & keep up the great progress. Certainly looks the Tiger will be ready for the 50th celebrations.
I may be bordering on being a pedant in certain areas - prior to completing the reassembly of the diff, I thought I'd better clean up all of those parts that you'll never be able to see! Tanked and painted the hubs...again courtesy of Brad's fantastic hot tank recipe - never been a better use for soap powder and a battery charger! Even hand linished all of the shims, spacers, and seal carriers on the weekend...
Oh dear...
Cheers, Tom
PS - sorry to hear of the loss of Mr Blumer. The tributes point to him being a very interesting and engaging character.