Page 21 of 38
Posted: Tue Apr 14, 2015 5:03 pm
by Brad1380
Looks like some quite extensive bodywork being chopping about as well, nice engineering though.
Posted: Tue Apr 14, 2015 5:39 pm
by bigbob
There was a UK Tiger about, many years ago, with an E-Type IRS grafted on. Don't remember it being as professional as this though.
Posted: Tue Apr 14, 2015 8:35 pm
by Tomaselli
Brad1380 wrote:The GT40 wheels arrived this morning, very nice.
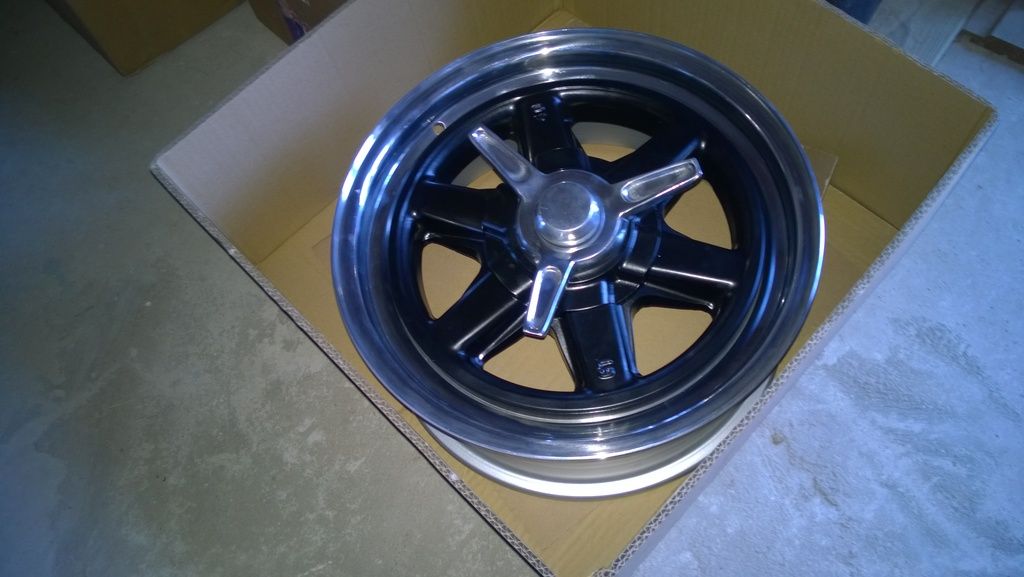
Very nice that, lovely colour combo

Posted: Tue Apr 14, 2015 8:35 pm
by Tomaselli
Tom_HRO260 wrote:Just in case you are interested, here's a couple of shots of the IRS getup.
WOW! Thanks for sharing Tom, I can't stop looking at those images!!
Posted: Mon May 04, 2015 2:30 pm
by Brad1380
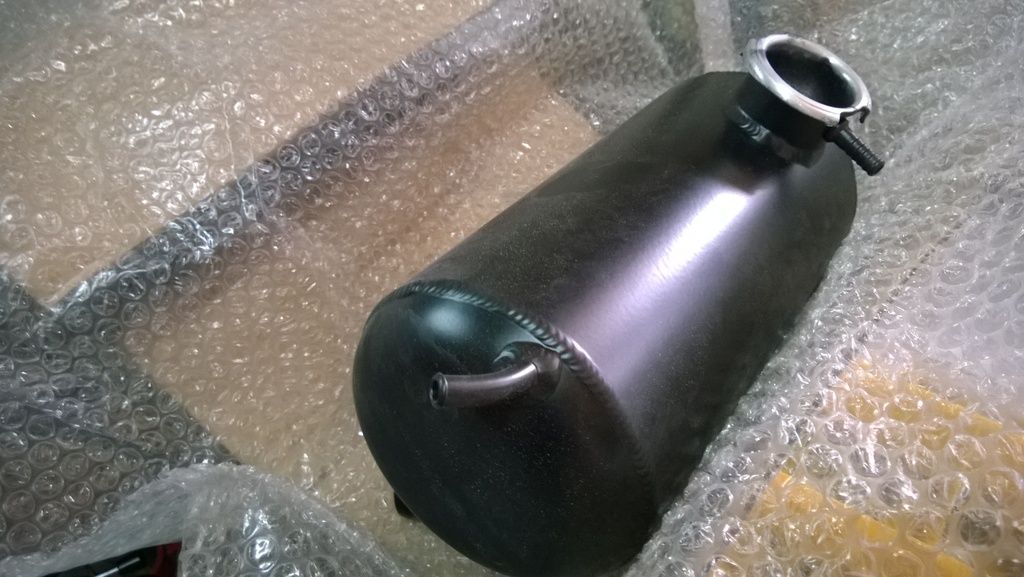
After my repaired header tank failed a test i bought a replacement one from Paul ( Aka Red Race Tiger) as a new header is cheaper than an overheated engine, not that i have an engine at the moment....watch this space as they say )
The tank is a first rate peice of kit, the welding is excellent with no undercuts on the root & good penetration when you look inside, i am more than happy with it.
Posted: Sat Jun 13, 2015 6:57 pm
by Brad1380
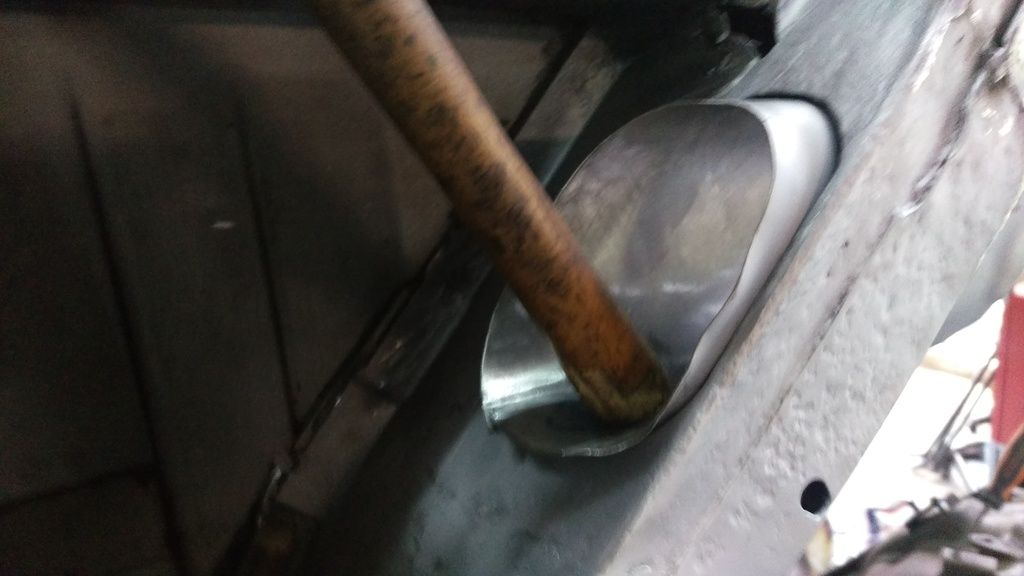
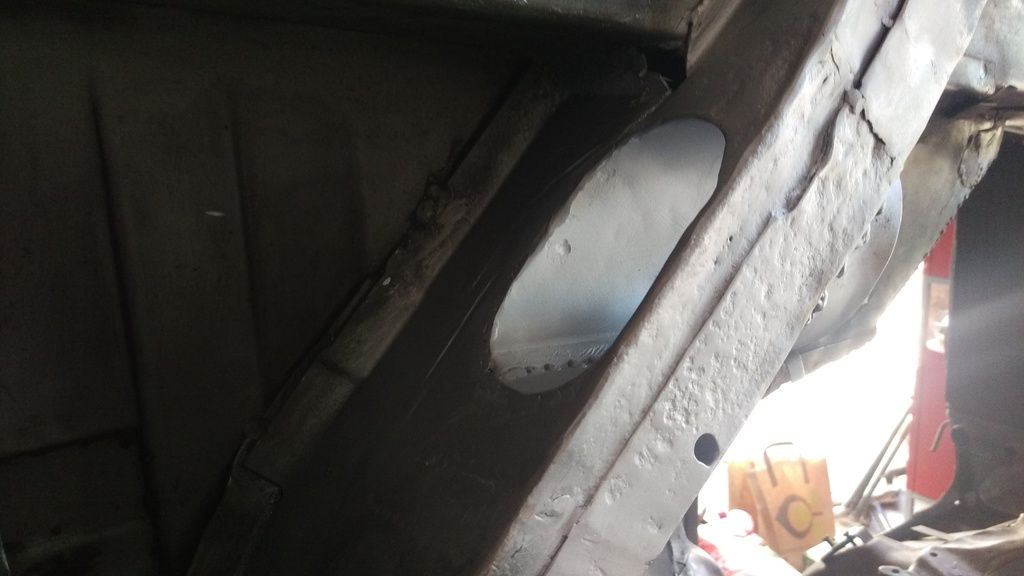
I was trying to encapsulate the exhaust chassis sections, when i cut the ovals to the right shape they wouldn't stay in place, if i make them longer i can push them to be a better fit then trim afterwards, is this the right way to do it?
Posted: Sun Jun 14, 2015 2:35 am
by meadowhog
The only thing to be mindful of is the top bit which is impossible to weld until it's cut back.
Brads Tiger
Posted: Sun Jun 14, 2015 10:41 am
by redbaron
Hi Brad
by sleeving the exhaust hole through the chassis you will loose some of the clearance for the exhaust pipe.
The original pass through was open and reinforced with the cut out over piece.
Replacement repair sections do come with a larger hole and may be of benifit when fitting a larger exhaust pipe.
Posted: Sun Jun 14, 2015 6:29 pm
by Brad1380
I have opened the ovals up by about 1/8th of an inch, they are bigger than the reinforcing plates now, the idea was to try to keep some of the road gravel out of the chassis as i've found quite a lot of it so far.
Posted: Tue Jun 23, 2015 9:08 pm
by Brad1380
Well that end went ok, think i'll wait until the car is turned to do the other side as i don't like welding upside down.
Posted: Sun Jul 19, 2015 6:39 pm
by Brad1380
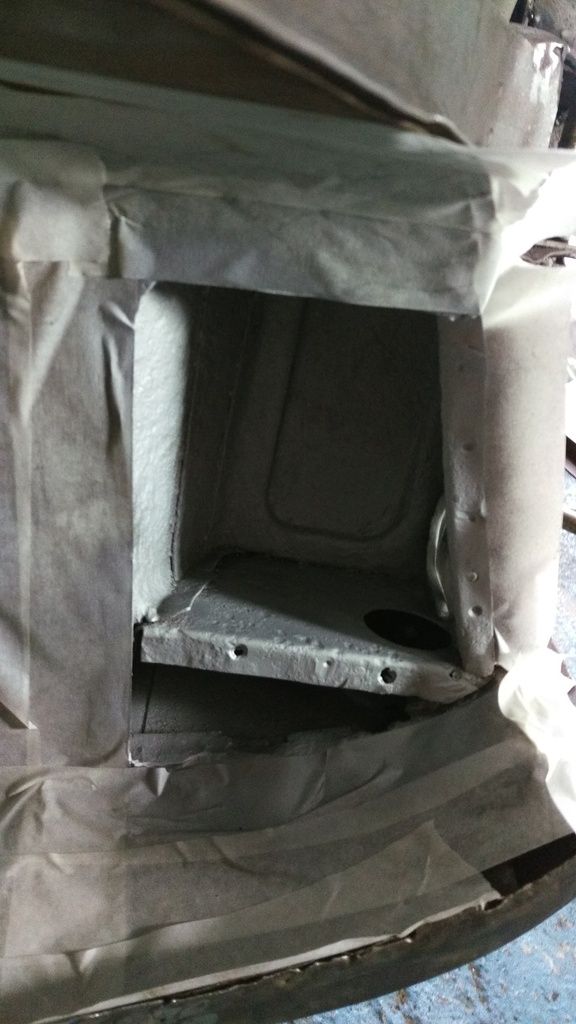
Did the other side of the exhaust cut out.
Also tried to fill in a few holes in the n/s inner rear wing, cut back to what i thought was good metal but when i weded it all blew away, so ended up cutting the lot out.
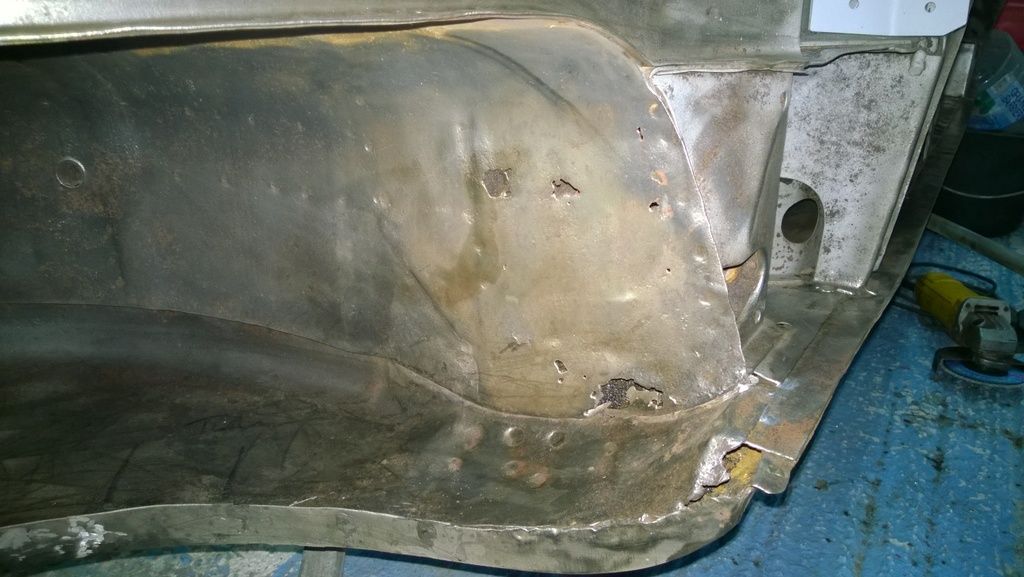
I must have found at least 30 bits of gravel in the inner sill, what is the point of that great opening into it? Shouldn't it have a grommet?

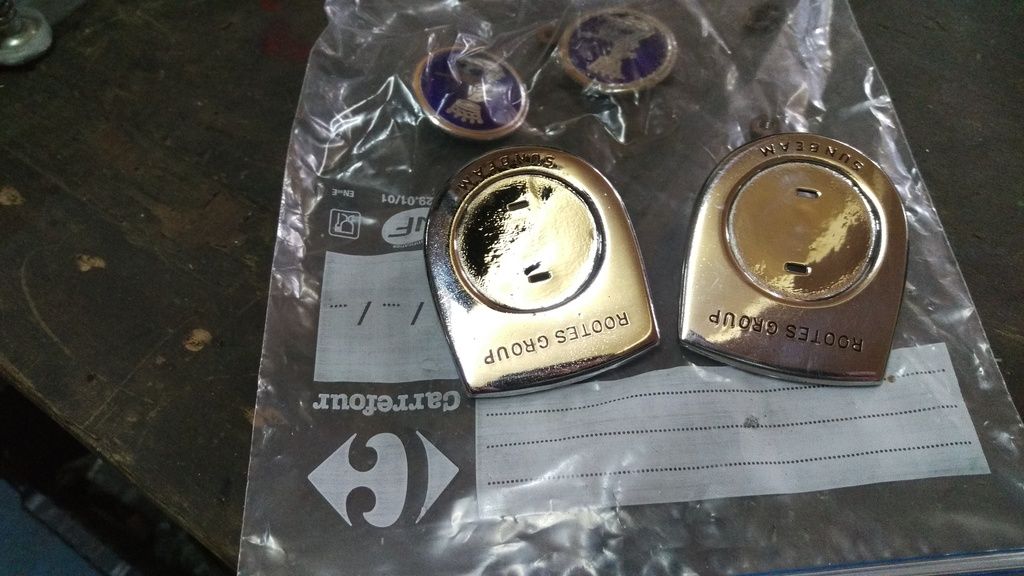
Lastly, ran the rear badges over the buffer on the 3rd rouge, they turned up alright.

Posted: Tue Jul 21, 2015 8:49 pm
by bobvic
The holes in the chassis sections are provided to accommodate a multitude of locating pegs and rods used to position same on the chassis bench prior to welding, no robots like today. Blanking off is not a problem but one must drill drain holes at the lowest points to evacuate water/condensation. I always plug mine and remove them occasionally.
Regarding the exhaust pass throughs I notice you have sleeved the holes but the steel on the bottom of the section looks well pitted. My Quals and experience as a Structural Engineer tells me that the maximum stress on a box section is at the most extreme position from the neutral axis. ie at the car floor and the very bottom of the section. Your photograph shows inadequacy in this area.
By way of interest I few years ago I had the pleasure of looking underneath one of the Le Mans Lister Tigers and saw what they had done in this area to accommodate what looked like 3inch pipes. They had cut away virtually all the two side limbs of the section generating a 4 inch gap for the pipes together with the bottom of the section and inserted a 5mm plate spanning and overlapping the gap, ie at the max stress position.
This seemed a satisfactory solution to me but the side limbs of the section would need to be flanged on the cut edges like on the Jensen standard version I could not see that this had been done on the Le Mans Tiger.
Finally you may want to consider cutting away the suspect metal at the bottom of the section and inserting a plate as described above that way you will have a stiffer than designed section together with a couple of good skid plates to boot.
Posted: Wed Jul 22, 2015 9:33 pm
by Brad1380
Welcome to the forum & thanks for your comments, to a fellow engineer i think those sections will be fine once the Jenson re-enforcement sections are added.T
Ths repair section only took 4 1/2 hrs to fabricate.....

Posted: Wed Jul 22, 2015 9:41 pm
by garyv8tiger
Bit off topic but I was in Egypt last month .got chatting to a couple of lads from Birmingham.got onto cars the guy said his brother had one but sold it .i chirped up s his name ned .should have seen his face .yep it was neds .small world hey
Posted: Thu Aug 06, 2015 7:21 pm
by Brad1380
Nice little story that Gary, thanks for sharing it. I hope you told them it's in good hands.
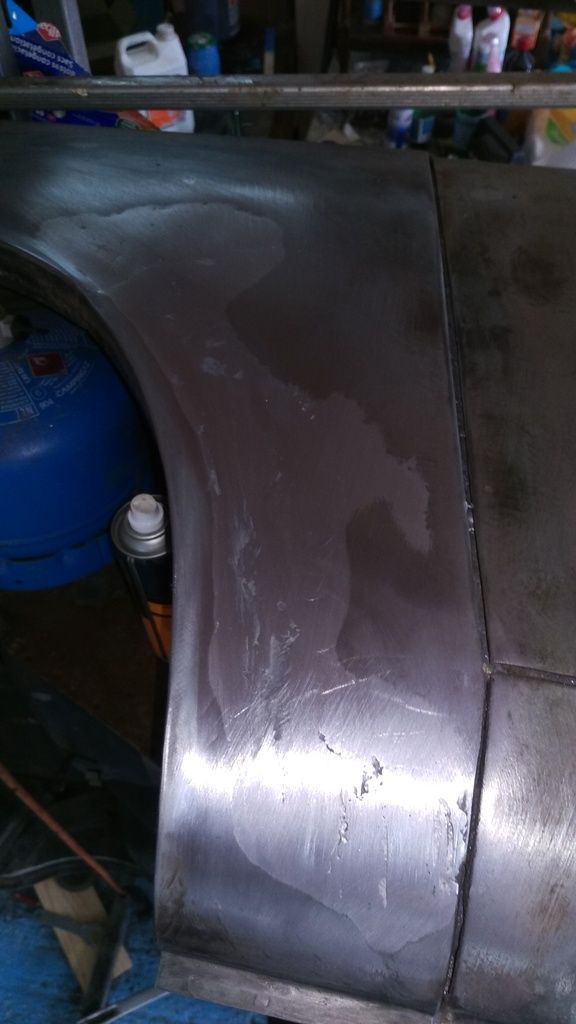
Eventually found the time to sort out the front section of the RHS rear wing, still a bit of a high spot in the lead but i can't reach it properly off a ladder so will wait until the cars horizontal again.