Page 3 of 38
Posted: Thu Dec 29, 2011 5:35 pm
by Brad1380
Bit of a finger trap
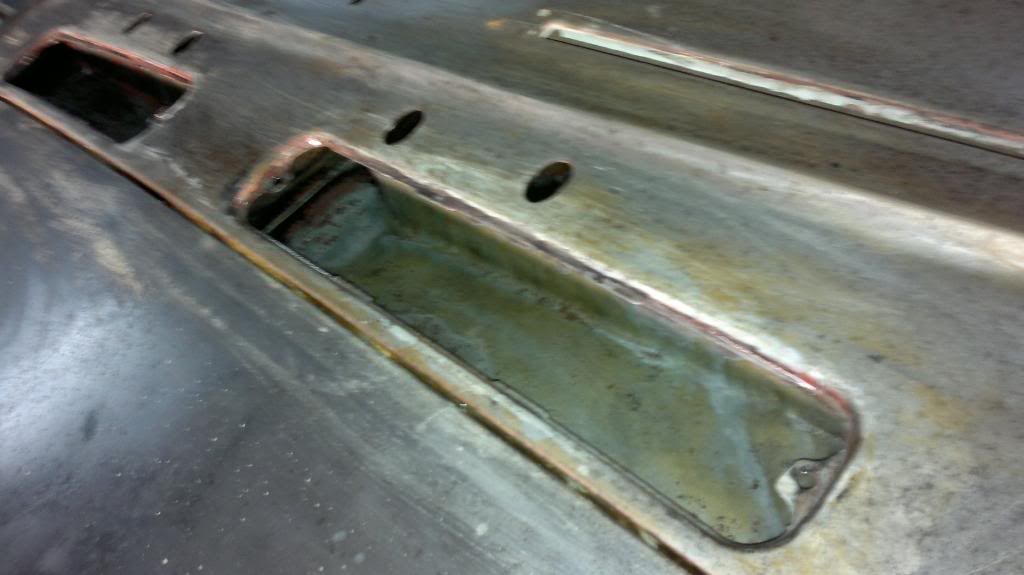
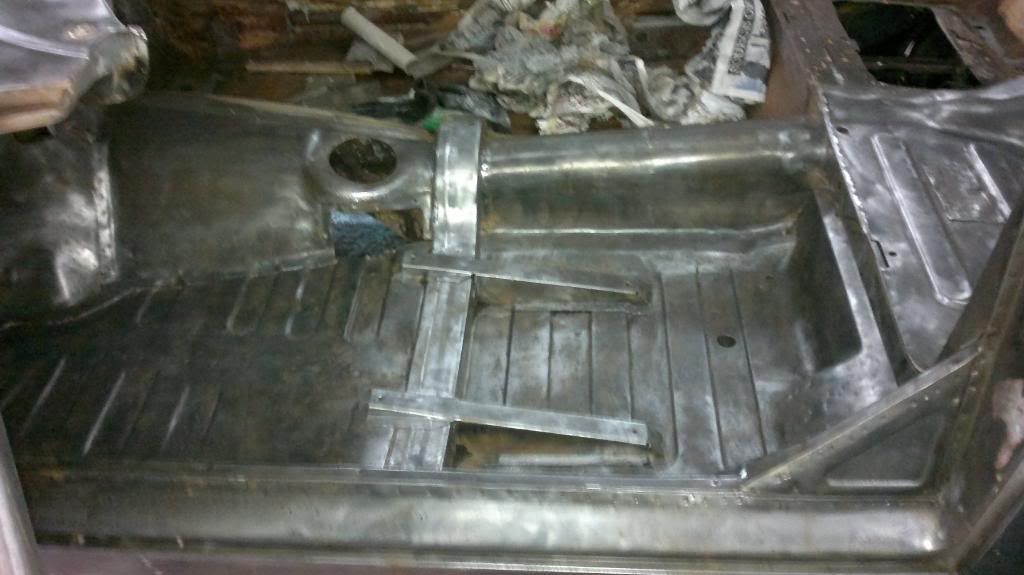
Beginning to think the floor pan is made out of English Red steel, it's proving difficult to get back to bare metal.
Posted: Thu Dec 29, 2011 10:04 pm
by Wilbur Bud
Thanks for the pictures Brad, that answer my questions. I'm very envious of the overall good metal condition showing in all your photos, red steel or not. I'll likely need a left front floor, both sills entire, and a lower front valance, plus some minor dent and ding repair before I move on to paint prep. Keep up the good work.
Posted: Fri Dec 30, 2011 5:50 pm
by Brad1380
More luck than judgement as i bought the car unseen.
Vents & screen cleaned up.
Working up to the heater, floor needs another gel coat yet.
Posted: Sat Dec 31, 2011 6:58 pm
by Brad1380
Hope i'm not talking to myself on here, i need a bit of advise.
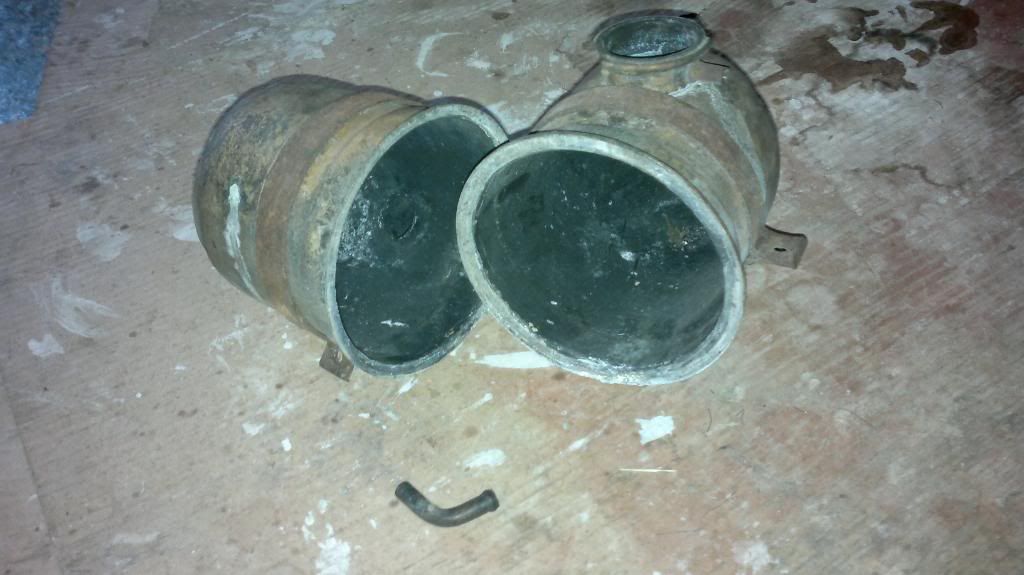
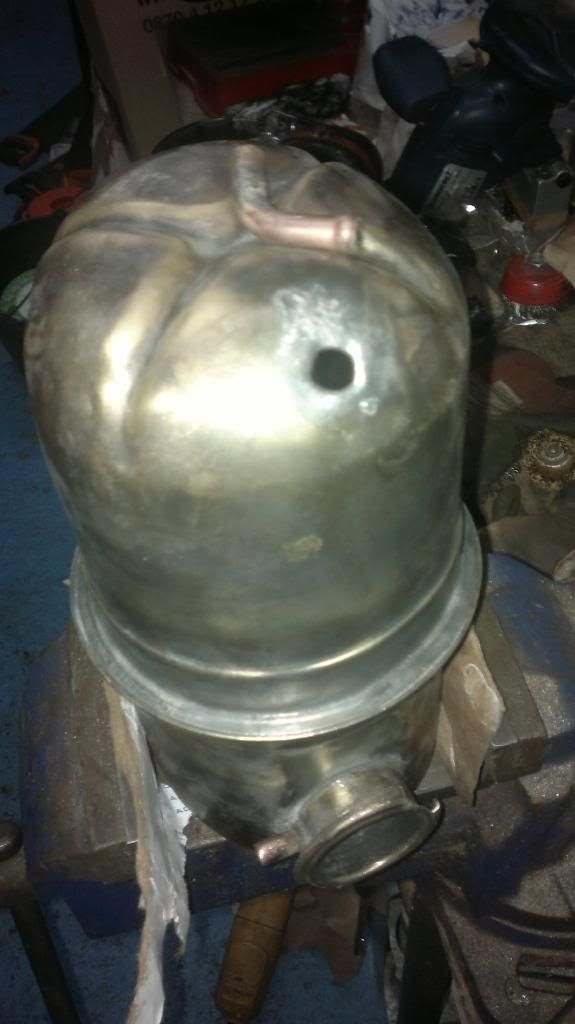
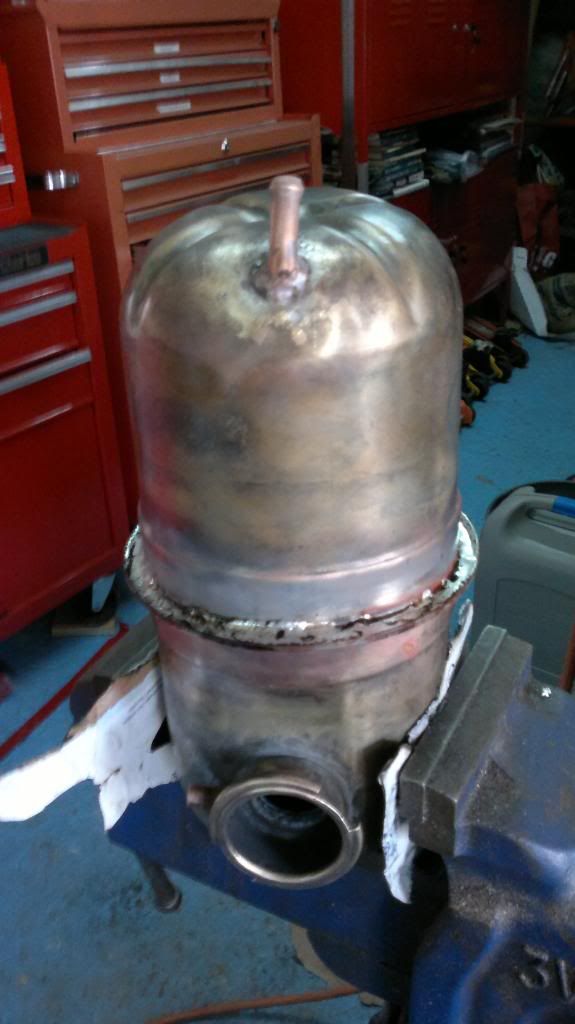
The solder in the header tank melted in the fire, seems repairable now its circular again, but the return to the rad pipe seems too short, i'm sure that should reach to the bottom of the tank.
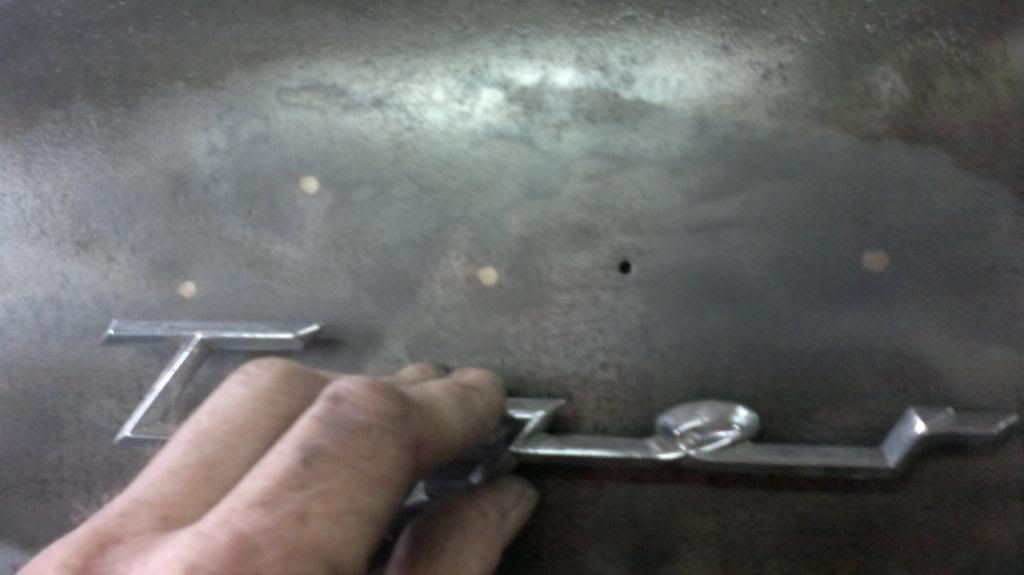
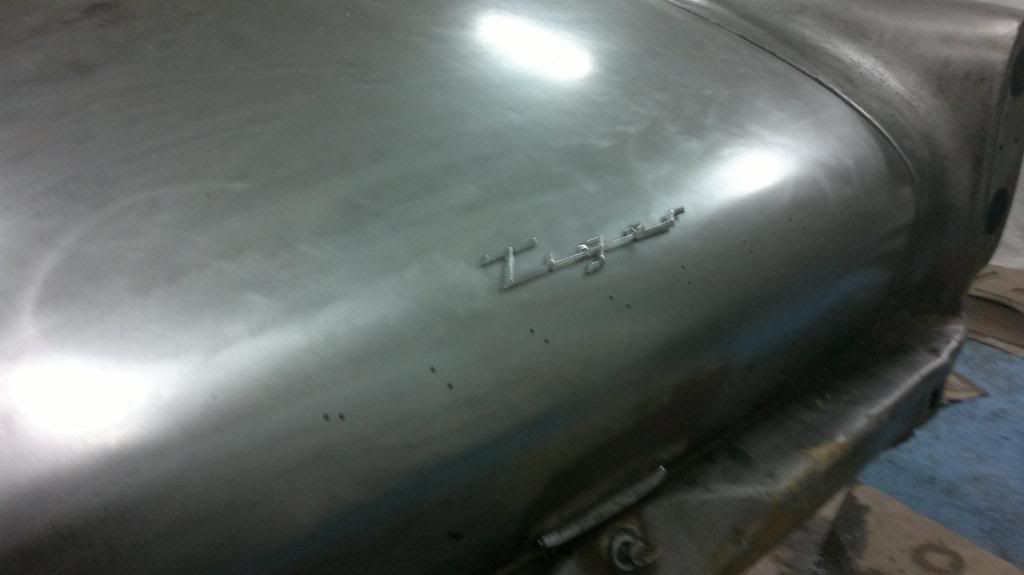
Found out why the wing holes for the Tiger emblem are all filled in, i only have one Tiger emblem! it lives on the boot which is a bit odd, wonder if its something to do with the first owner?
i do have these though
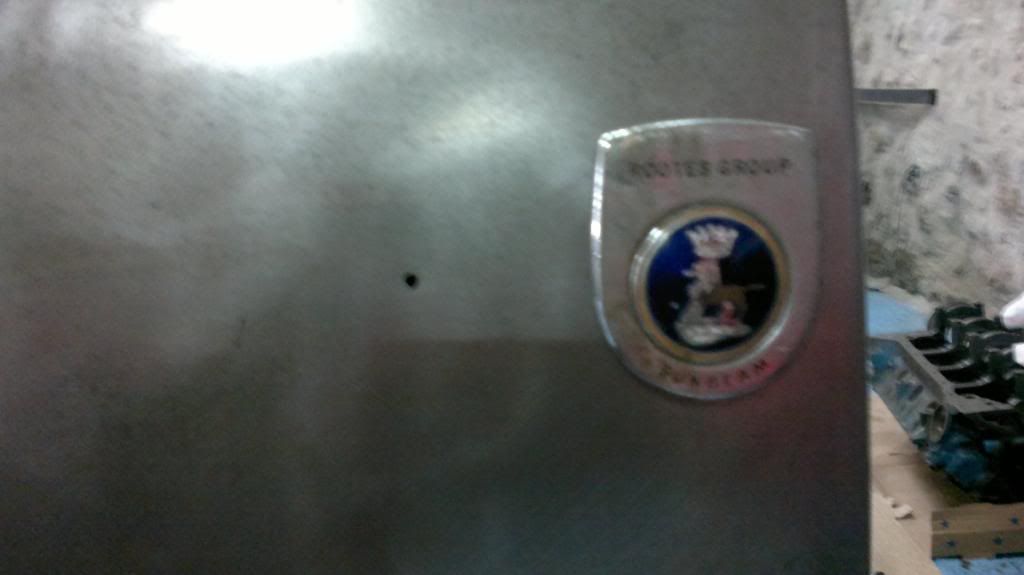
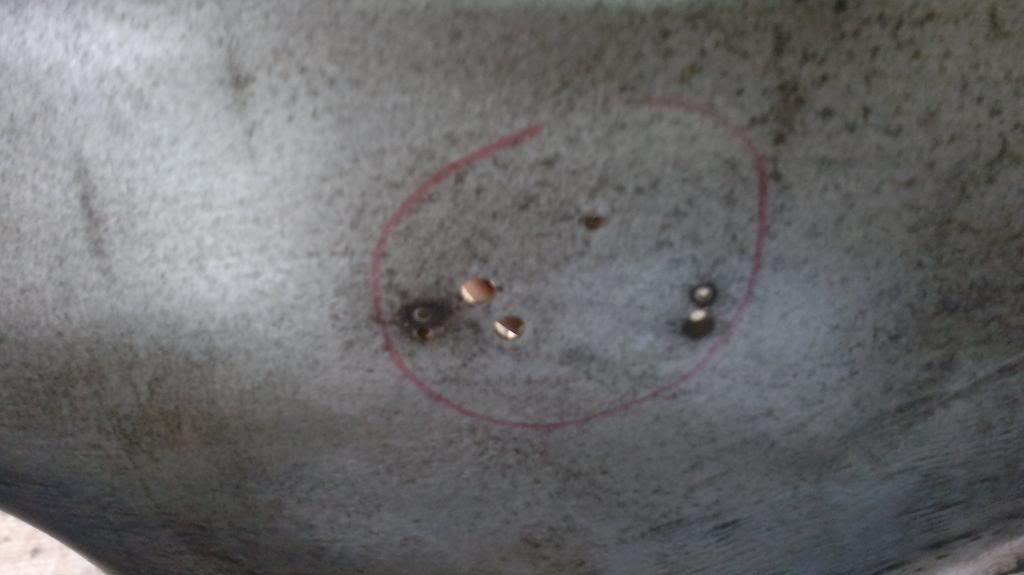
No idea whats going on here at the front of the wings, though it took them two attempts to get it right.
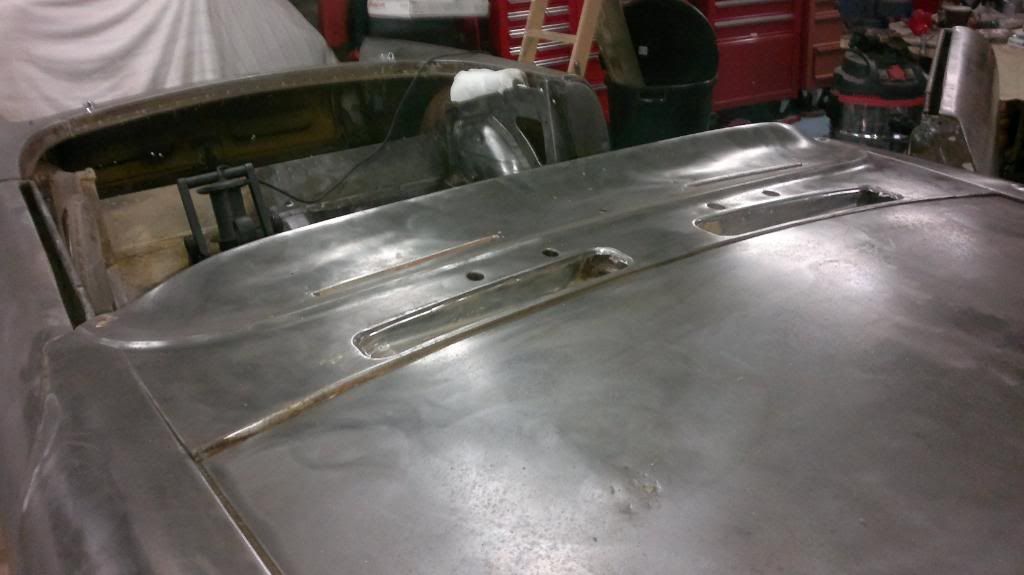
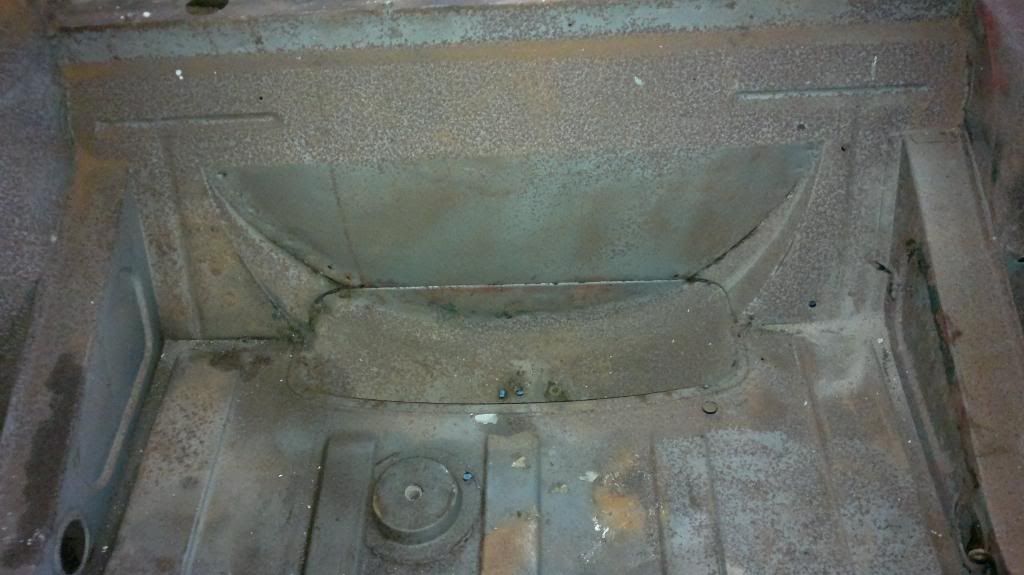
Boot

Happy New Year
Brad
Posted: Sat Dec 31, 2011 7:30 pm
by martin172
Is the overall lenght of the tube around 50mm?
Posted: Sat Dec 31, 2011 7:33 pm
by Brad1380
Martin,
about an inch either side of the bend,
cheers
Brad
Posted: Sat Dec 31, 2011 7:42 pm
by martin172
Well I just measured the tube on mine using a very unscientific method and it came in at around 50mm so it sounds like you are not far off.
Is the inner end cut off squarely?
Would you like me to measure how much of the tube should be out of the tank?
Posted: Sat Dec 31, 2011 9:45 pm
by Brad1380
Think i'm ok on where is goes back in as i can see old solder marks, will probably braze it in this time as everything else on the tank needs resoldering so don't want to go melting good solder out again.
Many thanks
Brad
Posted: Sun Jan 01, 2012 1:22 pm
by Brad1380
At last
Posted: Mon Jan 02, 2012 12:10 am
by Tomaselli
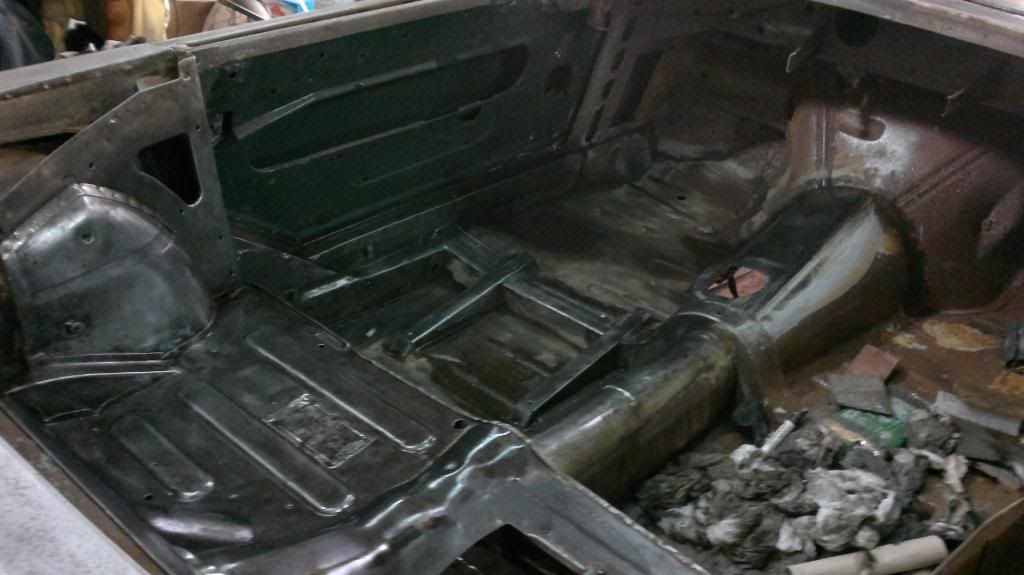
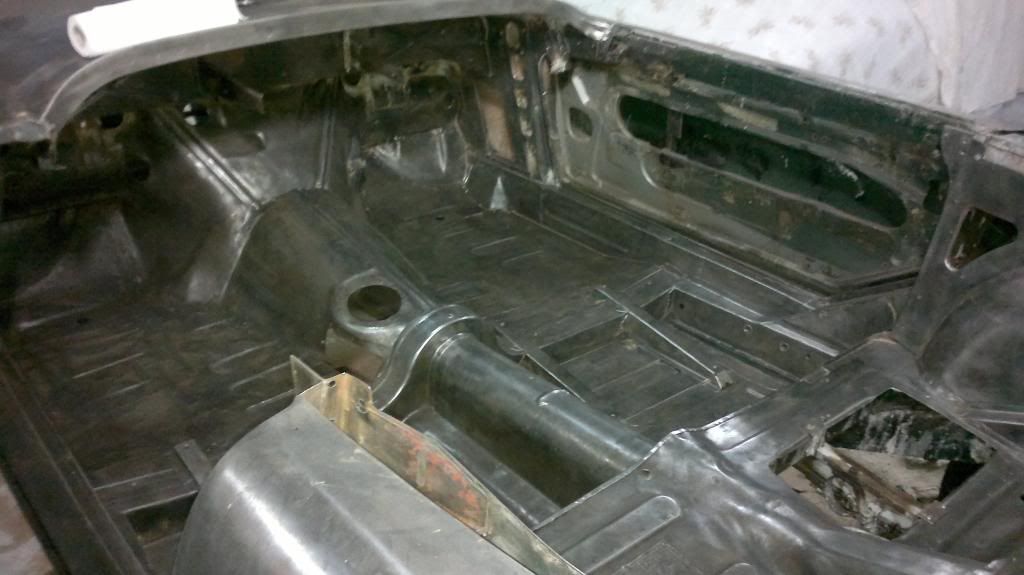
Certainly looks a nice solid shell you have there, and a great find

Posted: Mon Jan 02, 2012 6:39 pm
by Brad1380
Expansion tank back together, pipe brazed in with the last of the oxy, the main body soldered up.
Posted: Thu Jan 05, 2012 6:40 pm
by Brad1380
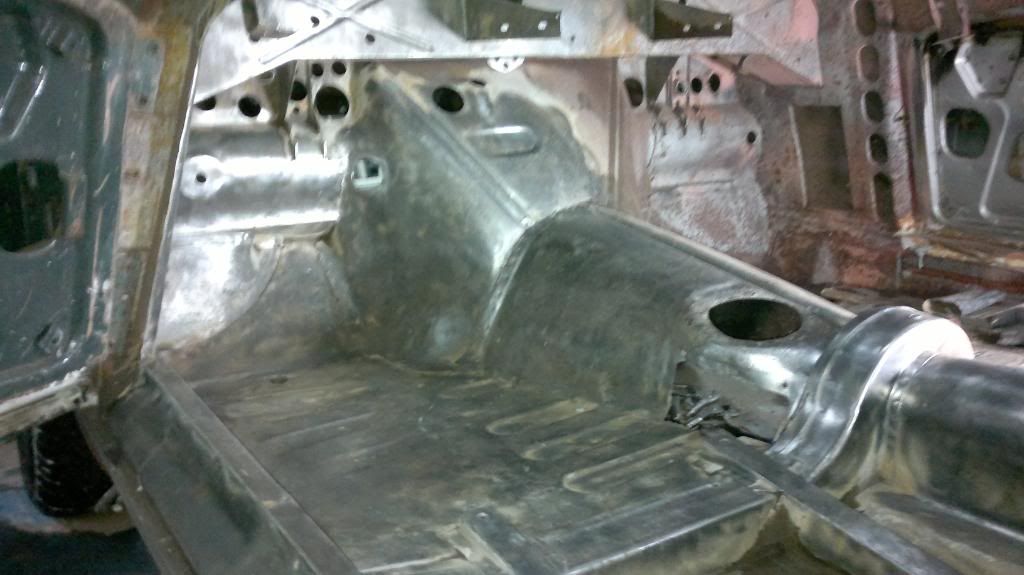
Drivers side
Posted: Thu Jan 05, 2012 8:49 pm
by bernd_st
Looks like a lovely job you are doing. How do you work with the rust remover ? Just applying and waiting/cleaning ?
Just a hint : The expansion tank tube should point exactly to the radiator when mounted ...
Posted: Thu Jan 05, 2012 10:41 pm
by martin172
bernd_st wrote:
Just a hint : The expansion tank tube should point exactly to the radiator when mounted ...
Good spot.
As my tank is handy, would you like a couple of pics of the tube?
The bodyshell looks great. Almost a shame to paint it.
Posted: Fri Jan 06, 2012 5:29 am
by Brad1380
bernd_st wrote:Looks like a lovely job you are doing. How do you work with the rust remover ? Just applying and waiting/cleaning ?
Basically although i stipple it in. It needs a lot of time as the gel easily dries out, the trick is to keep it damp with a spray bottle & clean it off completely after each coat otherwise a lot of crud builds up.