Page 10 of 38
Posted: Sat Mar 24, 2012 7:31 pm
by Brad1380
Well that was pretty quick & drama free.
Had a quick prod about & look see, it all seems solid if a bit cruddy.
ps
Some Pink overalls which used to be called Red in the background for Mal.
Posted: Sat Mar 24, 2012 7:36 pm
by Wilbur Bud
Any worries rolling it over and back as a one man job? Any sense of continuing to roll over with the shorter length of the angled sides? What about all the way over and bottoms up? I'm not so worried about the pink coveralls unless you've also got the pink gussets underneath.
Posted: Sat Mar 24, 2012 8:04 pm
by Brad1380
Wilbur Bud wrote:Any worries rolling it over and back as a one man job? Any sense of continuing to roll over with the shorter length of the angled sides? What about all the way over and bottoms up?
It was a two man job, don't think i would do it alone unless the pivot point was centred with a chain hoist or something.
It could go upside down, but theirs heaps of work to do with the car at 90 degrees.
Posted: Sat Mar 31, 2012 11:00 pm
by 0neoffive
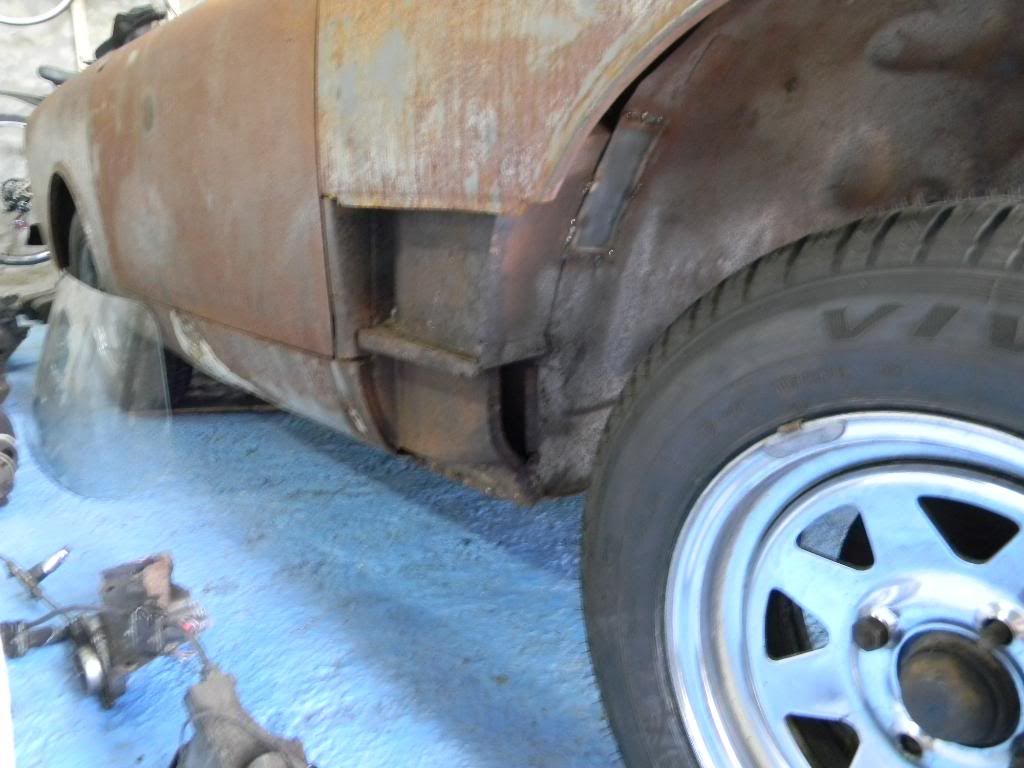
Brad1380 wrote:I've been told the sill end finishers are NLA, does anyone have a close up of what they should look like?
thanks
I've got a couple of them in the barn somewhere (L & R). The end actually stays open until the fender bottom is fastened and then it's all covered with these little "filch" panels. I'l do some diggin' , randy

Posted: Sat Mar 31, 2012 11:20 pm
by martin172
Nice to see you made it Randy.

Posted: Sun Apr 01, 2012 8:11 am
by alpine5gt
The lower front fender sections shown as missing on your car are not a seperate unit on my series 5 alpine nor on my MK1 Tiger. The front fender extends down to the lowest level. the replacement panels I am fitting to the Tiger also came from a 5 alpine and they also do not have a seperate section.?
Posted: Sun Apr 01, 2012 2:25 pm
by Brad1380
[/quote]
I've got a couple of them in the barn somewhere (L & R). The end actually stays open until the fender bottom is fastened and then it's all covered with these little "filch" panels. I'l do some diggin' , randy
[/quote]
Randy,
be good if you do have some going spare, save me a bit of fabrication work.
cheers
Brad
Posted: Tue May 01, 2012 4:56 pm
by Brad1380
Saw this rare Police Tiger outside work the other day.

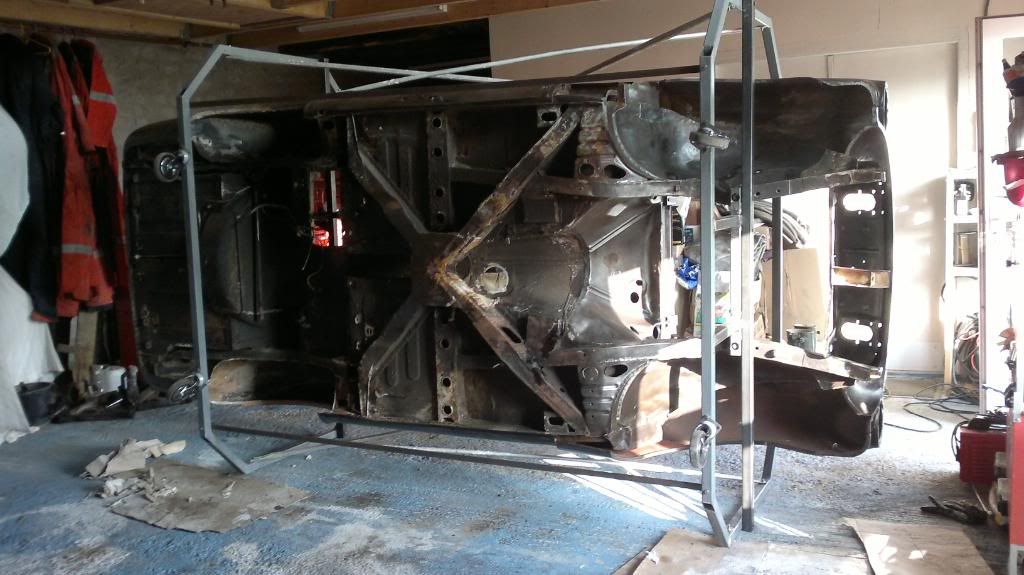
Slowly getting 45 year under seal off the car, much easier with the car on its side.
Posted: Tue May 01, 2012 5:38 pm
by tigerguy2
Some inspirational work going on here!
Now with the uni-body stripped would be a great time to reinforce and relocate the panhard rod mount attachment point lower, so that the rod can be run parallel to the ground for better handling. Rolling the body over on its other side would make it really easy to get to. Maybe that is already in your "to-do" list. It's just seeing your last picture that made me think about it. See
http://www.tigerengineering.net/TECHTIP ... 20rod1.pdf if you are interested in a refresher on this upgrade.
Cheers, Gene
Posted: Tue May 01, 2012 6:17 pm
by Brad1380
Thanks for that hadn't really thought about strenthening the mount, but it seems a good idea.
I have made a Mumford link for the Sprite which is a progression from Panhard-Watts-WOB link, it has helped with the handling & lowered the rear roll centre a couple of inches to even it up with the front, not sure if anyone here has tried it.
http://www.google.fr/search?q=mumford+l ... 66&bih=675
Posted: Tue May 01, 2012 11:28 pm
by tigerguy2
Brad, that linkage looks pretty complicated to my inexperienced eye. Not sure how one would attach such a thing to a Tiger. If you decide to make one, please share the plans!
Cheers, Gene
Posted: Wed May 02, 2012 6:47 pm
by Brad1380
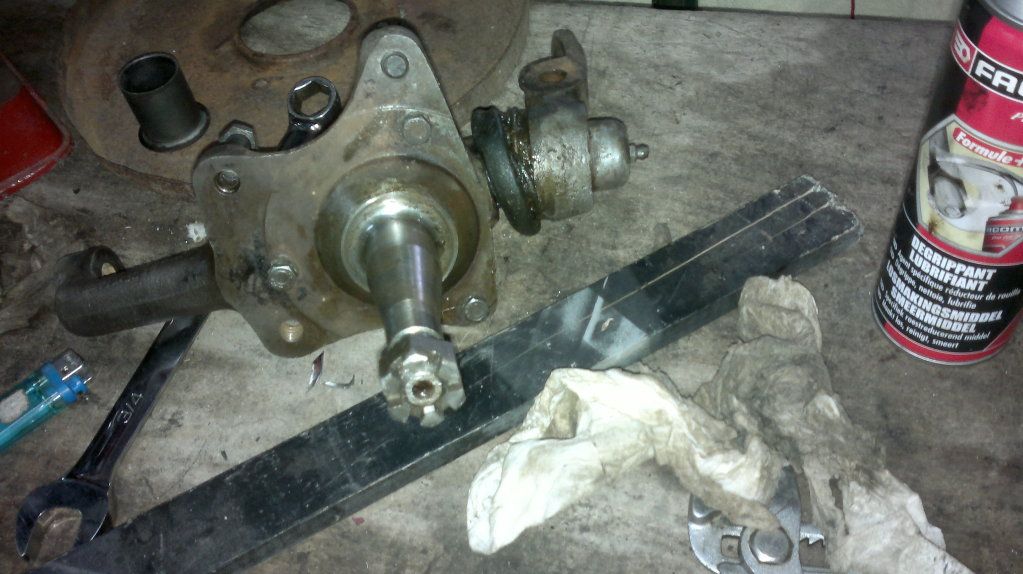
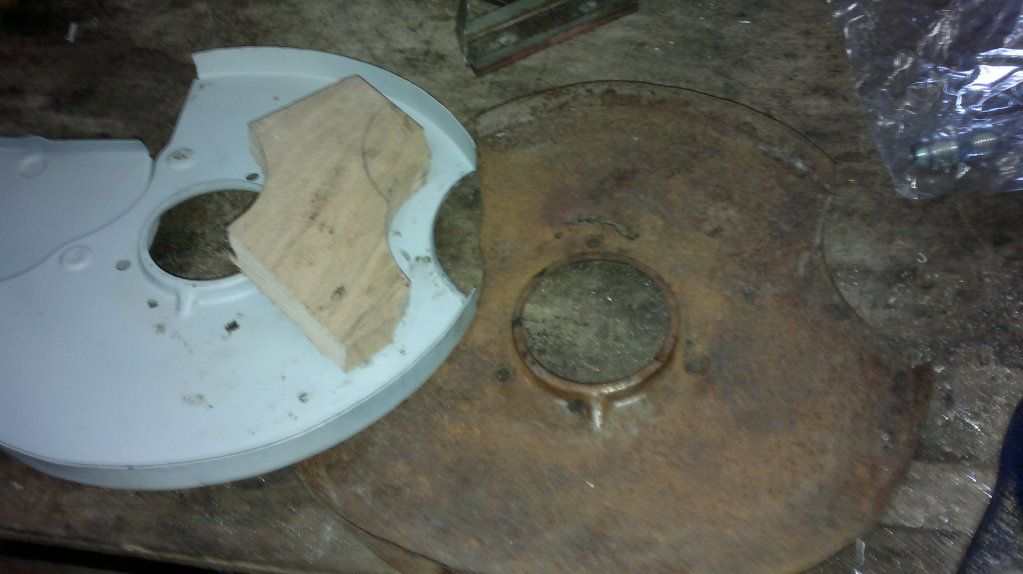
Sorted out the brake back plates with a mangled one from the specalist as a template, made a dolly out of an oak offcut. The photo isn't that good, the two back plates have the same cut-out.
Posted: Sat May 05, 2012 6:59 pm
by Brad1380
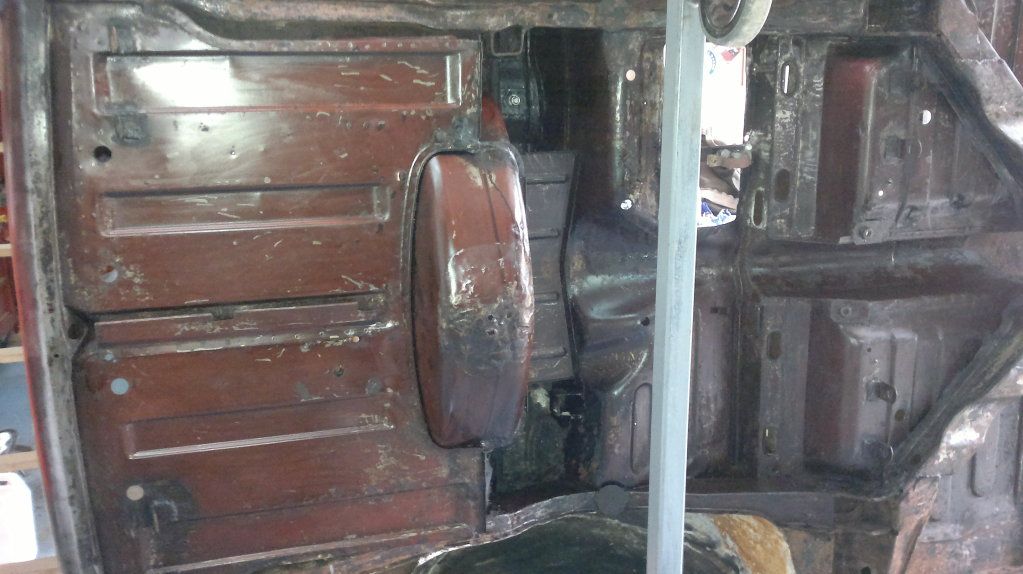
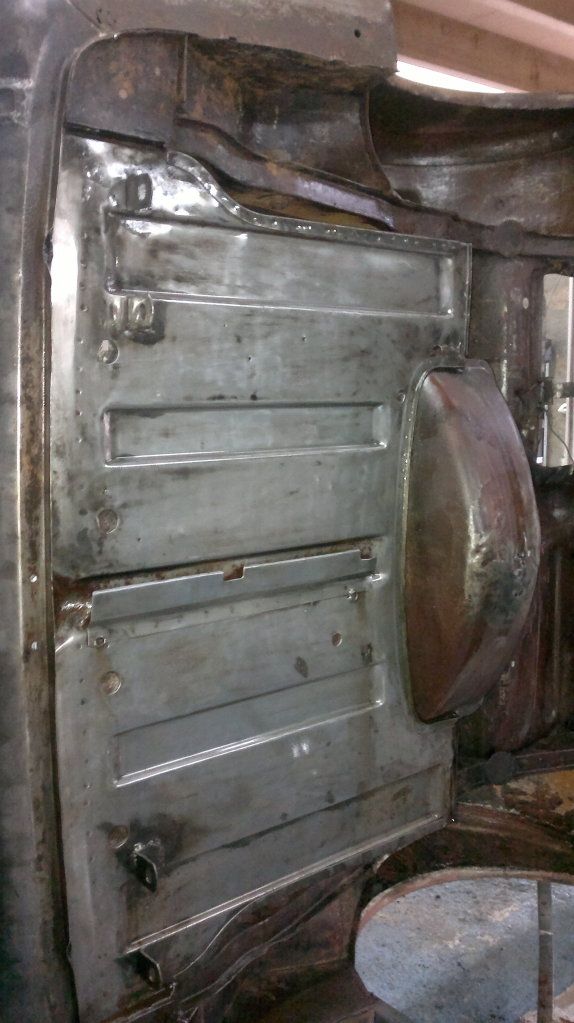
Boot floor is in really good condition, the only problem is where the welder at Jensen blew a hole in the sheet welding in the spare wheel boss. Just a few divets to hammer out left to do.
Posted: Sun May 06, 2012 12:06 pm
by gtsmrt
Hi Brad,
Almost as good as the day it left pressed steel... looks great.
Regards, Robin.
Posted: Wed May 09, 2012 7:31 pm
by Brad1380
Took a while to get the rad surround to fit.

Wishbone ball joints are in very good order with no play at all, but the dust covers are shot, are the covers available on there own? as 4 new bal joints starts to get expensive,